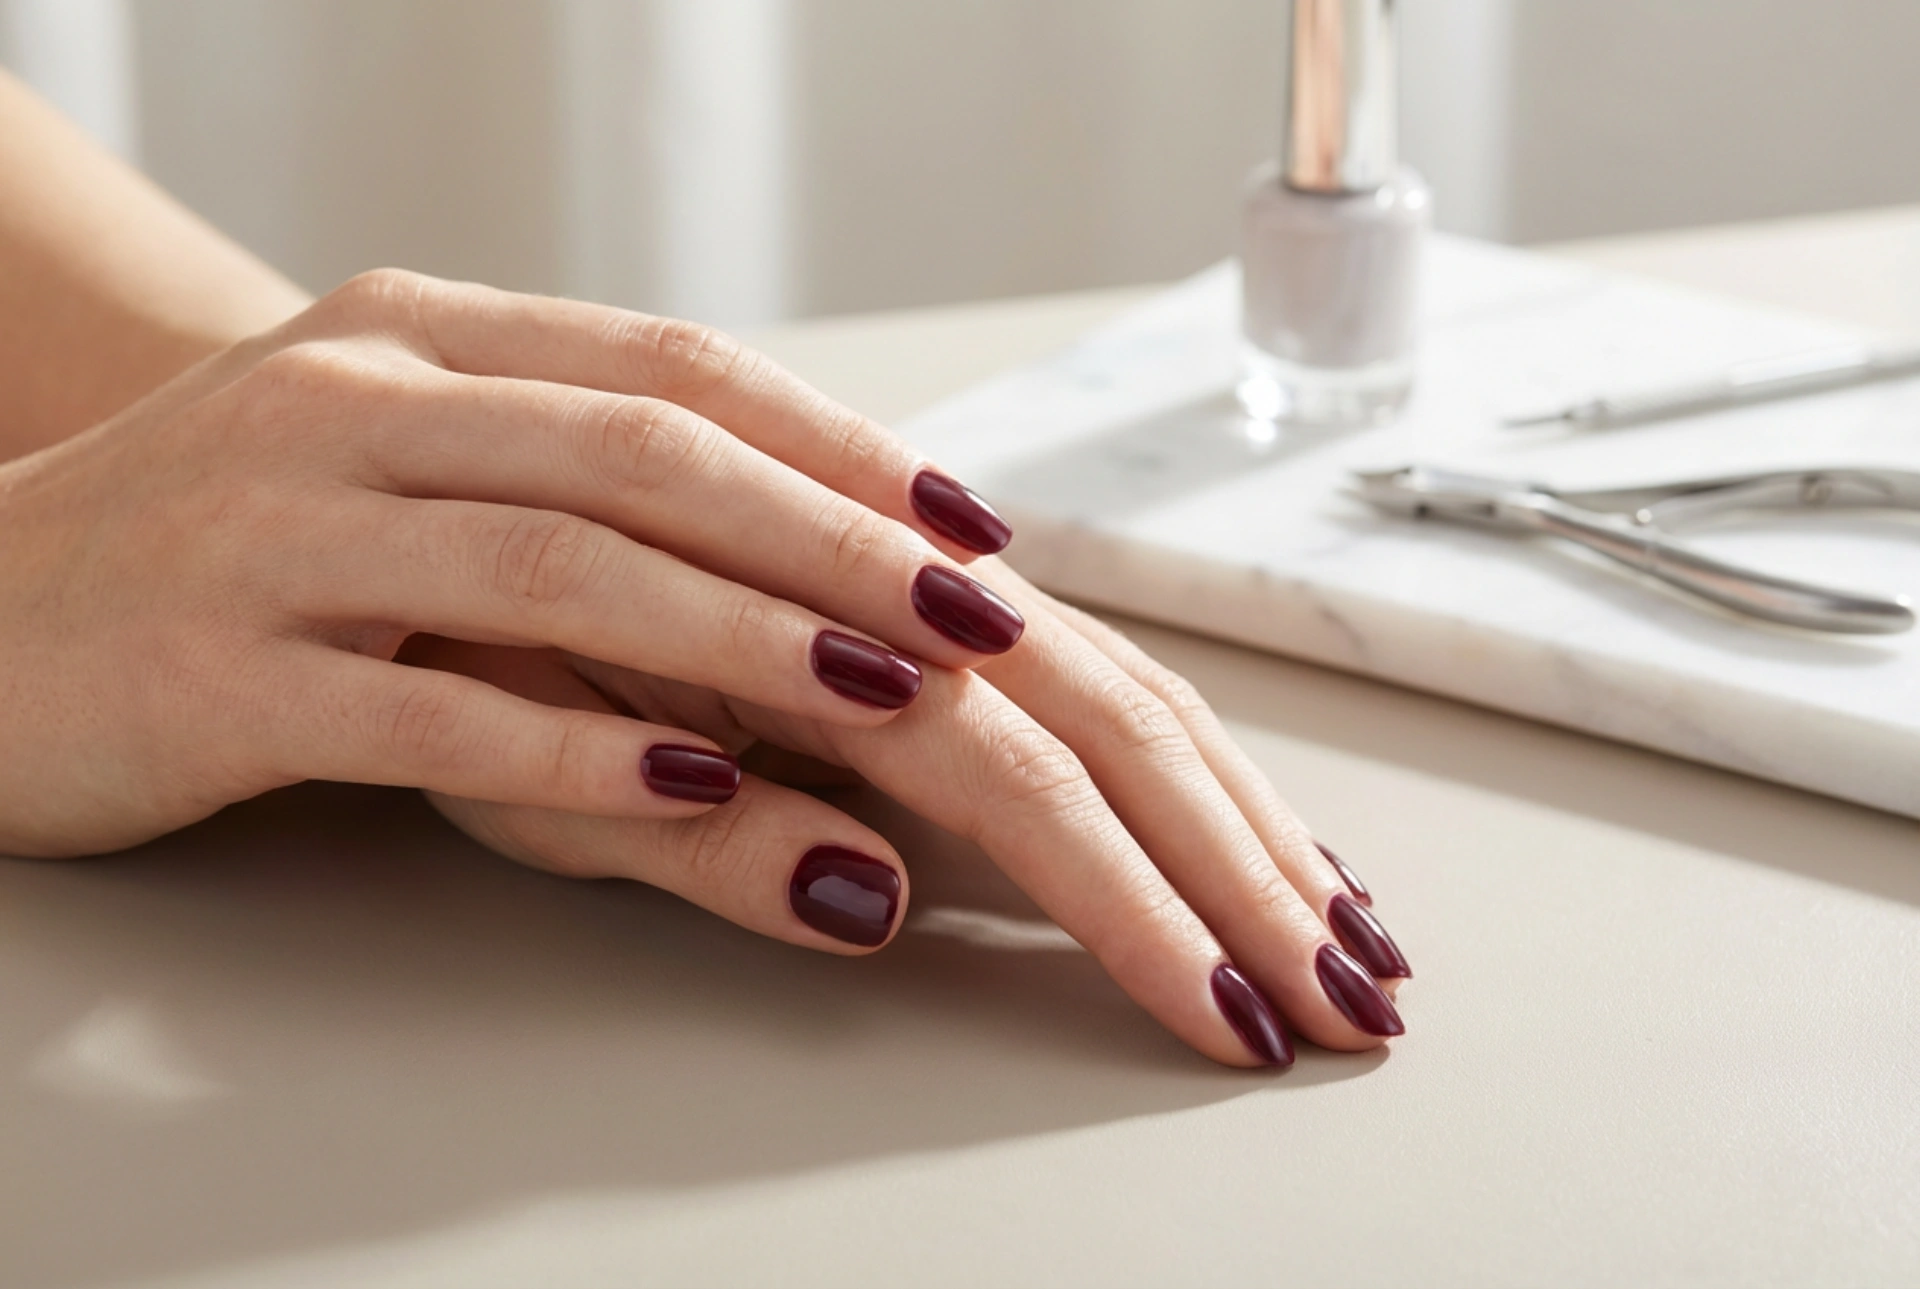


Deep, rich burgundy is a timeless choice for a manicure, exuding elegance and sophistication. It’s a versatile shade that complements any occasion. However, applying dark, highly pigmented gel polishes like burgundy can be intimidating. Common issues include streaks, patches, and difficulty achieving an even, opaque finish. The good news is that a flawless, salon-quality result is entirely achievable at home. The secret lies in meticulous preparation and a specific application technique focused on thin, controlled layers. This guide will walk you through the process step-by-step, ensuring your burgundy manicure is nothing short of perfect.
Nail Preparation: The Foundation for a Flawless Manicure
A perfect manicure starts long before the colour is applied. Proper preparation of the nail plate is the most critical step for both the appearance and longevity of your gel polish. Skipping this stage can lead to lifting, chipping, and an uneven surface.
- Shape and Clean: Begin by shaping your nails to your desired length and form using a nail file. Then, gently push back your cuticles with a wooden or metal pusher. If necessary, carefully trim any excess non-living tissue, but avoid cutting the live cuticle.
- Buff the Surface: Use a fine-grit buffer block to lightly remove the natural shine from the nail surface. This creates a slightly rough texture that helps the gel polish adhere better. The goal is to create a matte finish, not to thin the nail, so be very gentle.
- Dehydrate and Cleanse: After buffing, wipe each nail with a lint-free wipe soaked in a nail cleanser or dehydrator. This step removes any dust, oils, and moisture from the nail plate, creating the ideal canvas for your base coat. Avoid touching your nails after this step.
The Base Coat: Your Shield and Anchor
The base coat serves two essential purposes: it protects your natural nail from staining and acts as an anchor for the colour, ensuring maximum adhesion. Always use a base coat specifically designed for gel polish systems. Apply a very thin, even layer over the entire nail, from the cuticle area to the tip. Be careful not to let the product touch your skin or cuticles, as this can cause lifting. A key technique is to 'cap the free edge' by running the brush lightly along the tip of the nail. This seals the polish and helps prevent chipping. Cure the base coat under your LED or UV lamp according to the manufacturer's instructions.
Applying Burgundy Gel Polish: The Art of Thin Layers
This is where patience and precision pay off. The biggest mistake when applying dark colours is trying to achieve full coverage with one thick coat. This often results in improper curing, wrinkling, and a lumpy finish. The professional approach is to build the colour in two to three very thin layers.
The First Crucial Layer
Load your brush with a small amount of burgundy polish, wiping off the excess on the inside neck of the bottle. The first coat should be applied so thinly that it may appear semi-sheer or even a bit streaky. This is completely normal. Your goal here is not opacity, but to create a foundational map of colour. Focus on creating a clean line near the cuticle and along the side walls of the nail. Remember to cap the free edge. Once you are satisfied with the application, cure the layer fully under your lamp.
The Second Layer for Perfect Depth
The second coat is where the magic happens. Apply it with the same thin-layer principle, but you may use a fraction more product than the first coat. As you glide the brush over the cured first layer, you will notice the colour becoming deep, rich, and perfectly opaque. The first layer acts as a smooth guide, allowing the second to self-level beautifully. Again, ensure you get close to the cuticles without flooding them and cap the free edge. Cure this layer completely. For most high-quality burgundy gel polishes, two coats are sufficient. If you still see any slight transparency, you can apply a third, paper-thin coat, curing it in the same manner.
The Top Coat: Sealing the Deal with Shine
The final step is the top coat, which protects your colour from scratches, adds a brilliant shine, and ensures the durability of your manicure. Apply an even layer of gel top coat over the entire nail, making sure to cover all the burgundy polish. Just as with the base and colour coats, cap the free edge to seal everything in. Cure for the recommended time under your lamp. If you are using a traditional top coat that has a sticky or 'inhibition' layer after curing, use a lint-free wipe saturated with a special gel cleanser to wipe each nail clean. This will reveal the hard, glossy finish underneath. To finish, apply a drop of cuticle oil to the skin around your nails and massage it in to rehydrate the area.




