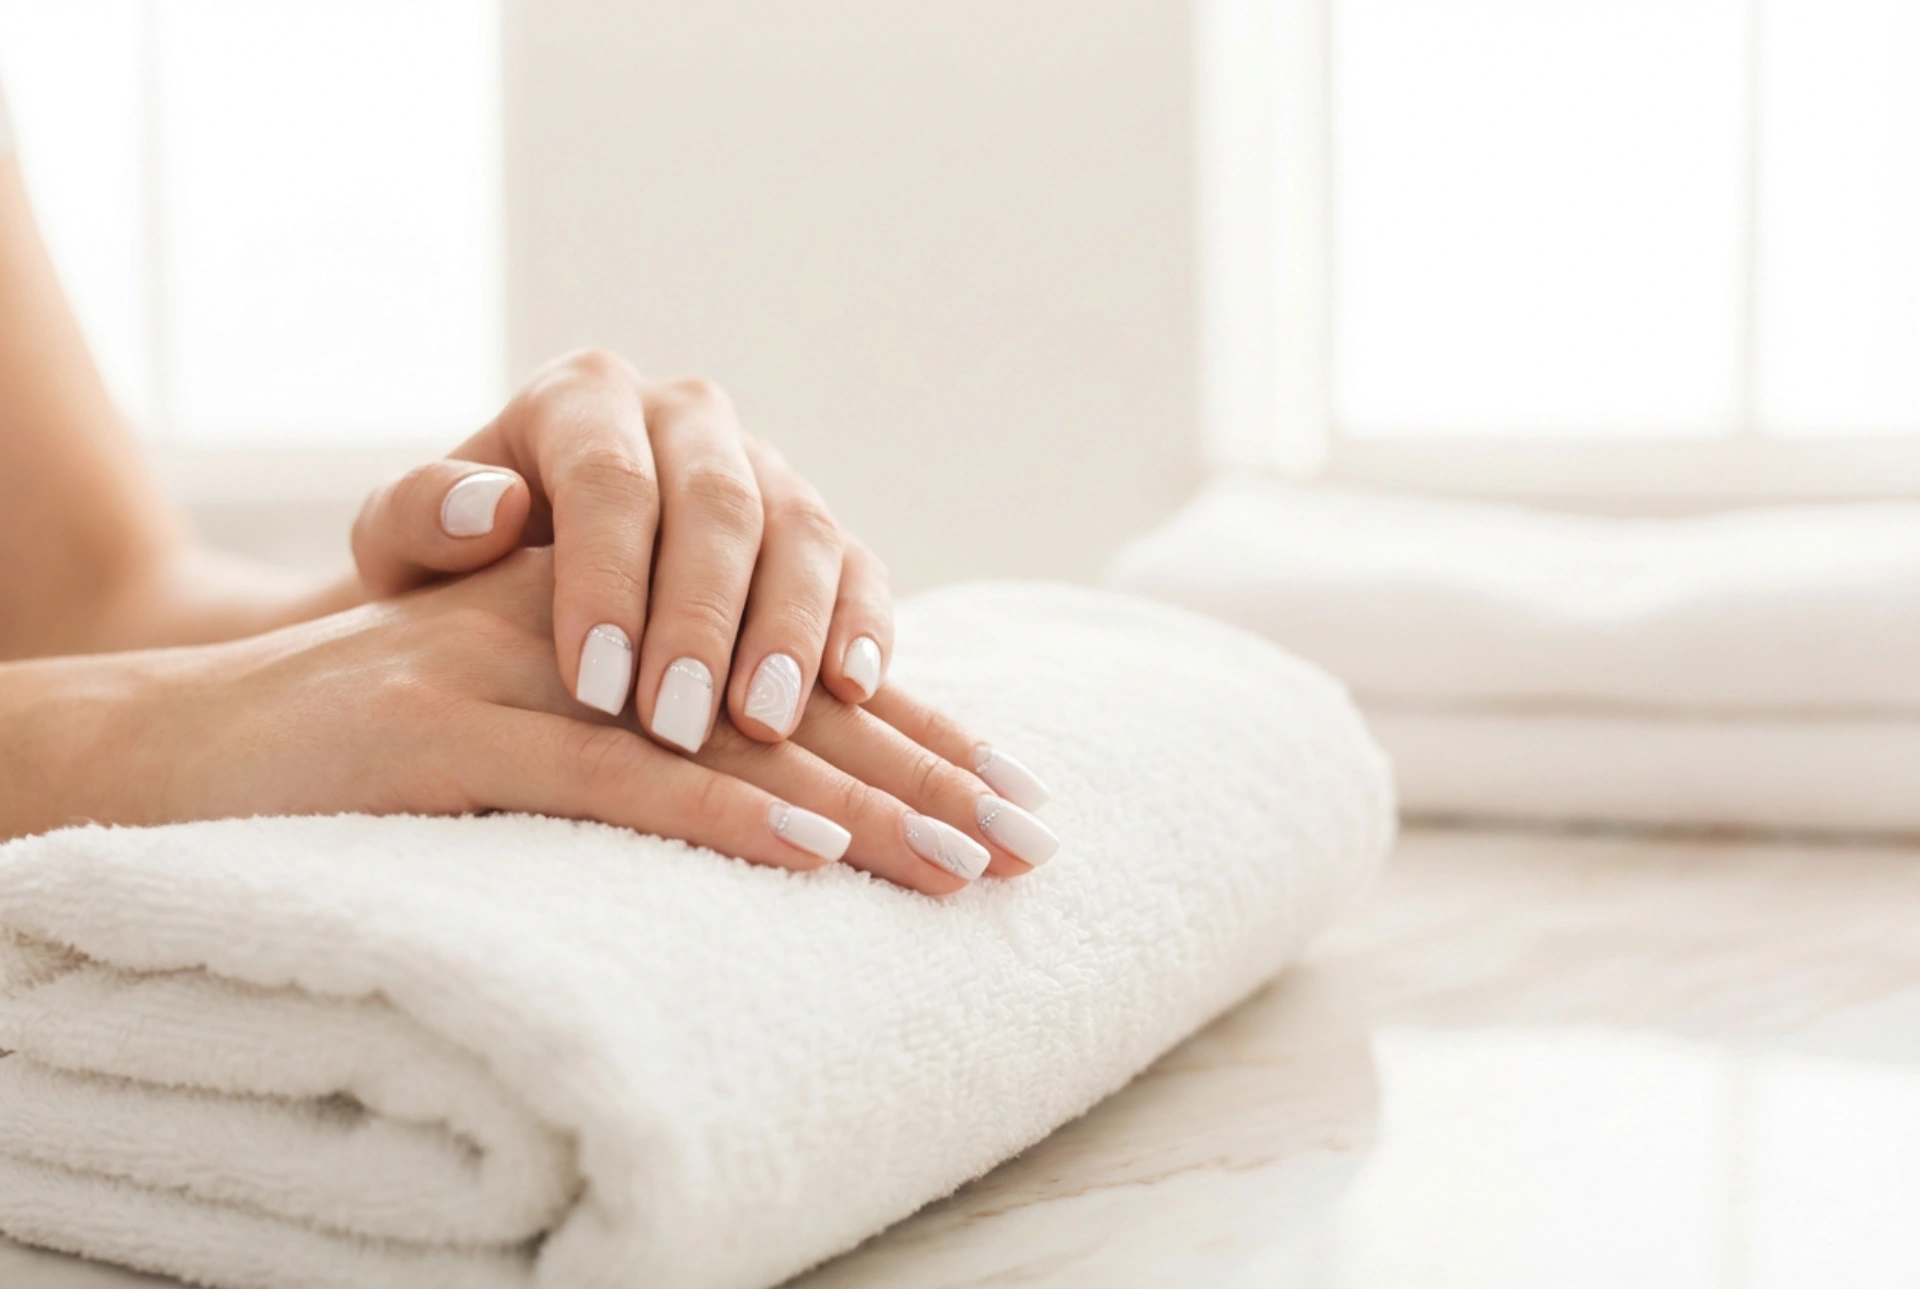


The combination of white and silver on nails creates an effect of timeless elegance and sophistication. This classic duo is incredibly versatile, suitable for everyday wear, formal events, and even festive occasions. A manicure in these shades can complement any outfit, adding a touch of refined grace. If you're looking to achieve this chic look at home, we have prepared three distinct methods for creating beautiful white and silver nail art, complete with step-by-step instructions.
Preparing Your Nails for a Flawless Manicure
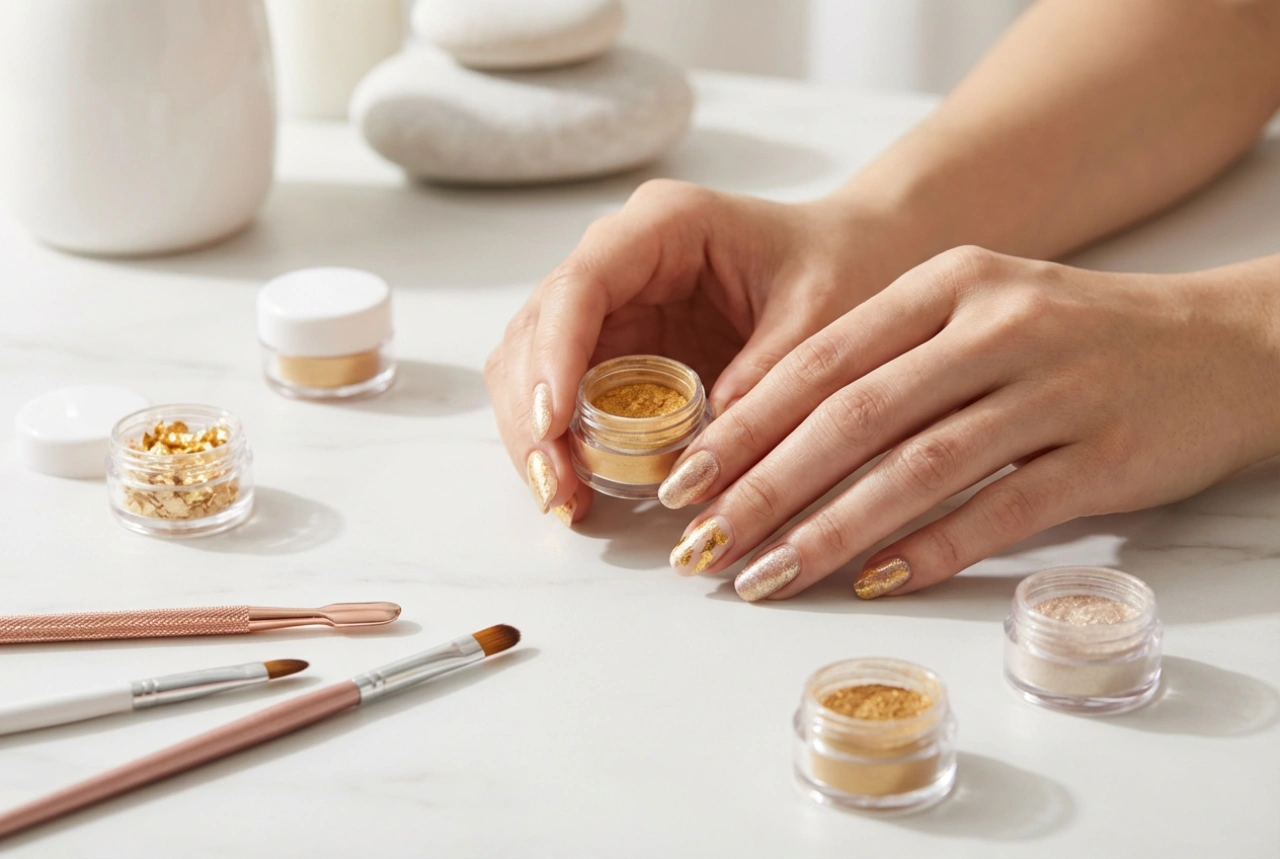
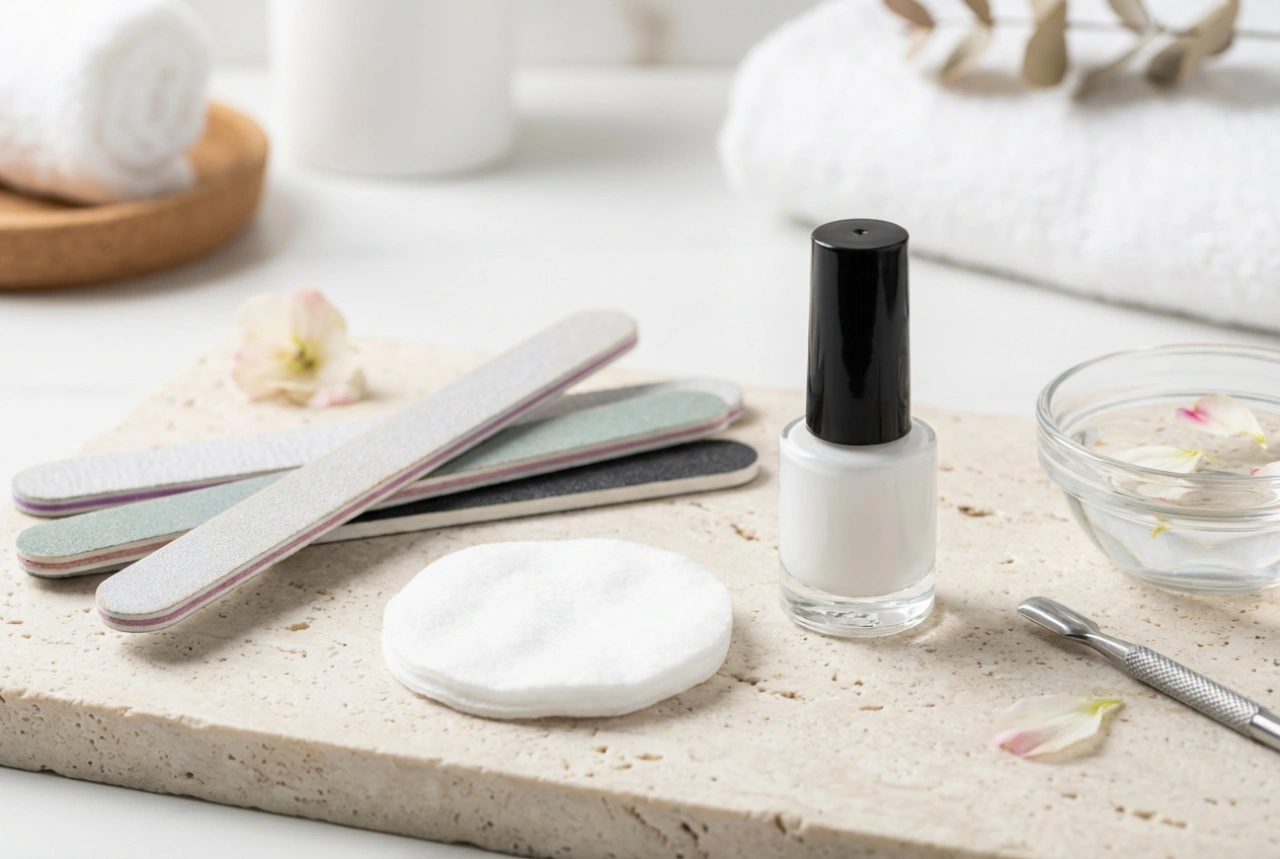
Before you begin painting, proper preparation is key to achieving a professional-looking and long-lasting result. A clean and smooth canvas will make the application process easier and help your design look its best. Follow these simple steps:
- Clean and Shape: Start by removing any old nail varnish with a gentle remover. Wash your hands, then file your nails to your desired shape, whether it's square, oval, or almond. Always file in one direction to prevent splitting.
- Cuticle Care: Gently push back your cuticles using a cuticle pusher or an orangewood stick. Avoid cutting them, as this can lead to irritation. You can soften them first with a specialised cuticle remover or by soaking your fingertips in warm water for a few minutes.
- Buff the Surface: Lightly buff the surface of your nails with a fine-grit buffer. This removes natural oils and creates a slightly rough texture, which helps the varnish adhere better.
- Apply a Base Coat: Never skip the base coat. It protects your natural nails from staining, especially with pigmented colours, and provides a smooth foundation for your nail varnish, extending the life of your manicure. Apply one thin layer and let it dry completely.
Three Elegant White and Silver Nail Designs
Once your nails are prepped, it's time to get creative. Here are three different approaches to the white and silver theme, ranging from classic to contemporary.
1. Classic French Manicure with a Silver Twist
This design is a modern take on an undying classic. The subtle silver line adds a touch of glamour without being overpowering. It's perfect for those who appreciate understated elegance.
- Step 1: After your base coat is dry, apply two thin coats of a sheer, natural-pink or beige nail varnish to the entire nail. Let each coat dry thoroughly.
- Step 2: Using an opaque white nail varnish, carefully paint the tips of your nails. You can do this freehand with the brush from the bottle, use a thin nail art brush for more control, or apply nail guides for a perfectly crisp line. Let it dry completely.
- Step 3: Take a very thin nail art brush and a silver nail varnish (or a silver striping polish). Draw a fine line just below the white tip, separating it from the pink base. This detail elevates the entire look.
- Step 4: Once the silver line is dry, seal your design with a high-shine top coat to protect the art and add a glossy finish.
2. Subtle Silver Glitter Gradient
A glitter gradient, or ombré, is a fantastic way to add sparkle in a sophisticated manner. It looks intricate but is surprisingly easy to achieve at home, especially with glitter varnish which is very forgiving.
- Step 1: Apply two coats of a solid, opaque white nail varnish over your base coat, allowing each layer to dry.
- Step 2: Take a silver glitter nail varnish. For a more controlled application, you can use a small piece of a makeup sponge. Apply a small amount of the glitter varnish to the edge of the sponge.
- Step 3: Gently dab the sponge onto the tip of your nail, concentrating most of the glitter there. As you move down towards the middle of the nail, use a lighter touch so the glitter becomes more sparse, creating a fading effect.
- Step 4: You can add a second layer of glitter at the very tip to intensify the gradient. Let it dry.
- Step 5: Apply a generous layer of a glossy top coat. Glitter can create a rough texture, so a good top coat will smooth it out and make it shine.
3. Minimalist Geometric Patterns
For a contemporary and chic look, minimalist geometric designs are an excellent choice. Clean lines and simple shapes in silver against a crisp white background look modern and stylish.
- Step 1: Paint your nails with two coats of opaque white nail varnish and let them dry completely. This is very important, as applying tape to wet varnish will ruin the base.
- Step 2: Use thin nail art striping tape to create your desired pattern. You could place a single vertical or horizontal line, create a chevron (V-shape) at the base or tip, or form small triangles. Press the tape down firmly to ensure clean lines.
- Step 3: Paint over the tape and the exposed part of the nail with your silver nail varnish.
- Step 4: While the silver varnish is still slightly wet, carefully peel off the striping tape to reveal a sharp, clean line. If you wait for it to dry completely, it might chip as you remove the tape.
- Step 5: Alternatively, if you have a steady hand, you can skip the tape and draw the lines and shapes directly onto the white base using a fine nail art brush and silver varnish.
- Step 6: Finish with a top coat to seal in your geometric masterpiece and add shine.
Finishing Touches for a Lasting Manicure
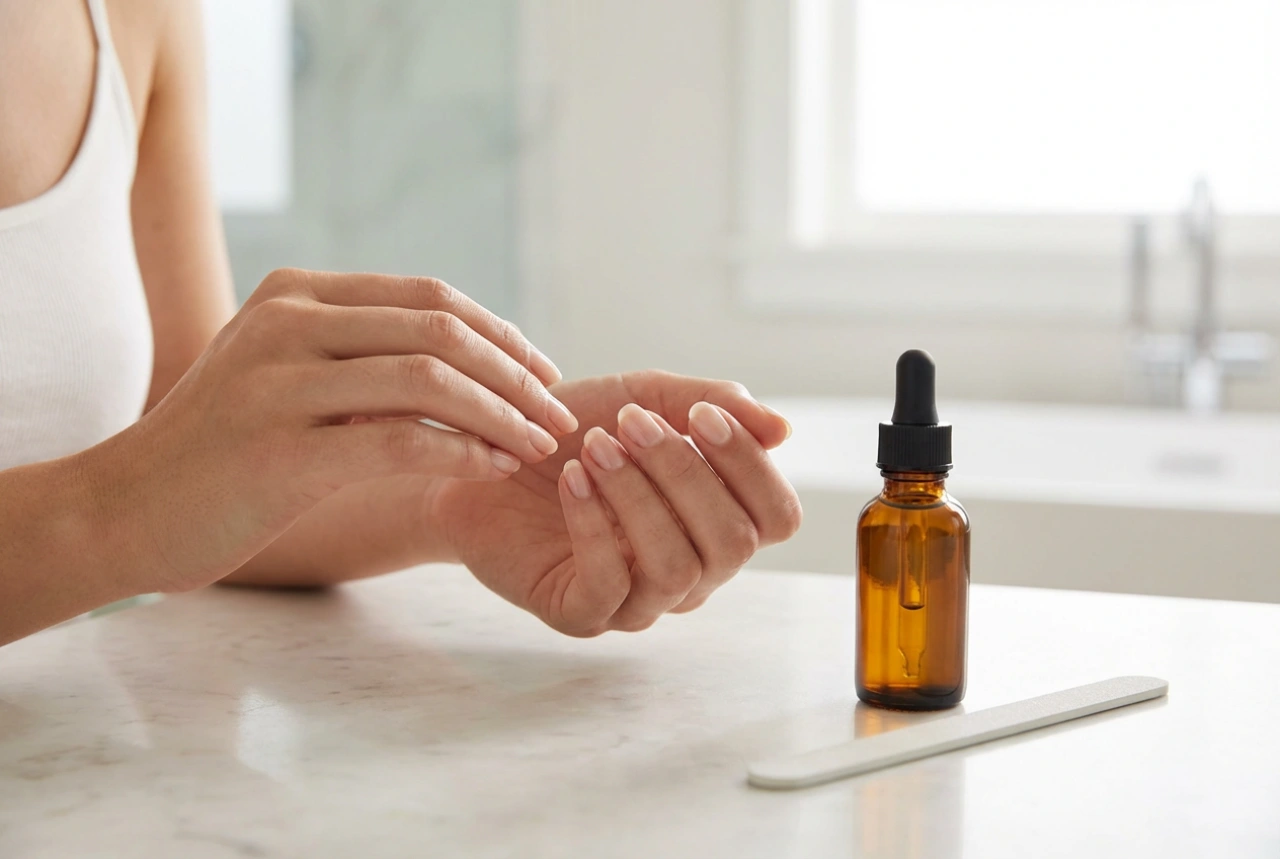
To ensure your beautiful white and silver nails last as long as possible, a few final steps are crucial. Always seal your design with a high-quality top coat. This not only adds a professional-looking gloss but also protects the nail art from chipping and fading. For extra longevity, you can even reapply the top coat every two to three days. Once your manicure is completely dry to the touch, apply a nourishing cuticle oil to hydrate the skin around your nails. This final touch makes your manicure look neat and well-cared-for.