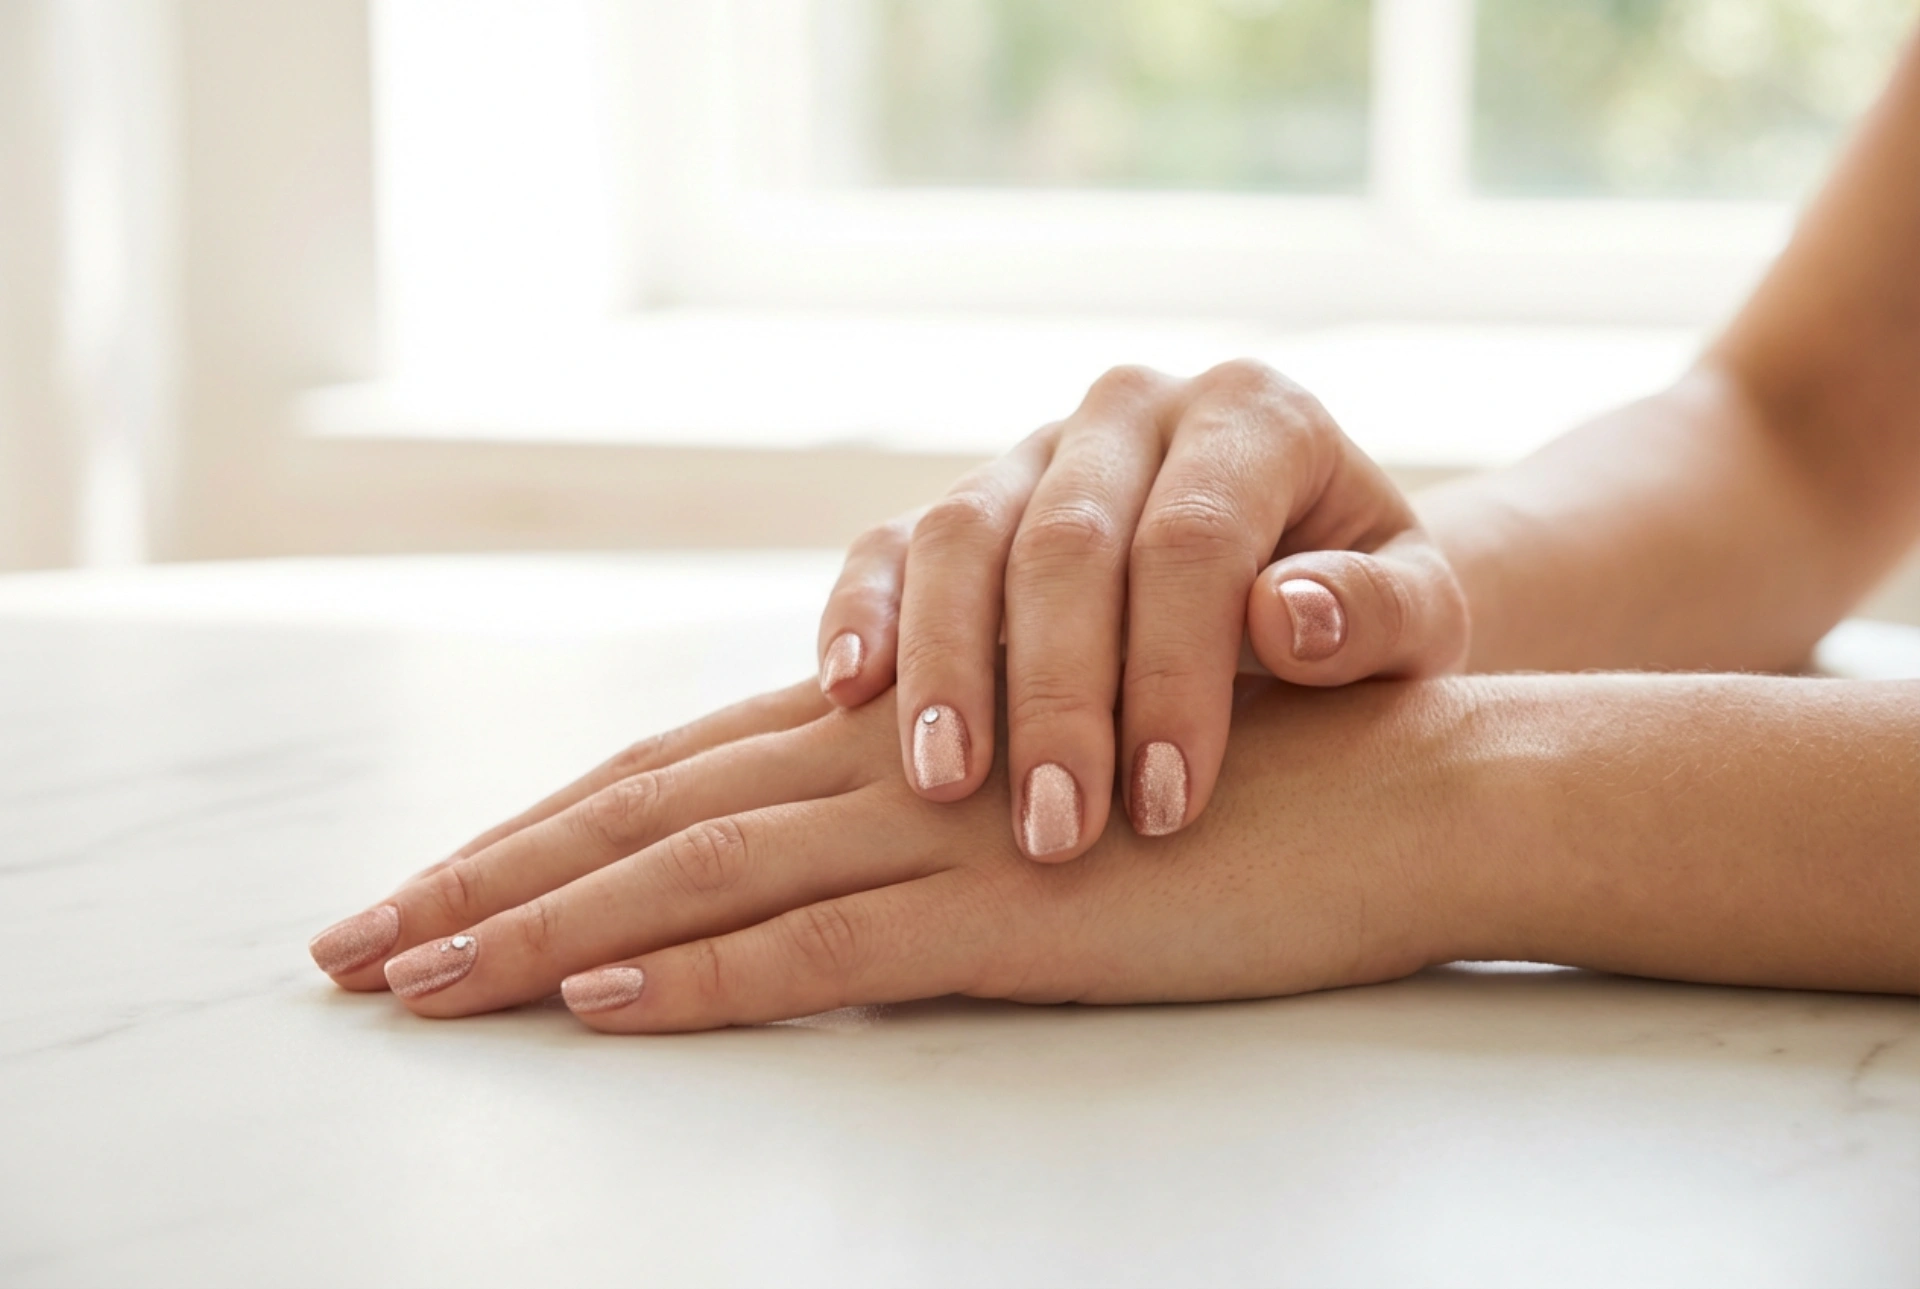


Rose gold is a shade that exudes sophistication and modern elegance. It's a versatile colour that complements various skin tones and outfits, making it a perfect choice for a refined manicure. Achieving a beautiful, delicate rose gold nail look at home is simpler than you might think. With a few basic tools and a steady hand, you can create a salon-quality finish with simple, tasteful decorations. This guide will walk you through the process, from nail preparation to the final glossy top coat.
Preparing Your Nails for a Perfect Manicure
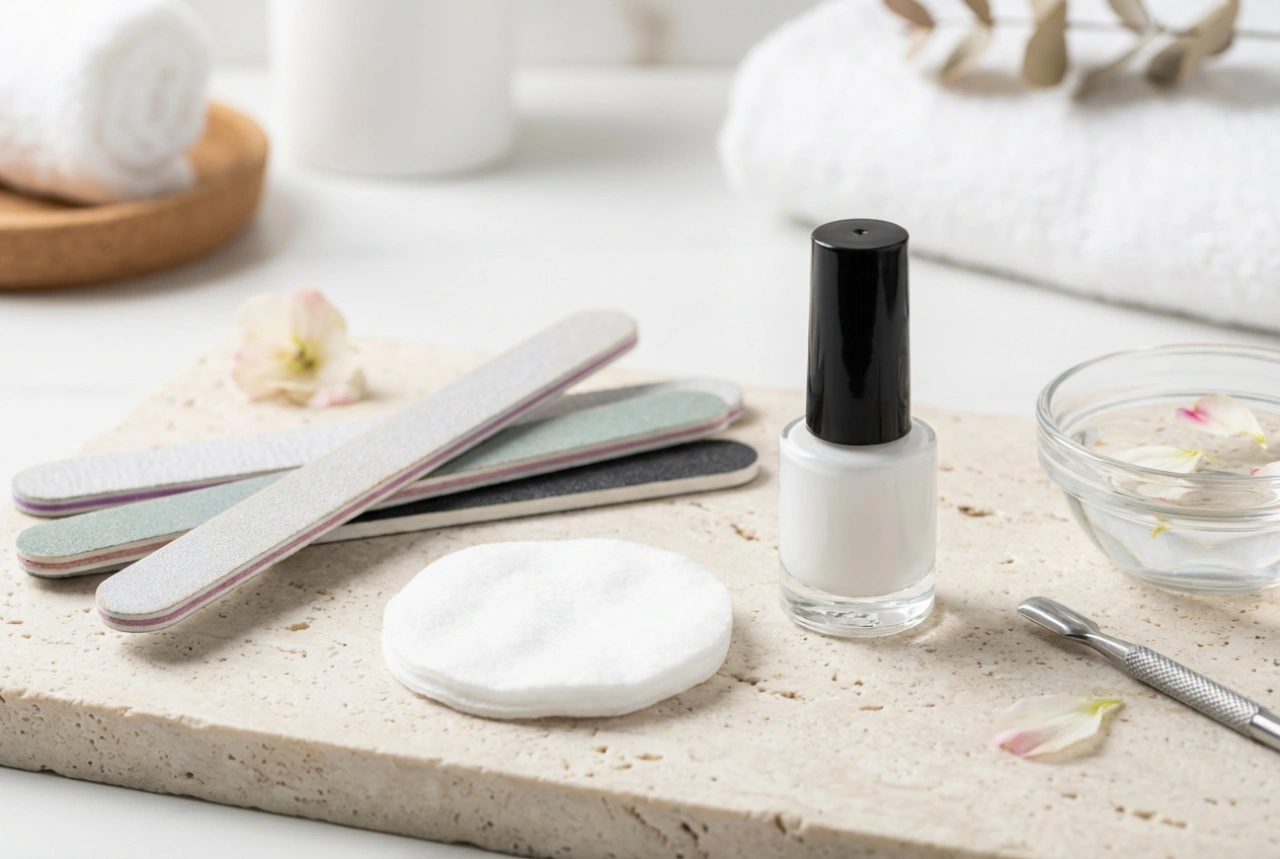
The foundation of any beautiful manicure is well-prepared nails. Starting with a clean and smooth canvas ensures that your polish will apply evenly and last longer. Take a few moments to give your hands and nails the attention they deserve.
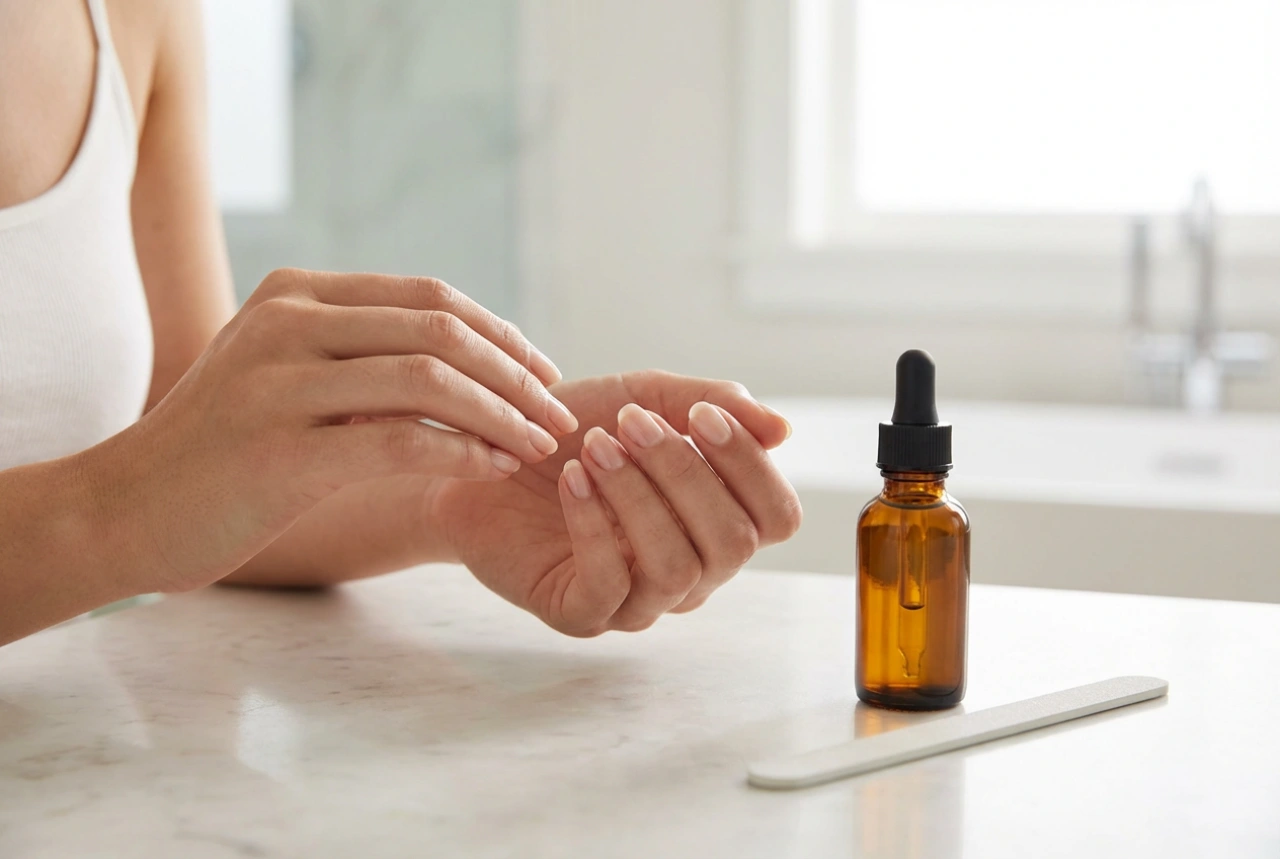
Nail and Cuticle Care
Begin by removing any old nail polish with a gentle remover. Wash your hands and nails thoroughly with soap and water. Next, shape your nails. Use a nail file to gently shape the nails into your desired form, whether it's square, round, or almond. Always file in one direction to prevent splitting. After filing, you may want to lightly buff the surface of your nails. This smooths out any ridges and creates a perfect base for the polish. Be gentle to avoid thinning the nail. Finally, address your cuticles. Apply a cuticle softener and gently push them back with a cuticle stick. It's best to avoid cutting cuticles at home to prevent any potential issues.
The Base: Achieving the Perfect Rose Gold Hue
With your nails prepped, it's time to apply the colour. The key to a professional-looking manicure is applying thin, even layers. Rushing this step can lead to a thick, bubbly finish that is prone to chipping.
- Step 1: Apply a Base Coat. Never skip the base coat. It protects your natural nails from staining and helps the colour polish adhere better, extending the life of your manicure. Apply one thin layer and let it dry completely.
- Step 2: Apply the Rose Gold Polish. Shake the polish bottle well to ensure the metallic pigments are evenly mixed. Wipe excess polish from one side of the brush on the bottle's neck. Apply the first thin coat of rose gold polish, starting from the base of the nail and moving towards the tip. Use three strokes: one down the middle, followed by one on each side. Let this layer dry for a few minutes.
- Step 3: Apply the Second Coat. A second coat will provide full, opaque coverage and bring out the true richness of the rose gold colour. Apply it just as you did the first, using thin, even strokes. Clean up any mistakes on the skin around your nail with a small brush or cotton bud dipped in nail polish remover. Allow the second coat to dry thoroughly before moving on to decorations.
Simple Decoration Ideas for Rose Gold Nails
Rose gold is stunning on its own, but a simple decorative accent can elevate your manicure even further. Here are a few easy ideas that you can create at home.
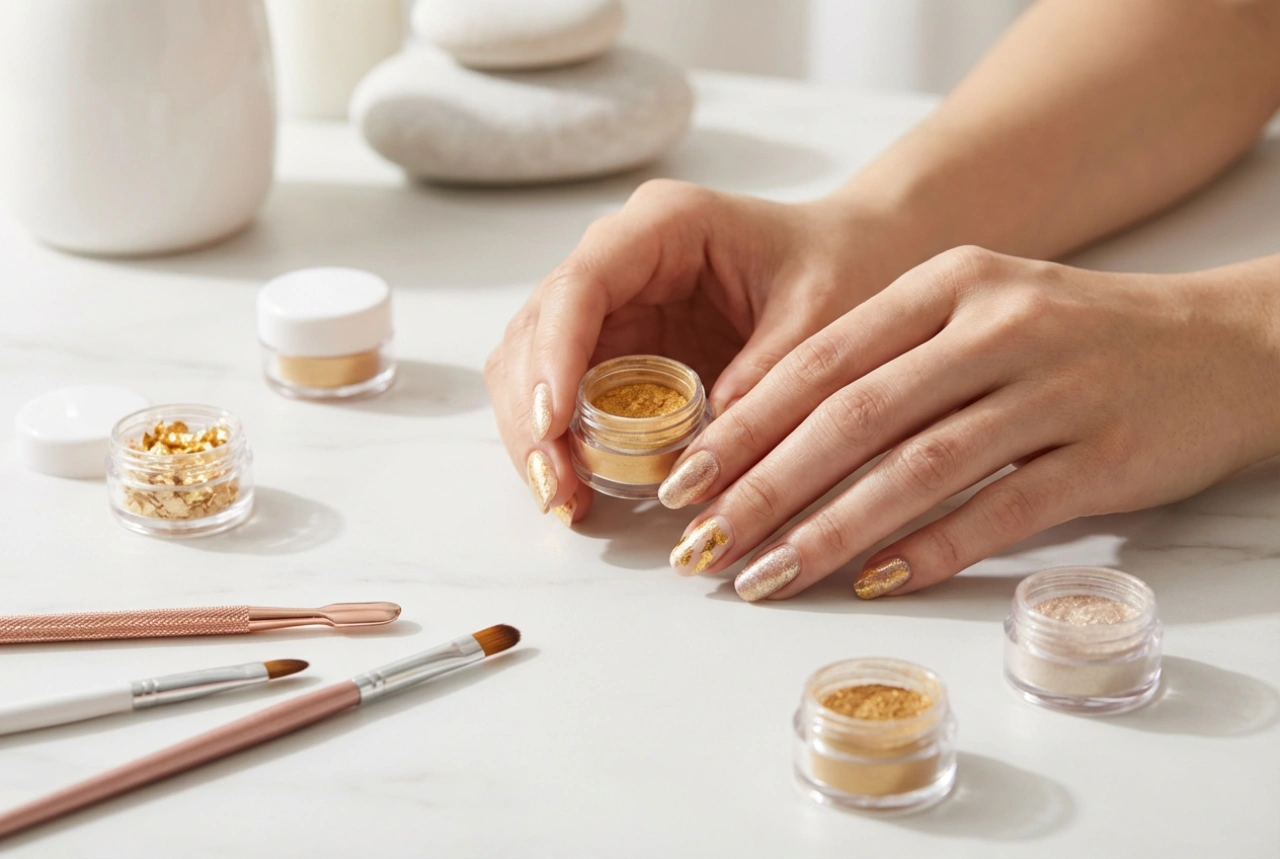
The Subtle Glitter Accent
An accent nail is a simple yet effective way to add a touch of sparkle. Choose one nail on each hand, typically the ring finger, to be your accent. After your two coats of rose gold polish have dried, apply a thin layer of a fine glitter polish over the chosen nail. You could use a matching rose gold glitter, a silver glitter for contrast, or a holographic glitter for a multi-dimensional effect. One or two coats of glitter should be sufficient.
Minimalist Lines and Dots
For a chic, modern look, use a contrasting polish colour like white, black, or a deep burgundy to create simple geometric designs. You will need a very thin nail art brush or a dotting tool. You can create a simple vertical line down the centre of the nail, a few small dots at the base of the nail, or a delicate horizontal stripe across the tip. The key is to keep the design minimal and clean.
The French Tip Twist
Give the classic French manicure a contemporary update. Instead of the traditional white tip, use a different colour. You could have a neutral base with a rose gold tip for a subtle look. Alternatively, use your rose gold polish as the base for the entire nail and paint a very thin tip in a contrasting colour like white or a darker metallic shade. This creates a sophisticated and unexpected finish.
Sealing Your Design for a Long-Lasting Finish
The final and most crucial step is applying a top coat. This will protect your polish and any nail art from chipping, add a beautiful high-gloss shine, and help your manicure last for days. Apply one even layer of a quick-drying top coat over all your nails, making sure to 'cap' the free edge of each nail tip by running the brush along it. This seals the polish and provides extra protection against wear and tear. To maintain your manicure, you can reapply the top coat every two to three days. Also, remember to wear gloves when doing household chores to protect your beautiful new nails.