


The trend for subtle, elegant manicures that enhance the natural beauty of the nails continues to gain popularity. Among the most desired styles is the 'milky look,' which uses semi-transparent gel polish to create a delicate, ethereal effect. This manicure is the essence of class and minimalism, giving the hands a well-groomed and sophisticated appearance. It’s a universal choice that works for any occasion, from everyday wear to special events. Discover how to achieve this flawless, milky finish on your nails in the comfort of your own home.
What are Milky Nails?
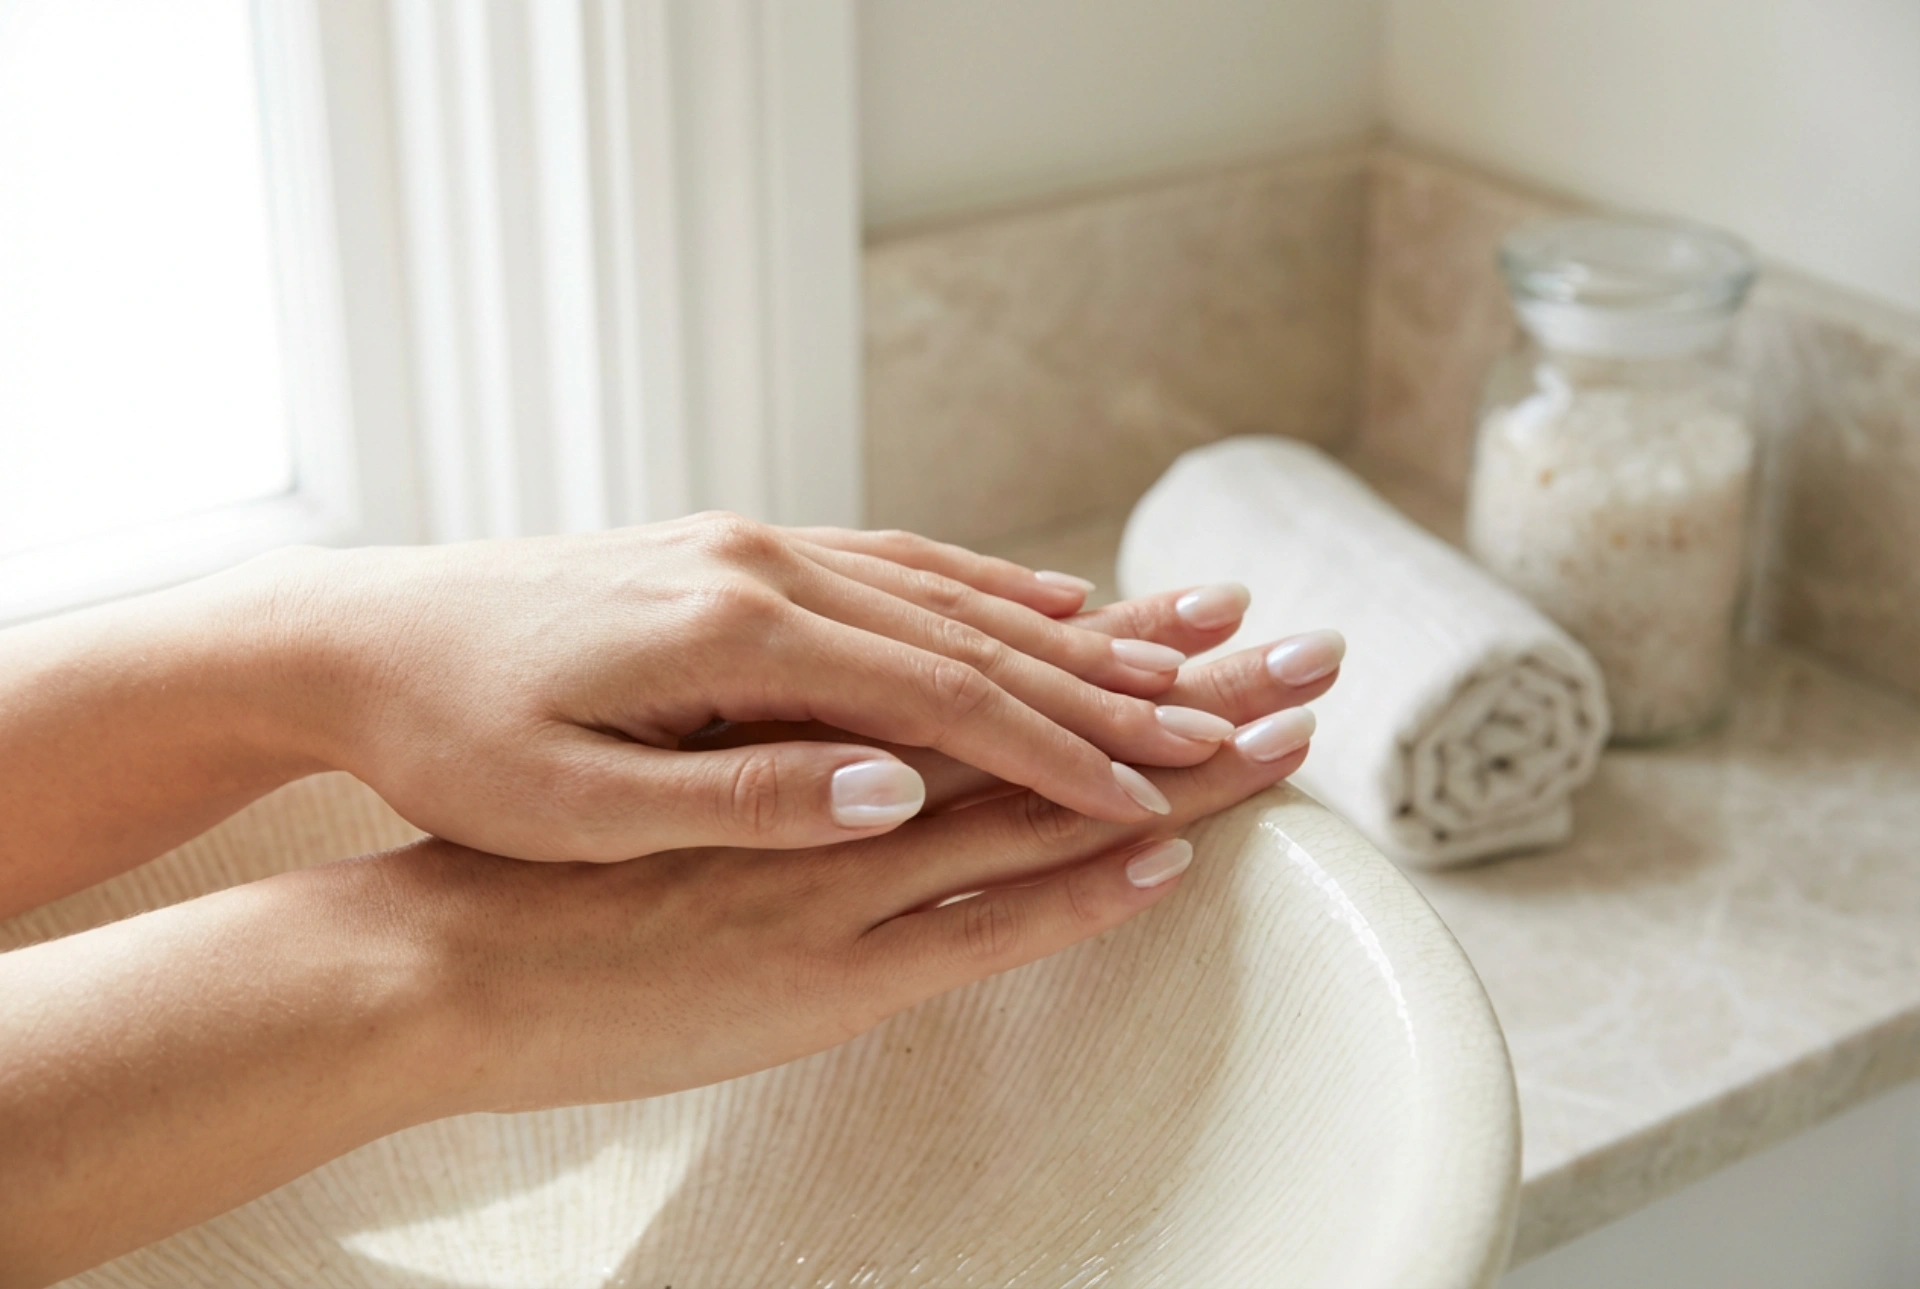
Milky nails are a type of manicure characterised by a semi-transparent, milky-white or very pale pink finish. The effect resembles a drop of milk mixed with a clear base, creating a soft, cloudy look that doesn't fully cover the natural nail plate but gently veils it. This subtlety is the key to its charm. Unlike a solid white manicure, the milky look is softer and more natural, making the nails appear healthy, clean, and well-cared-for. It’s a style that beautifully complements any skin tone and nail shape, subtly elongating the fingers and adding a touch of quiet luxury.
Preparing the Nails for a Flawless Manicure
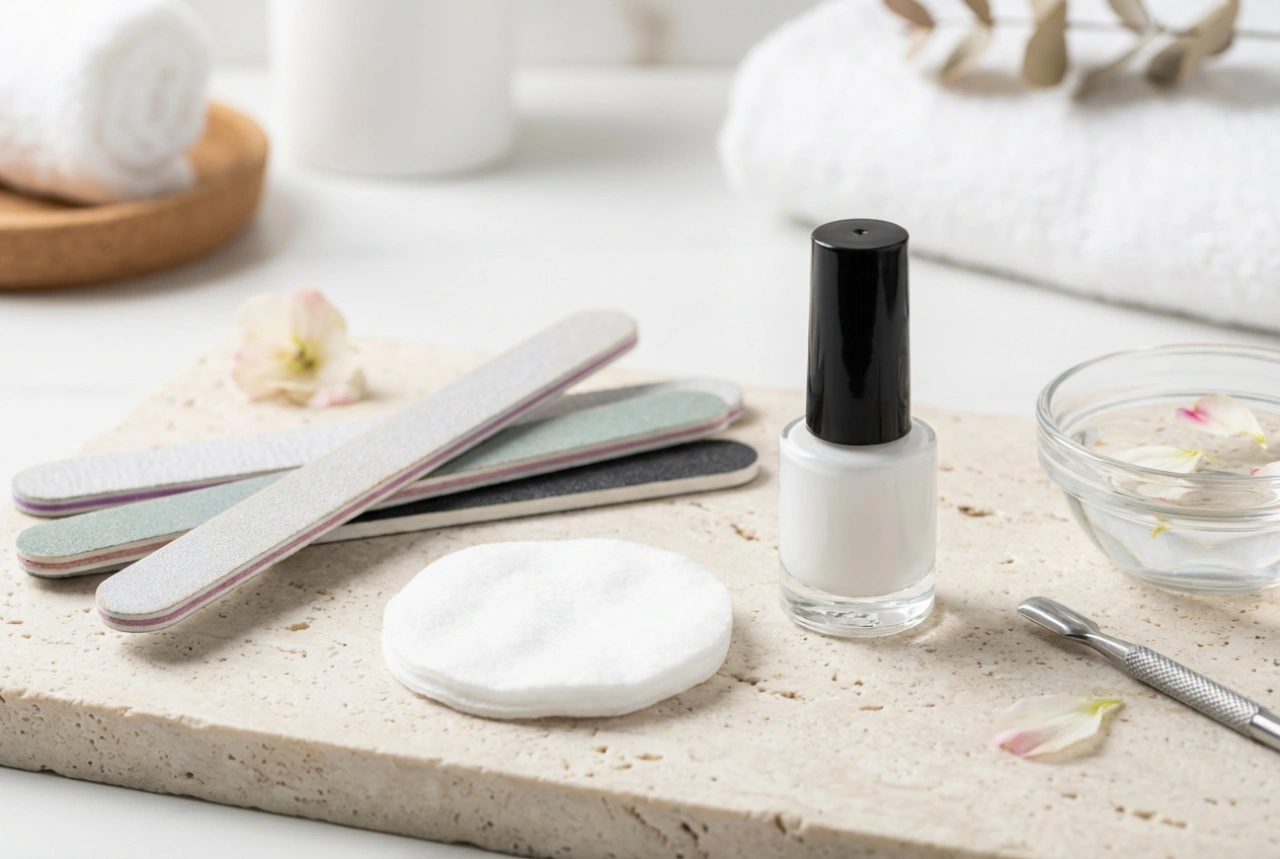
Proper preparation is the foundation of any long-lasting and beautiful gel manicure. Before you reach for the milky polish, dedicate some time to getting your nails in perfect shape. This will ensure better adhesion of the products and a professional-looking final result.
Step 1: Cleaning and Shaping
Start by removing any old polish. Next, gently push back your cuticles using a wooden stick or a cuticle pusher. If necessary, you can carefully trim any excess, but be gentle to avoid irritation. Then, file your nails to your desired shape. Oval or soft almond shapes work particularly well with the milky look, as they enhance its elegant character. Make sure all nails are of a uniform length and shape.
Step 2: Buffing and Cleansing
Once your nails are shaped, use a fine-grit buffer to gently buff the entire surface of the nail plate. This removes the natural shine and creates a slightly rougher texture for the gel polish to adhere to. The goal is to create a matte surface, not to thin the nail. After buffing, wipe each nail with a lint-free pad soaked in a nail cleaner or dehydrator. This step removes any dust and oils, which is crucial for preventing the polish from lifting.
Achieving the Milky Look: A Step-by-Step Guide
With your nails perfectly prepared, you're ready to create the milky manicure. The key to this look is applying thin, even layers to build up the delicate, semi-sheer colour.
Step 1: Apply the Base Coat
Apply a thin layer of a gel base coat to each nail, making sure to cover the entire surface, including capping the free edge. The base coat protects your natural nail and provides a sticky foundation for the colour to grab onto. Cure the base coat under your UV/LED lamp according to the product's instructions (typically 30-60 seconds).
Step 2: Apply the Semi-Transparent Milky Polish
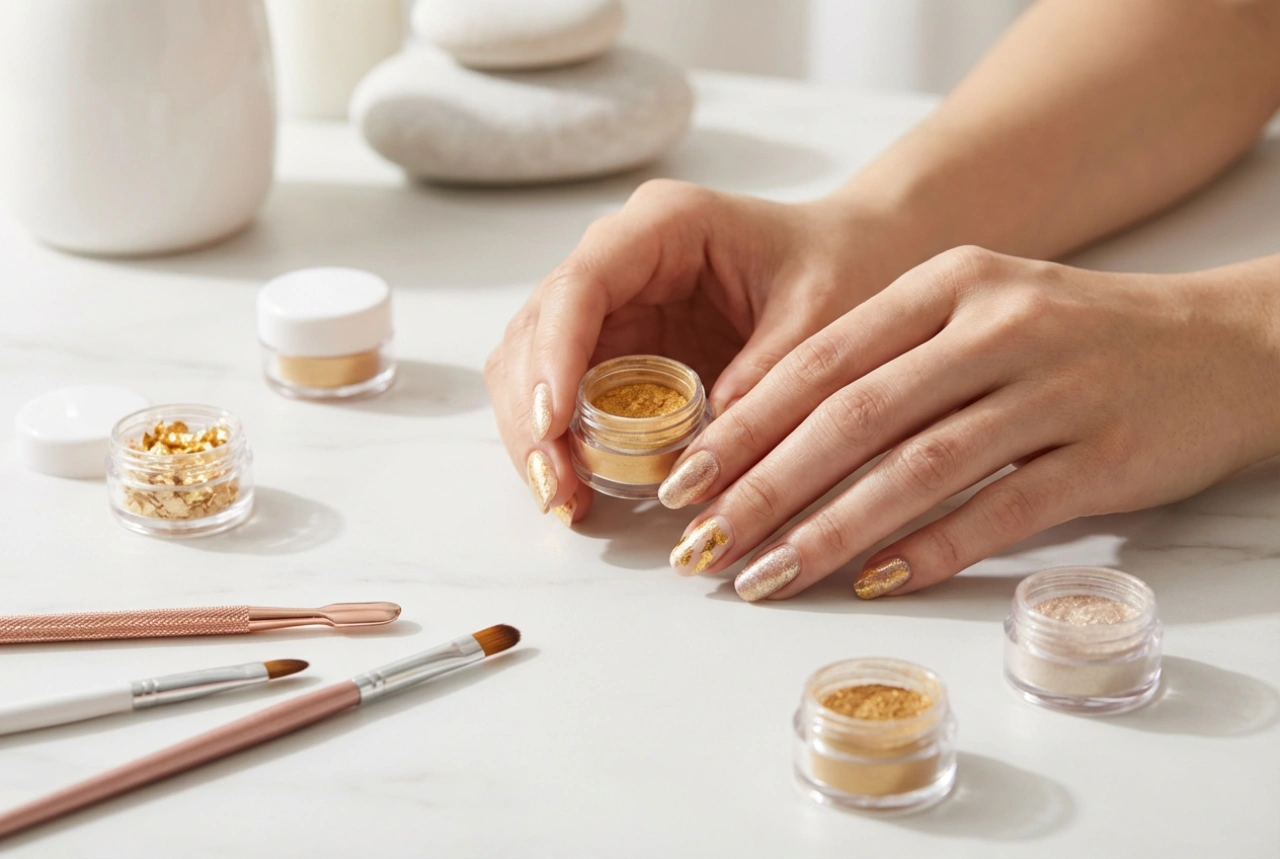
Now for the main event. Shake your semi-transparent milky gel polish bottle well. Apply a very thin, even coat of the colour to each nail. Don't worry if it looks very sheer – that's the point! The beauty of this look is built in layers. Cure this first layer under the lamp. For a more noticeable milky effect, apply a second thin coat in the same way and cure again. Some may even opt for a third coat for a slightly more opaque, but still translucent, finish. Remember that thin layers are essential to avoid pooling in the cuticles and to ensure proper curing.
Step 3: Apply the Top Coat
To seal your beautiful colour and give it a high-gloss shine, apply a layer of gel top coat. Again, make sure the layer is thin and that you cap the free edge of the nail. This will protect your manicure from chipping and keep it looking fresh. Cure the top coat under the lamp for the recommended time. Some top coats are 'no-wipe,' while others leave a sticky inhibition layer.
Step 4: Final Touches
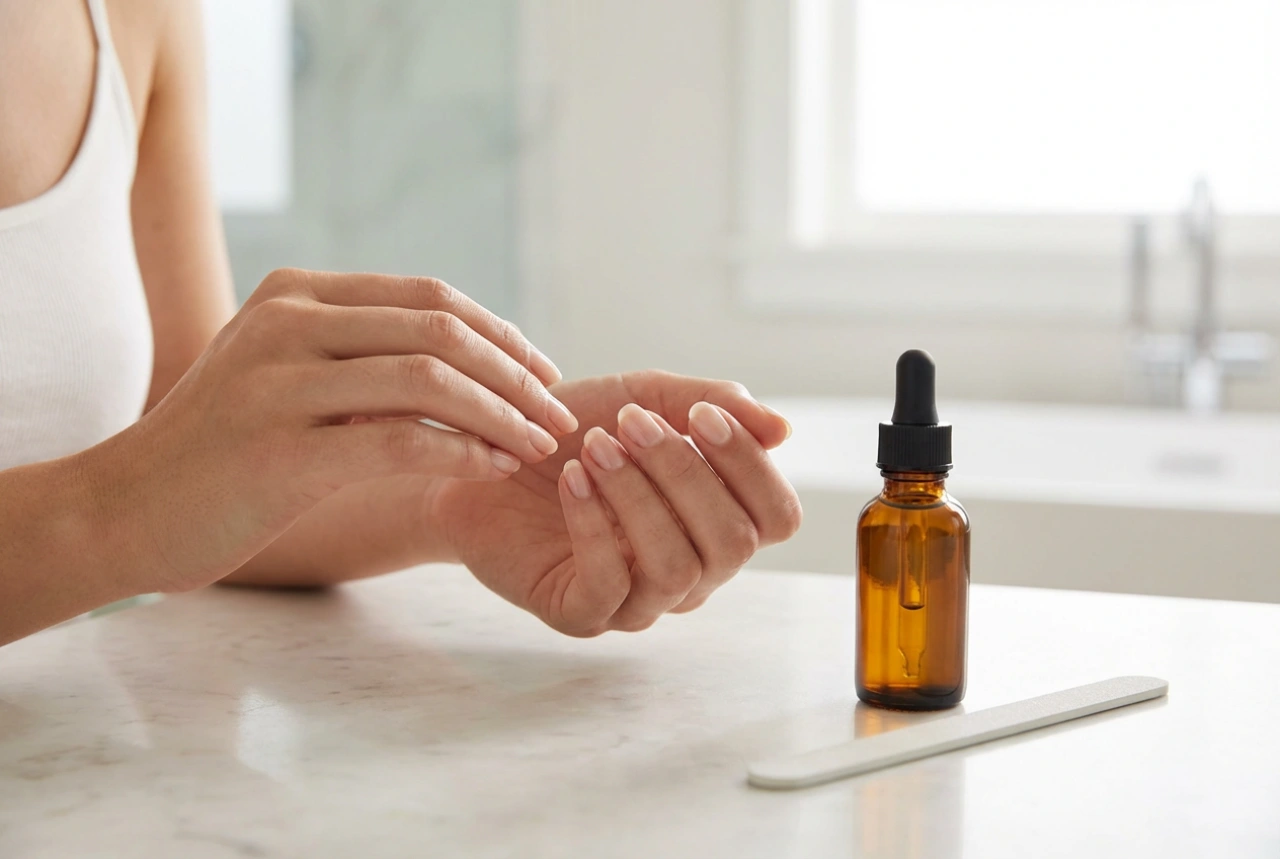
If your top coat left a sticky residue, use a lint-free pad soaked in a gel cleanser to wipe each nail clean. This will reveal the brilliant shine. To finish, apply a drop of cuticle oil to the skin around each nail and gently massage it in. This will rehydrate the skin after the manicure process and give your hands a polished, salon-fresh look.