


The combination of black and red on nails creates a look of timeless elegance and bold sophistication. This classic pairing can be adapted to suit any style, from subtle geometric patterns to dramatic, seamless colour transitions. Whether you are aiming for a refined aesthetic for a special occasion or a powerful statement for everyday wear, mastering the art of black and red nail design can elevate your manicure. With the right techniques and a little creativity, you can achieve a polished, artistic finish at home.
The Enduring Allure of a Black and Red Palette
Few colour combinations are as iconic as black and red. In the world of beauty and fashion, this duo conveys confidence, passion, and style. Red is often associated with energy and glamour, while black provides a grounding element of mystery and sophistication. When brought together on a manicure, they create a visual contrast that is both striking and harmonious. This versatility allows for endless creativity, making it a favourite choice for nail art enthusiasts. It can be adapted for any nail length or shape, from short and square to long and almond, always delivering a chic and impactful result.
Mastering Key Black and Red Nail Art Techniques
Achieving a professional-looking black and red manicure at home is possible with a few key techniques. Depending on the desired effect, you can choose from simple colour blocking to more intricate gradient effects. It's best to work with nail polishes that have good opacity to ensure the colours appear vibrant and true.
Classic Colour Blocking and Geometric Designs
Colour blocking involves creating distinct sections of solid colour on the nail. This technique is perfect for modern, graphic looks. To achieve clean, sharp lines, you can use nail art tape or a fine-tipped brush. Popular designs include:
- Half-and-Half: Paint one vertical or horizontal half of the nail in red and the other in black.
- Diagonal Lines: A diagonal split across the nail creates a dynamic and interesting look.
- Geometric Shapes: Use tape to section off triangles, squares, or other shapes near the cuticle or tip, filling them in with the contrasting colour.
- A Modern French Manicure: Instead of a classic white tip, use black on a red base or vice-versa for a bold twist on a traditional style.
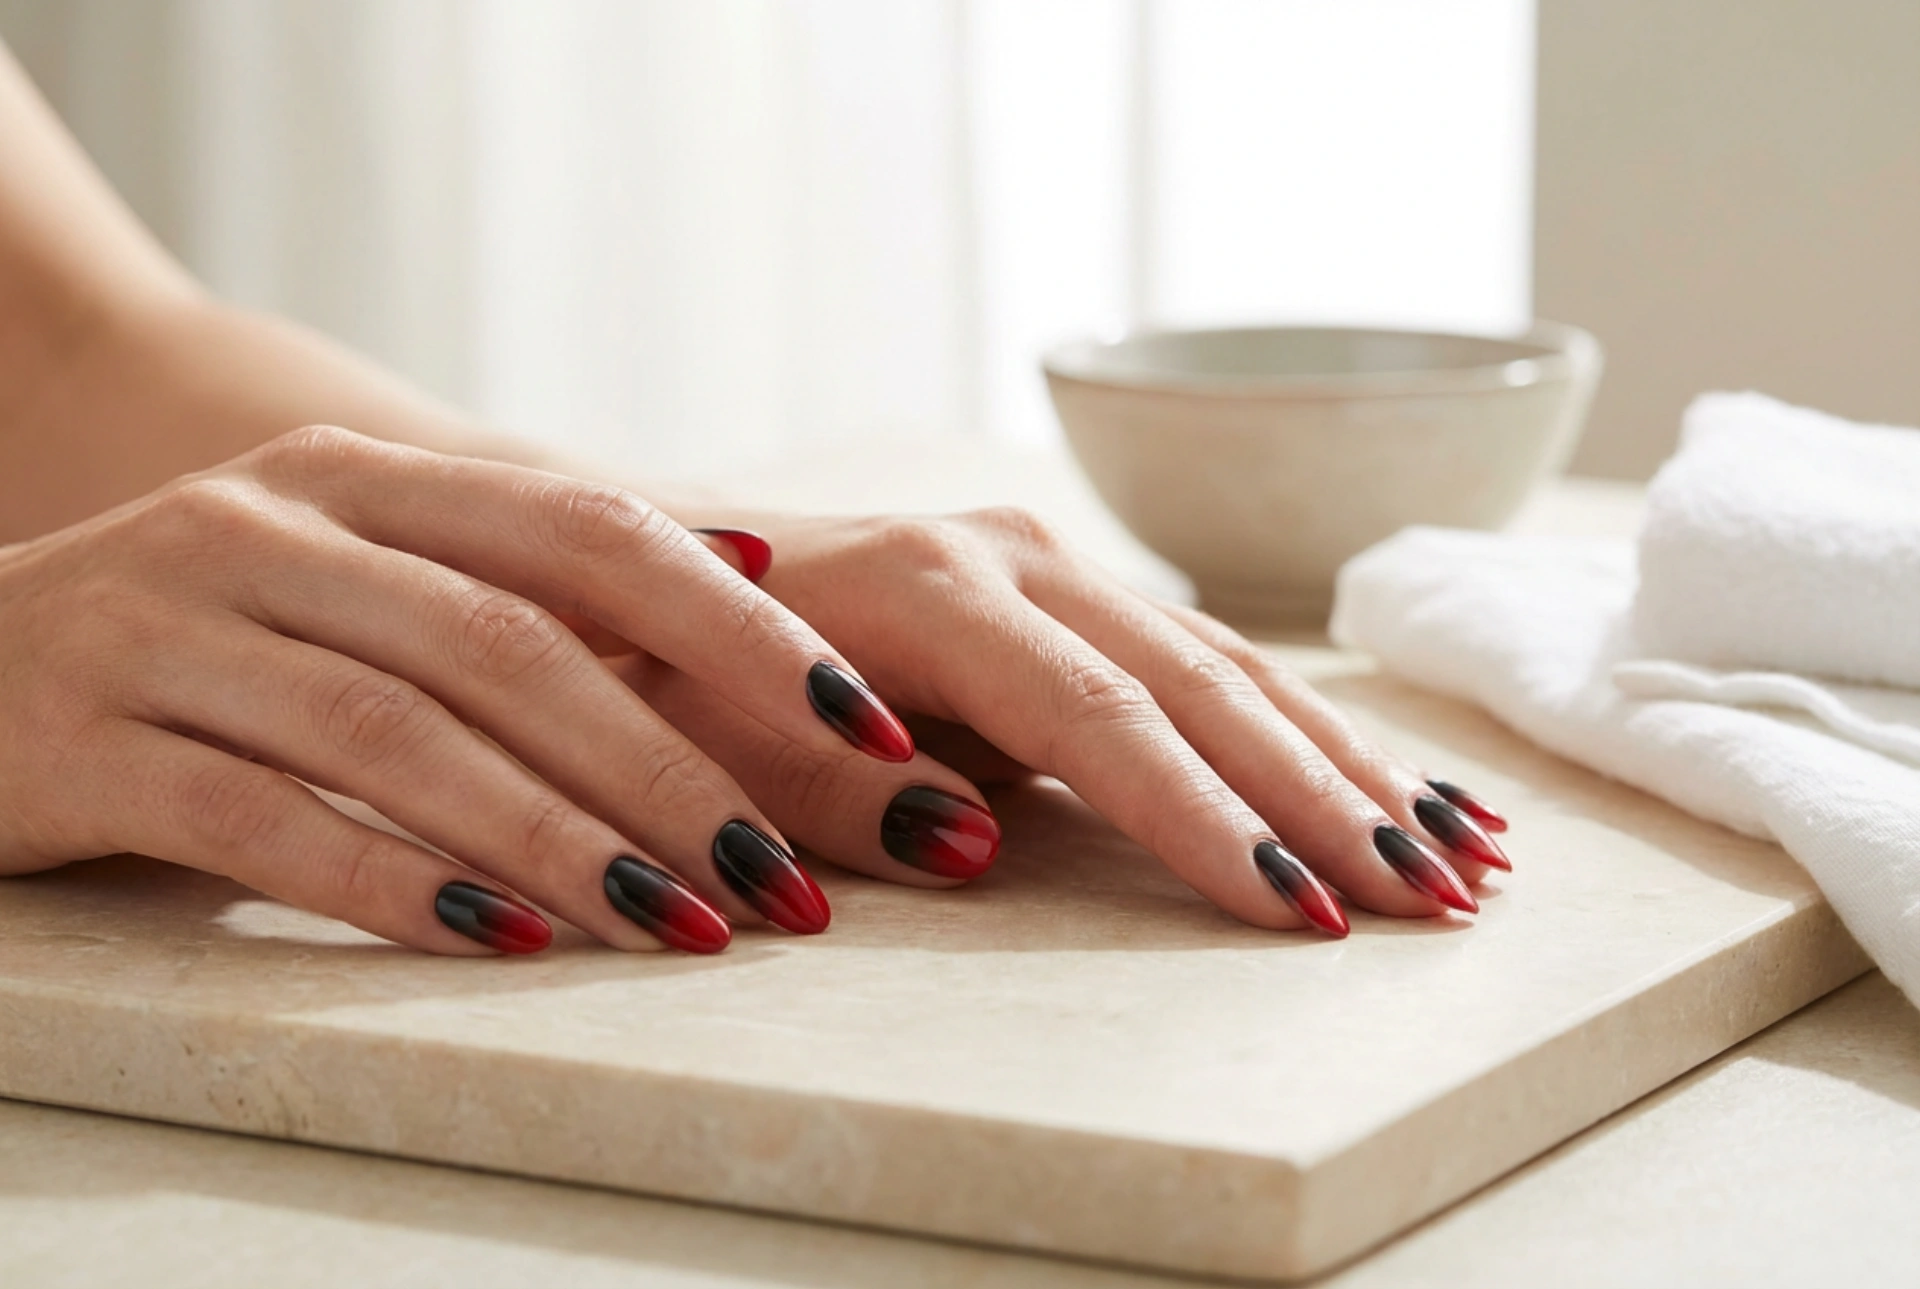
Creating a Seamless Ombré Effect
An ombré, or gradient, manicure features a smooth transition between two colours. The black and red ombré is particularly dramatic and beautiful. The most common method for creating this effect at home involves a cosmetic sponge.
- Begin by applying your chosen base colour (either red or black) to the entire nail and let it dry completely.
- On a flat, non-porous surface, paint a stripe of red polish and a stripe of black polish right next to each other, slightly overlapping them in the middle.
- Gently dab a slightly damp makeup sponge onto the polish stripes a few times to blend the colours.
- Press and roll the sponge onto your nail. The gradient will transfer. You may need to repeat this step to build up the colour intensity.
- Once dry, apply a high-gloss top coat to smooth out the texture from the sponge and blend the colours even more seamlessly.
- Clean up any excess polish from the skin around your nail with a small brush dipped in nail polish remover.
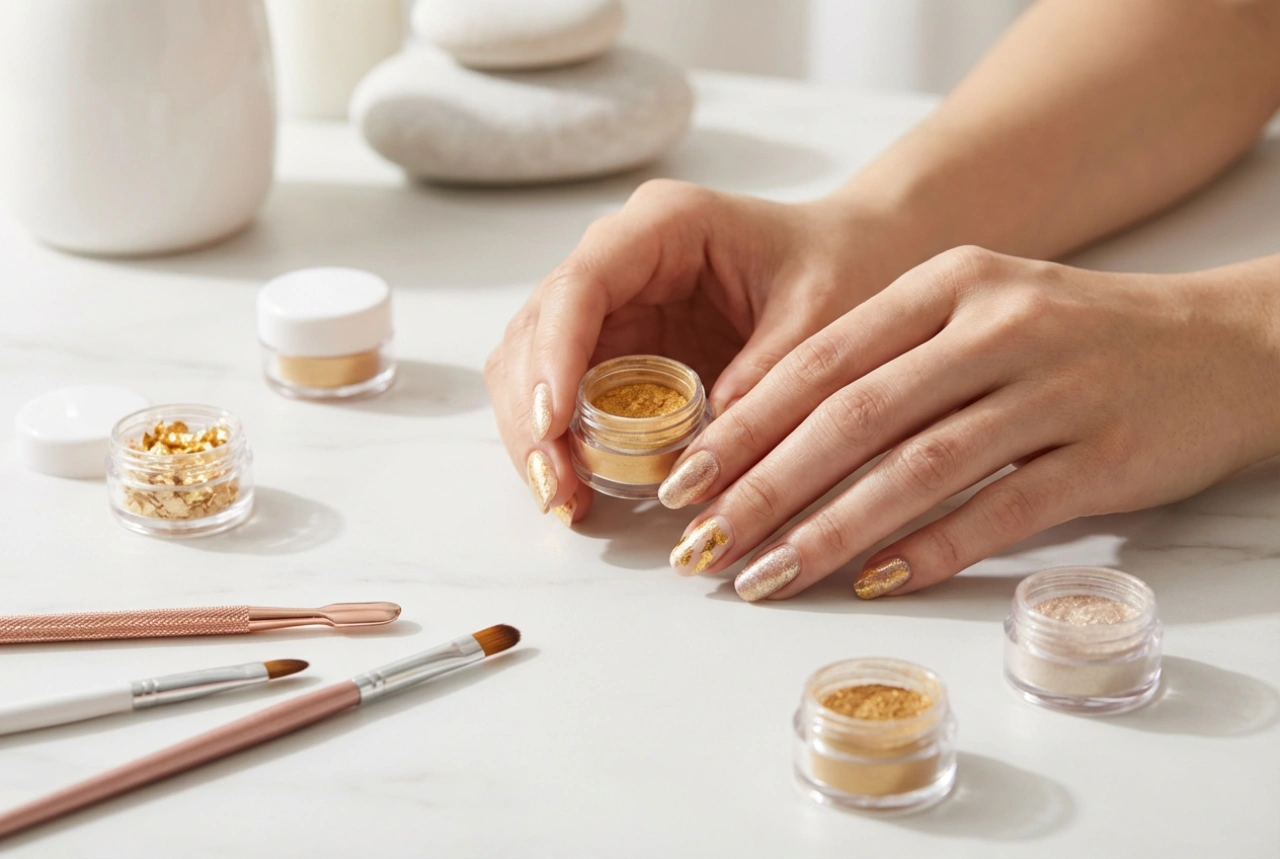
Subtle Patterns and Accent Nails
If a full set of black and red nails feels too bold, consider using the combination for subtle patterns or an accent nail. An accent nail, typically on the ring finger, can feature a more complex design while the other nails are painted in solid red or black. Simple patterns like polka dots, created with a dotting tool, or thin stripes can add a playful yet chic touch to your manicure.
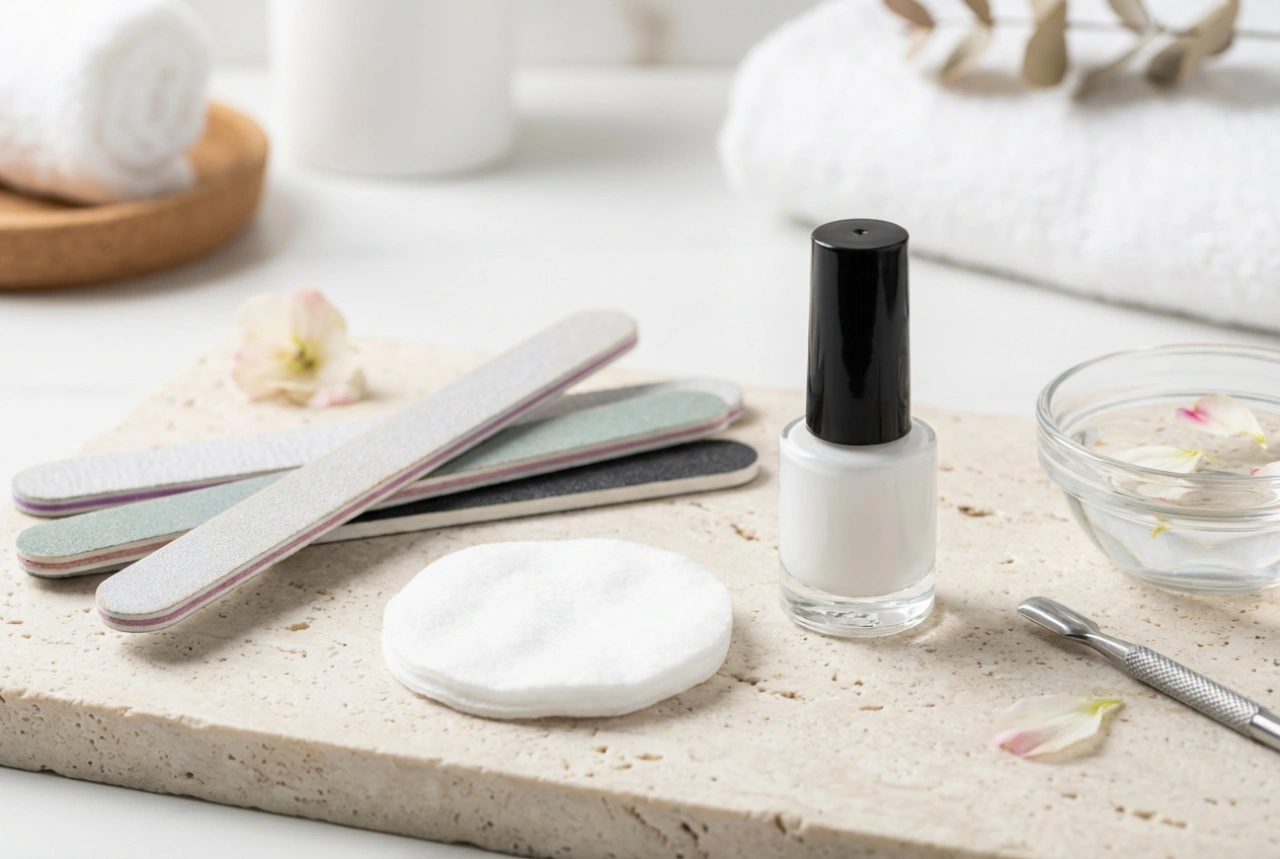
Preparing Your Nails for a Flawless Finish
Proper preparation is the foundation of any long-lasting and beautiful manicure. Before you begin applying colour, take the time to care for your nails.
- Shape and File: Gently file your nails into your desired shape. Always file in one direction to prevent splitting.
- Cuticle Care: Soften your cuticles with a cuticle remover or by soaking your fingers in warm water. Gently push them back with a cuticle pusher.
- Buff the Surface: Lightly buff the surface of your nails to create a smooth canvas for the polish. This helps the polish adhere better.
- Cleanse the Nail Plate: Wipe each nail with a lint-free pad soaked in rubbing alcohol or a specialised nail cleanser to remove any oils or residue.
- Apply a Base Coat: Always start with a quality base coat. It protects your natural nails from staining, particularly from a highly pigmented colour like red, and helps your manicure last longer.
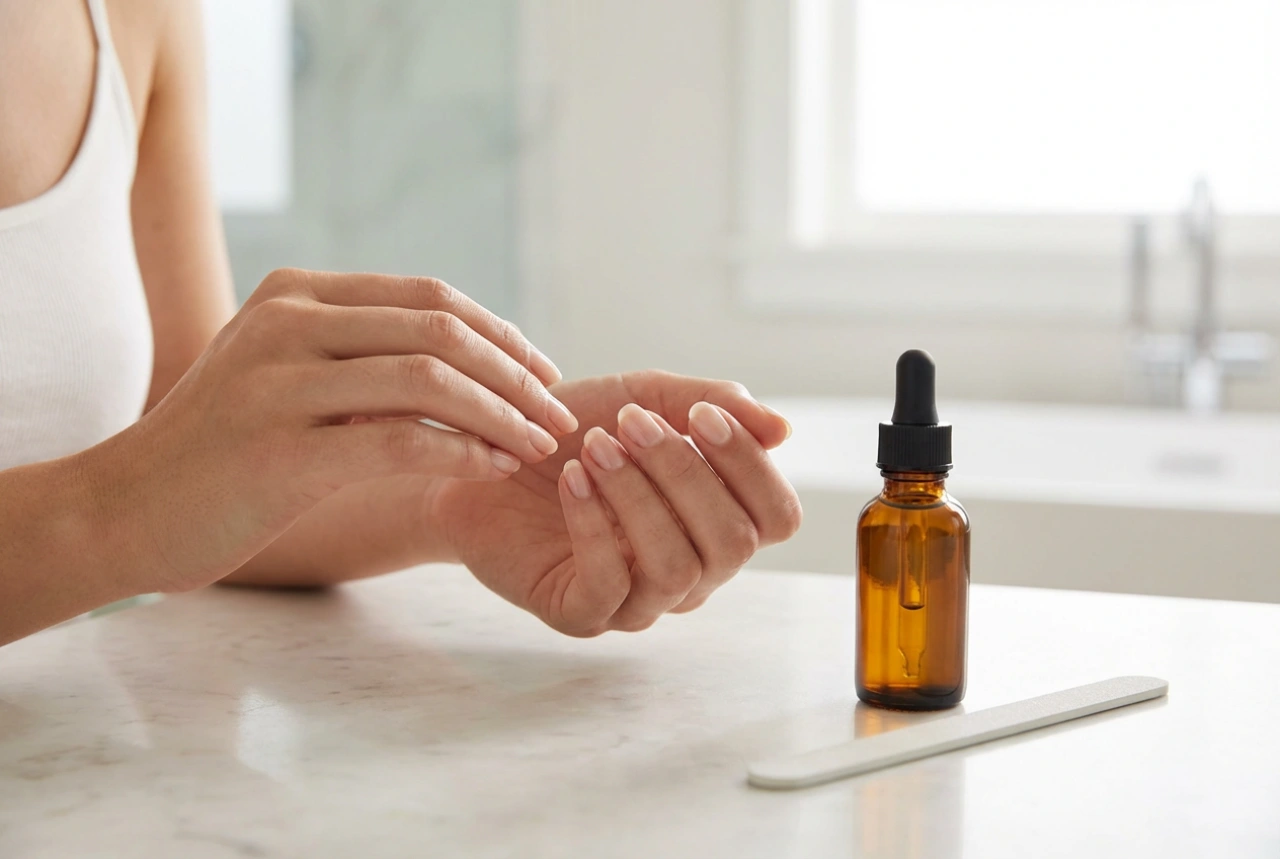
Tips for Longevity and a Professional Look
To ensure your black and red creation looks its best and lasts for days, follow a few simple finishing steps. Patience is key, especially when working with dark, bold colours where mistakes are more visible. Apply thin, even coats of polish, allowing each layer to dry before applying the next. This prevents smudging and bubbling. Finally, seal your design with a generous layer of a quick-dry, high-shine top coat. This not only protects the polish from chipping but also adds a beautiful lustre that makes the colours pop.