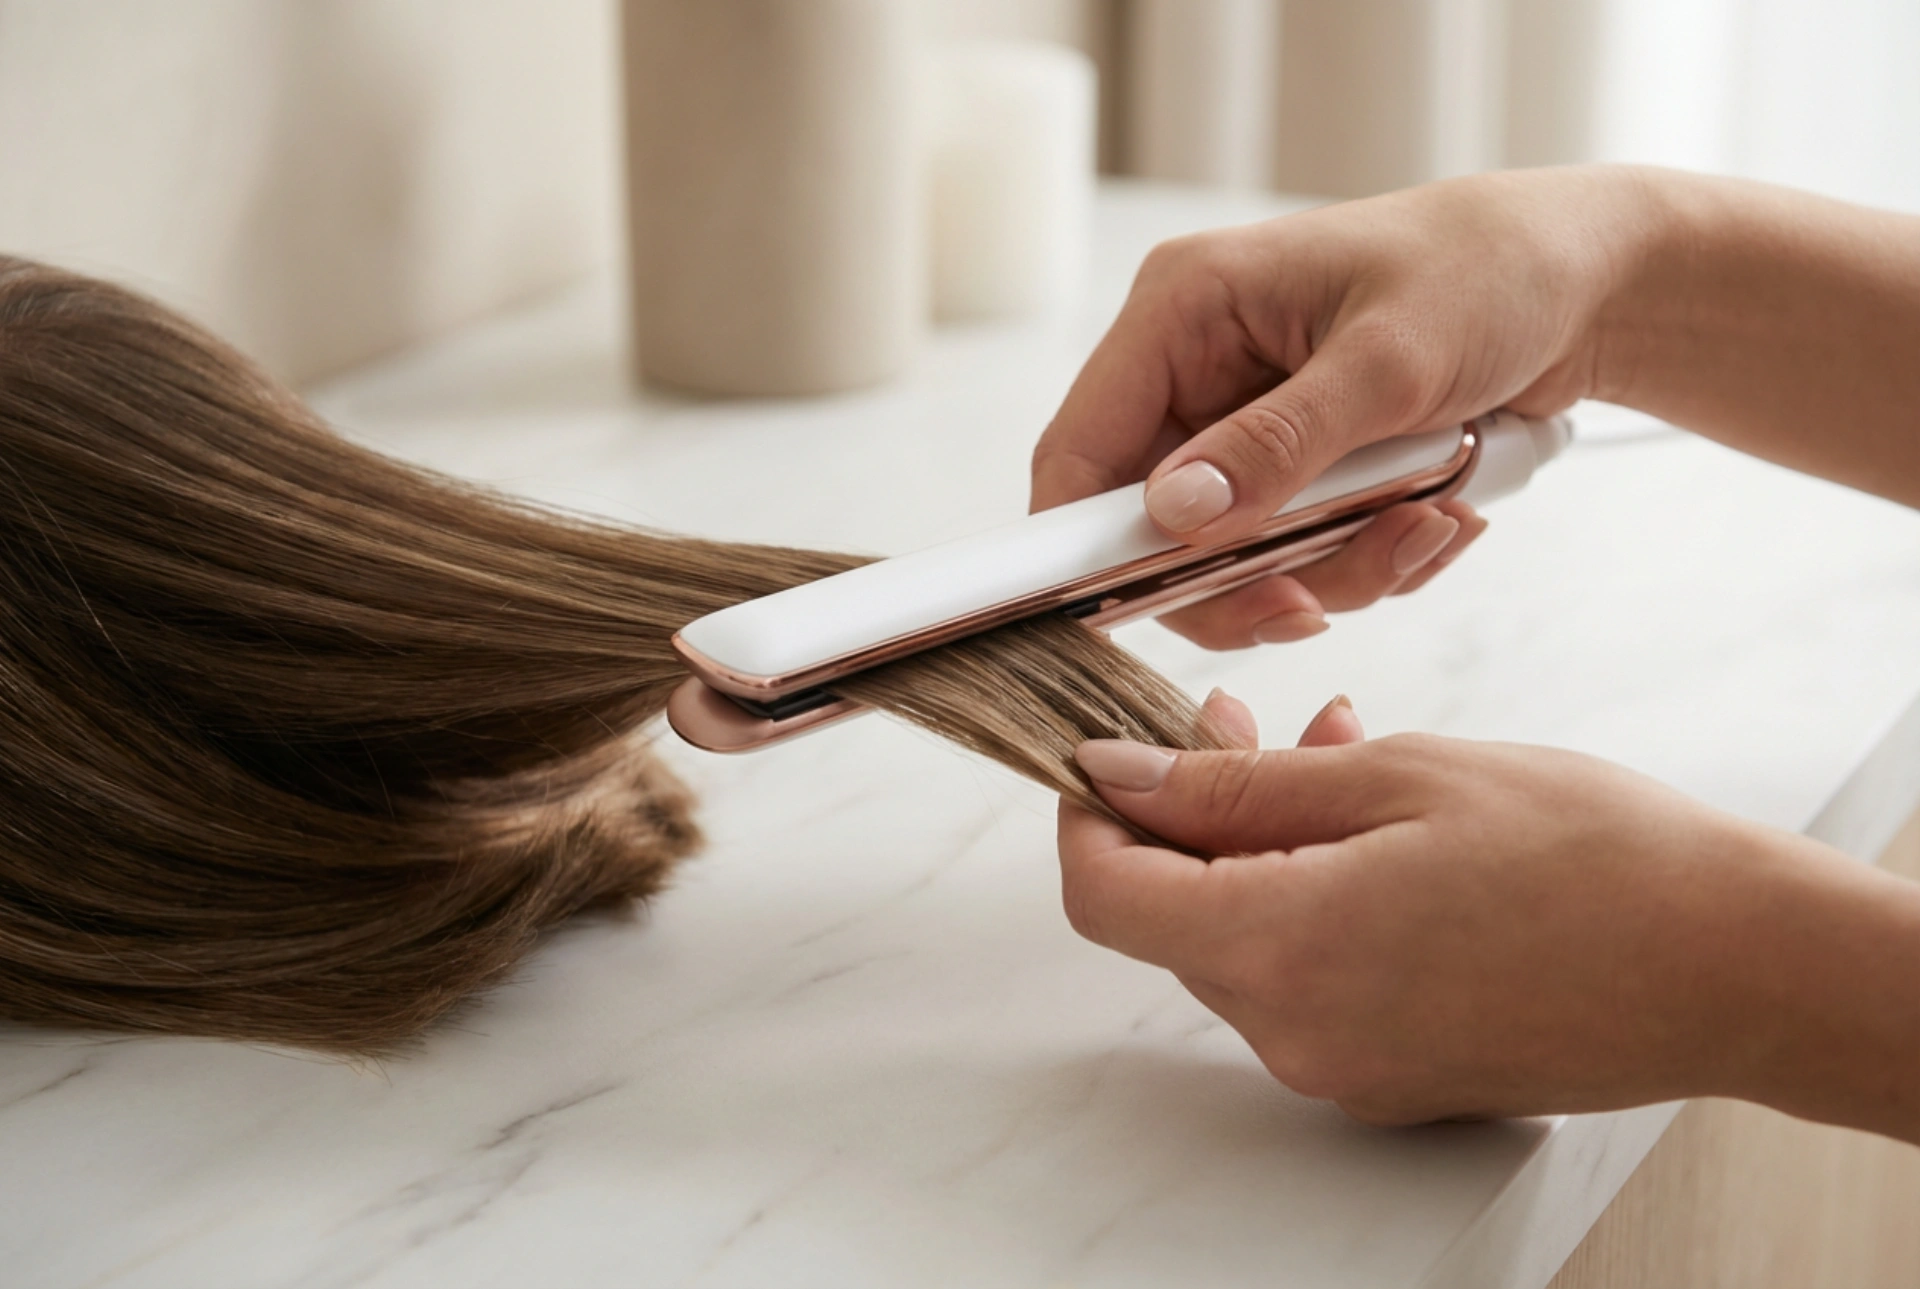


Achieving a perfectly polished hairstyle often lies in the details. For those with short hair, a chic fringe, or layered cuts, controlling small sections of hair can be a challenge with standard-sized tools. This is where the mini hair straightener shines, offering the precision and control needed for flawless finishing touches. Its compact size is not just for travel; it's a specialised tool designed for detailed work, allowing you to style with accuracy right from the root.
Why a Mini Straightener is a Styling Essential
While large straighteners are great for covering big sections of long hair quickly, a mini straightener provides unique advantages that make it an indispensable part of any hair care toolkit. Its narrow plates, often around 1-1.5 cm wide, allow for unparalleled precision, making it the ideal choice for specific tasks.
- Perfect for Fringes and Bangs: The small plates can easily grip the hair at the root without the risk of touching the skin, allowing for smooth, perfectly styled fringes.
- Ideal for Short Hair: From pixie cuts to bobs, mini straighteners can style short layers, tame cowlicks, and create texture that larger tools simply can't manage.
- Root-Lifting and Volume: You can get extremely close to the scalp to lift roots, adding volume exactly where you need it.
- Portability and Convenience: Its small size makes it perfect for on-the-go touch-ups. It fits easily into a handbag or gym bag, ensuring your hair looks great all day long.
- Detailing and Finishing: Use it to tame flyaways around the hairline or to add a flick or curl to the ends of your hair for a polished finish.
Mastering Your Mini Straightener for Flawless Results
Using a mini straightener is straightforward, but a few key techniques can elevate your styling from good to great. Proper preparation and a steady hand are all you need to achieve professional-looking results at home.
Step 1: Prepare Your Hair Correctly
Before you apply any heat, it's crucial to prepare your hair. Always begin with hair that is completely dry, as using a straightener on damp hair can cause significant damage. Section your hair using clips, even if it's short, to ensure you can work methodically. The most important step is to apply a heat protectant spray or serum. Distribute it evenly from roots to ends to create a barrier that minimises heat-related stress and helps your style hold for longer.
Step 2: Styling a Fringe with Precision
A fringe often requires daily attention, and a mini straightener is the perfect tool for the job. Isolate your fringe from the rest of your hair. Take a small horizontal section and clamp the straightener at the roots. Gently glide the tool down towards the ends. For a soft, natural look, slightly curve the straightener inwards as you reach the tips. This prevents the fringe from looking too flat or severe. Repeat on small sections until your entire fringe is styled.
Step 3: Perfecting Short Haircuts
For short hairstyles like bobs or pixies, a mini straightener offers immense creative freedom. To create a sleek, smooth look, work in small sections, gliding the straightener from root to tip. To add texture or a piecey effect, take individual small strands, clamp the straightener, and twist it slightly as you pull it through. You can also use it to create subtle outward flicks on the ends of a bob for a more playful, modern style.
Creative Styling Beyond Straightening
Don't let its name fool you; a mini straightener is also a fantastic tool for creating curls and waves. Its narrow plates are perfect for producing tight, defined curls or soft, beachy waves on shorter hair. To create a curl, clamp a small section of hair (about 2-3 cm wide) a few inches from the root. Rotate the straightener 180 degrees away from your face and slowly pull it down through the length of the hair. The slower you glide, the tighter the curl will be. For a softer wave, glide it through more quickly. Alternate the direction of the curls for a more natural, voluminous finish.
Caring for Your Compact Tool
To ensure your mini straightener continues to perform well and lasts for a long time, simple maintenance is key. Always unplug the device after use and allow it to cool down completely on a heat-resistant surface before storing it. Once cool, wipe the plates with a soft, damp cloth to remove any residue from styling products. This prevents build-up that can cause snagging and uneven heat distribution. Storing it in a heat-proof pouch will protect the plates and make it safe for travel.





