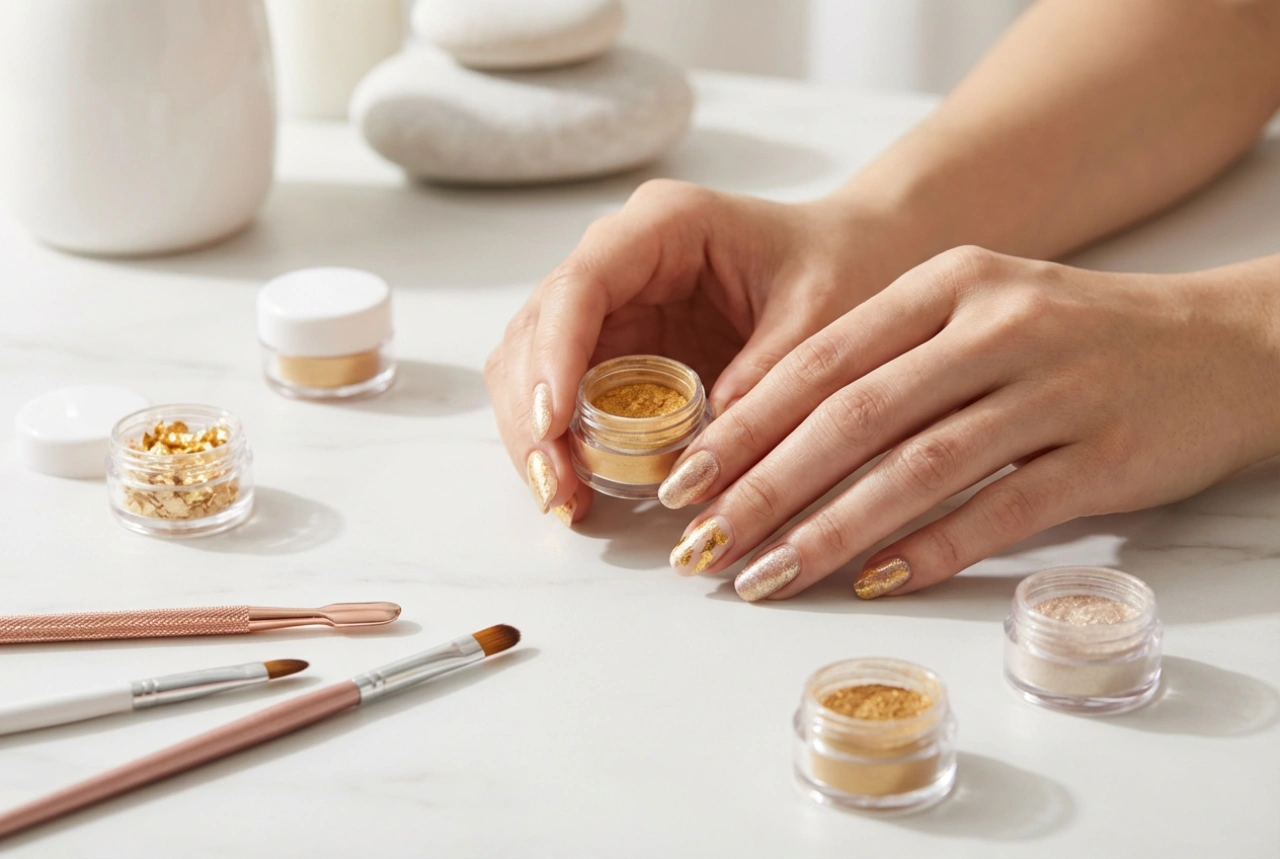


Achieving a truly polished and elegant manicure goes beyond a simple coat of polish. The foundation of beautiful hands lies in meticulous nail care, and a key aspect of this is managing your cuticles. Properly cared-for cuticles create a clean, uniform frame for your nails, enhancing their natural shape and allowing for a smoother polish application. While cutting cuticles can be risky, using a specialised cuticle remover offers a gentle and effective alternative for maintaining neat, healthy-looking nails at home.
What is a Cuticle Remover and Why Use It?
A cuticle remover is a cosmetic product, typically in a gel or liquid form, formulated to soften and break down the excess, non-living tissue on the nail plate. It's important to distinguish this from the eponychium, which is the living band of skin at the base of your nail; this part should never be cut or aggressively pushed. The remover targets only the dead skin that has grown out onto the nail surface. Using a remover is widely considered a safer method than trimming because it reduces the risk of cutting the living tissue, which can lead to irritation and discomfort. It helps to create a clean nail bed, which can make your nails appear longer and ensures your nail polish adheres better and lasts longer.
A Step-by-Step Guide to Using Cuticle Remover
For a flawless result, it's essential to follow a careful process. Rushing can lead to messy results or skin irritation. Prepare your workspace and gather your tools before you begin.
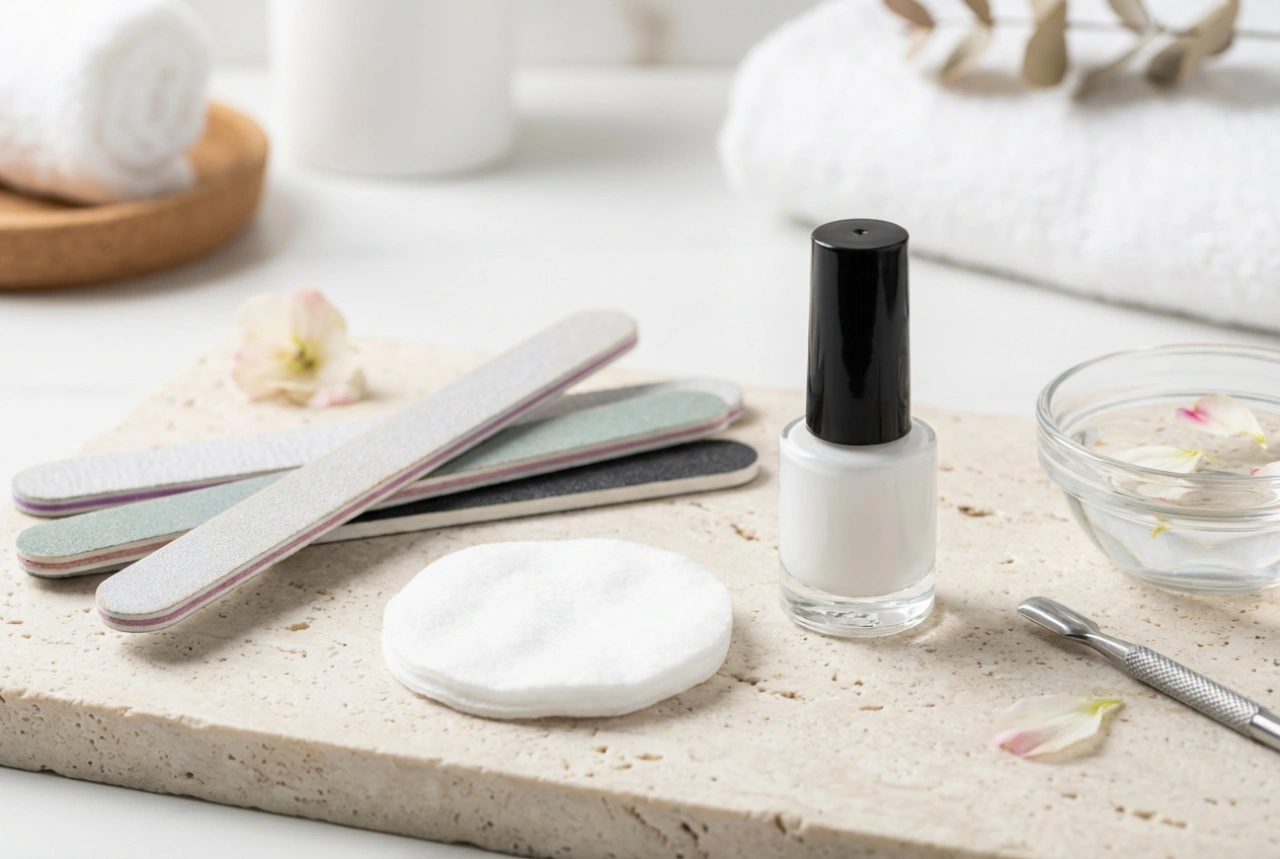
Step 1: Preparation
Start with clean, dry hands. Remove any existing nail polish thoroughly. You will need your cuticle remover, a wooden orange stick or a gentle cuticle pusher, cotton pads, and access to soap and water for rinsing. Having everything within reach will make the process smooth and efficient.
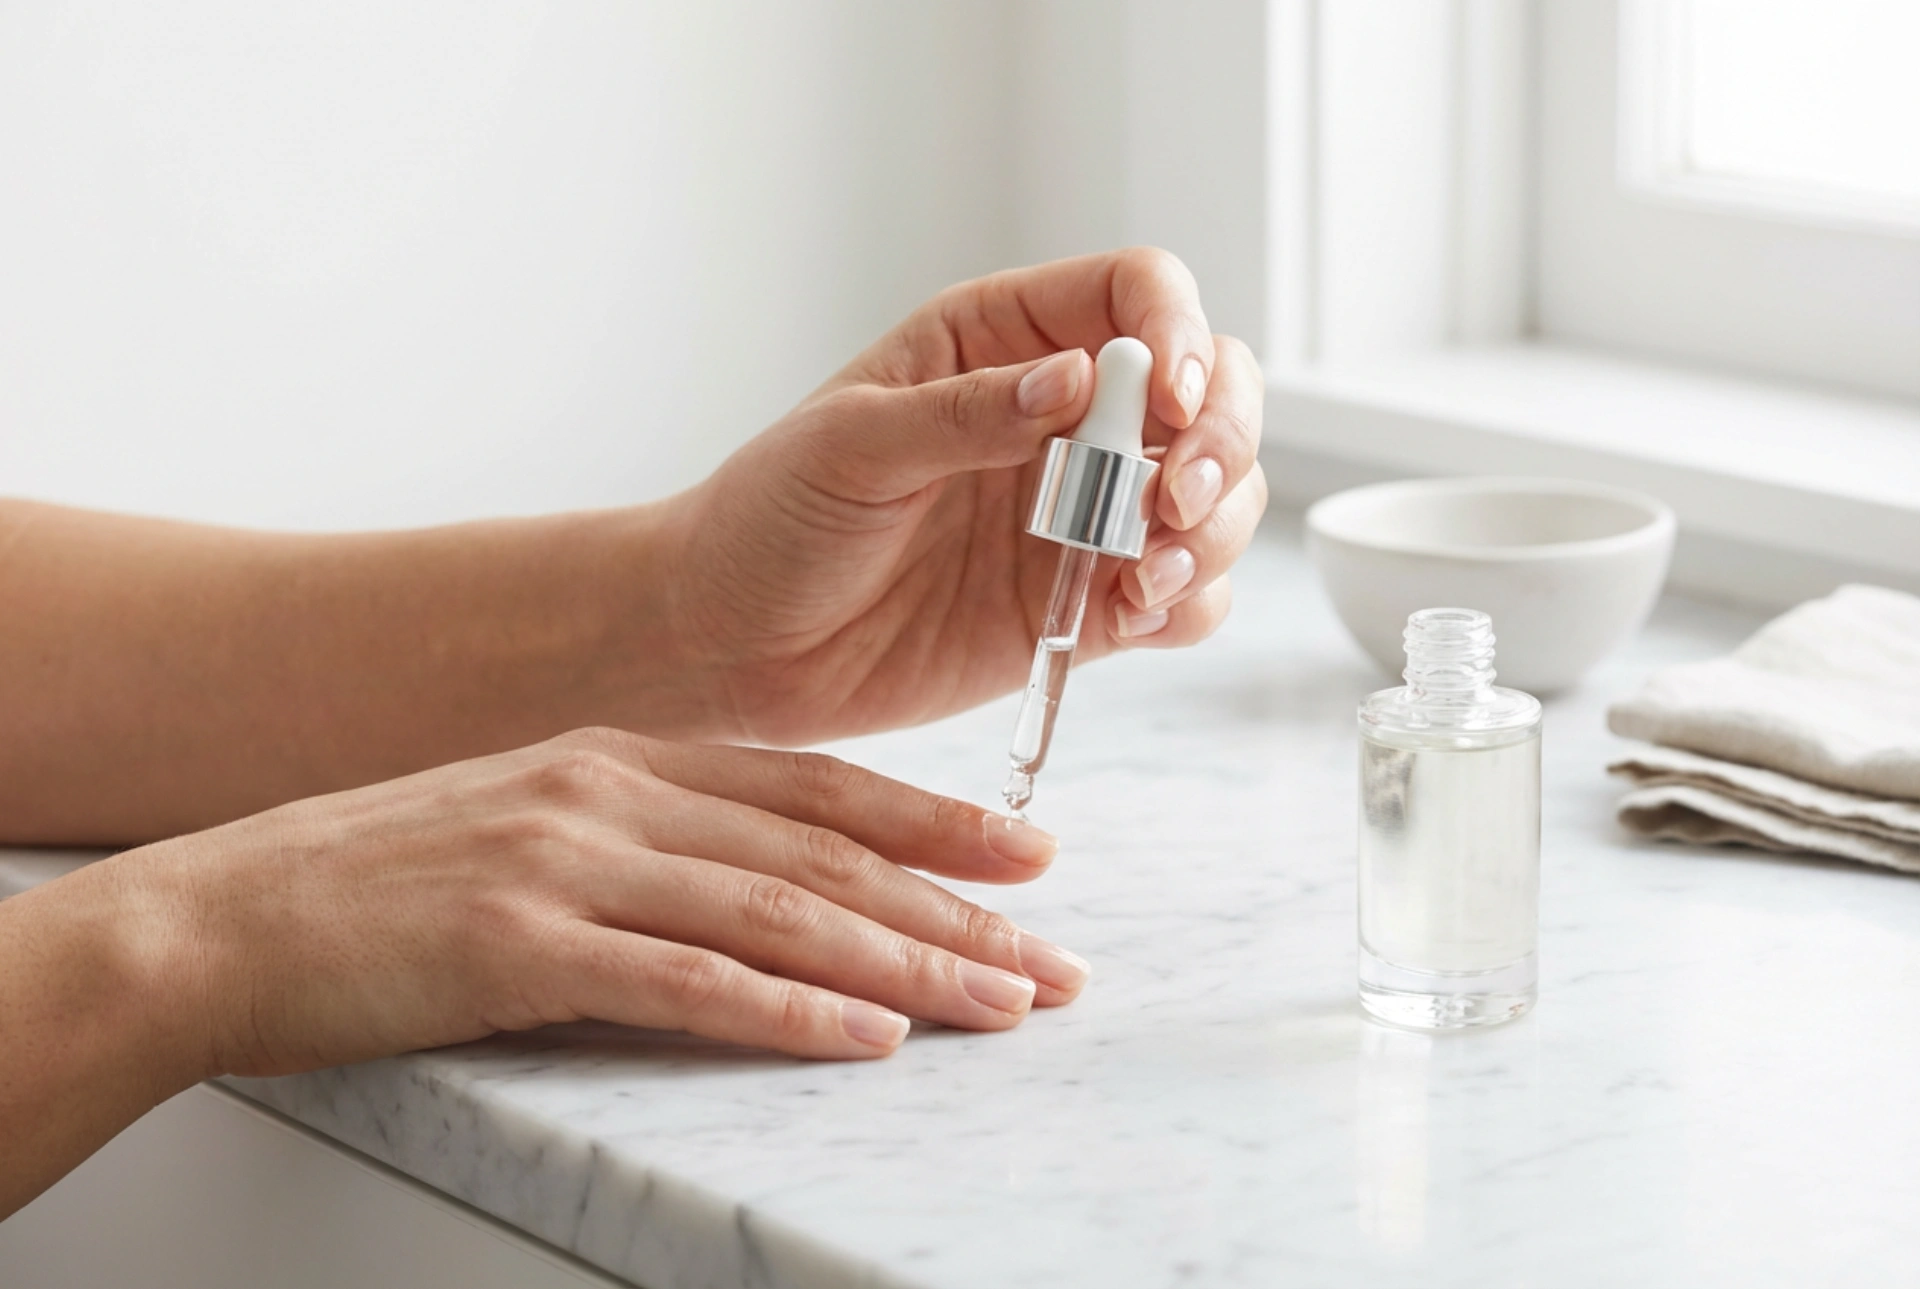
Step 2: Application
Apply a thin line of the cuticle remover directly onto the cuticle area of each nail. Most products come with a fine-tipped nozzle or a small brush for precise application. Be careful to apply it only to the cuticle on the nail plate and avoid spreading it excessively onto the surrounding skin.
Step 3: The Waiting Game
This is a crucial step. Always refer to the product's instructions for the recommended waiting time, which is typically very short—often between 15 and 60 seconds. Do not exceed the suggested duration, as the active ingredients can be very drying if left on for too long. The product works quickly to soften the targeted dead skin.
Step 4: Gently Push Back
Once the time is up, take your wooden orange stick or a rubber-tipped cuticle pusher. With a gentle touch, carefully push back the softened cuticles from the nail plate. Use small, circular motions to lift the dead tissue away. You should see the excess skin come away easily without any force. Never be aggressive, as this could damage the nail bed or the living skin.
Step 5: Cleanse and Neutralise
After pushing back the cuticles on all nails, use a cotton pad to wipe away the remover and the loosened skin debris. The most important final step is to wash your hands thoroughly with soap and warm water. This neutralises the formula, stopping its action and ensuring the nail plate is completely clean and ready for the next step of your manicure.
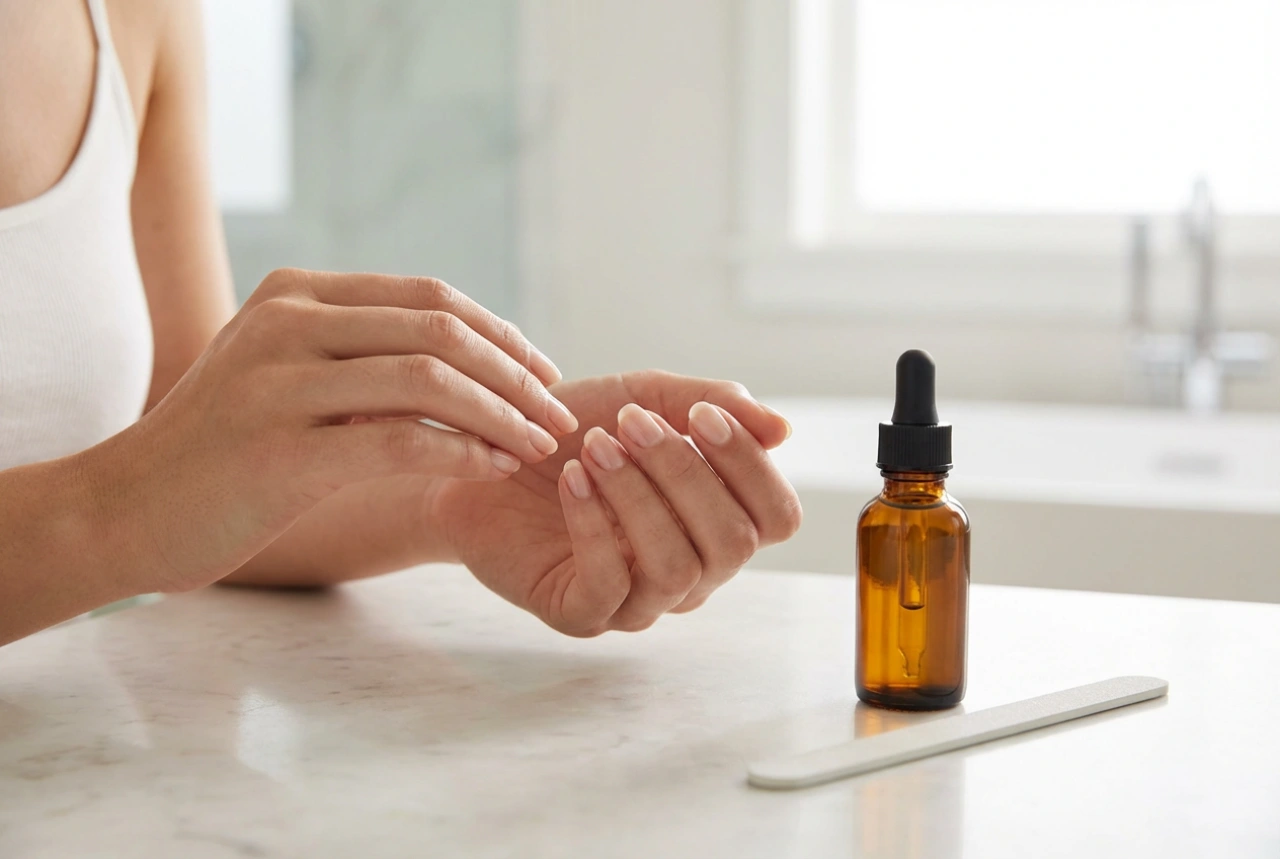
Finishing Touches and Essential Aftercare
Once your hands are clean and dry, the final and most vital step is rehydration. The process of using a remover can be slightly drying to the skin, so immediate aftercare is essential for maintaining skin health. Apply a nourishing cuticle oil or a rich hand cream, taking a moment to massage it into the cuticles and the surrounding skin. This not only restores moisture but also promotes healthy, flexible skin, which is less likely to become overgrown or ragged. For best results, use a cuticle remover no more than once a week to maintain your manicure without over-treating the area.
Common Mistakes to Avoid
To ensure your at-home cuticle care is safe and effective, be mindful of these common errors:
- Leaving the product on for longer than the recommended time.
- Using excessive force or sharp metal tools to push back the skin, which can scratch the nail.
- Attempting to cut or trim the living part of the cuticle (the eponychium).
- Skipping the hand-washing step, which leaves the active product on your skin.
- Forgetting to moisturise with oil or cream afterwards, leading to dry, brittle skin.
By incorporating a cuticle remover into your regular nail care routine and following these simple steps, you can easily maintain clean, professional-looking nails. It’s a simple technique that makes a significant difference in the overall appearance of your hands.