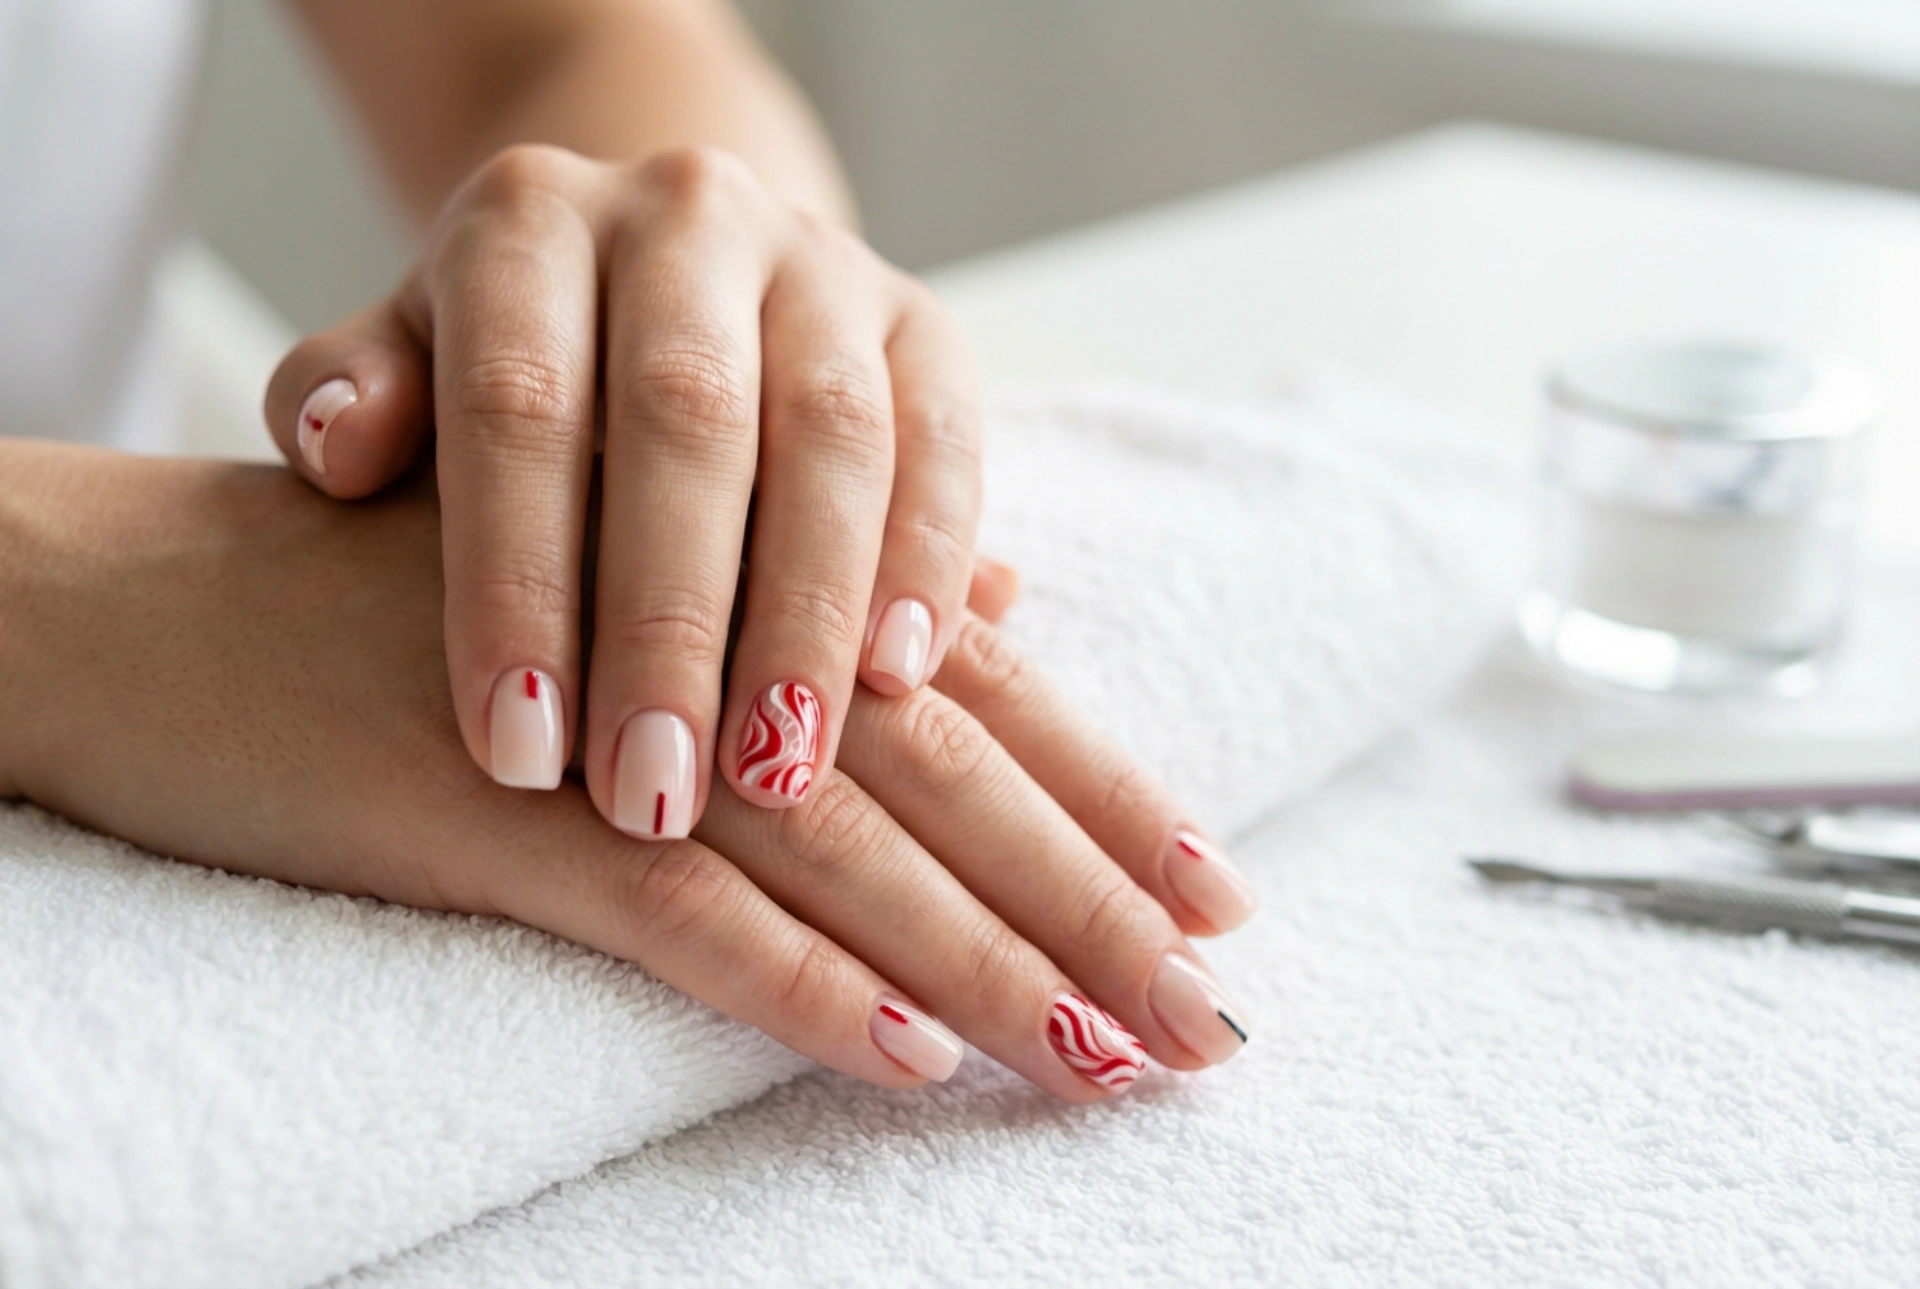


The combination of red and white on nails creates a striking and timeless look, suitable for almost any occasion. Whether you prefer bold contrasts or subtle, elegant patterns, this classic duo offers endless possibilities for expressing your personal style. It's a pairing that speaks of both confidence and sophistication. This guide will walk you through preparing your nails, exploring various designs, and applying them with ease for a professional-looking finish at home, achieving that glossy, elegant style seen in polished beauty features.
The Enduring Appeal of Red and White Nail Art
Why do red and white remain such a popular choice for manicures? The answer lies in their versatility and inherent contrast. Red is a colour of passion, energy, and confidence, while white represents purity, simplicity, and modernity. When brought together, they create a visual balance that can be adapted to any mood or event. From a formal gathering to a casual day out, a red and white manicure can be tailored to fit. It can be minimalist and chic or bold and graphic, making it a reliable choice for anyone looking to make a statement with their nails.
Preparing Your Nails for a Flawless Finish
Before you begin painting, proper preparation is key to achieving a smooth application and a long-lasting manicure. A great design starts with a healthy canvas.
- Clean and Shape: Start by removing any old polish. Wash your hands and gently clean under your nails. File your nails to your desired shape, whether it's square, round, or almond. Always file in one direction to prevent splitting.
- Cuticle Care: Gently push back your cuticles using a cuticle pusher. Avoid cutting them, as this can lead to irritation. Applying a cuticle remover beforehand can make this process easier.
- Buff the Surface: Lightly buff the surface of your nails with a fine-grit buffer. This smooths out any ridges and creates a slightly textured surface for the polish to adhere to.
- Apply a Base Coat: Never skip the base coat. It protects your natural nails from staining, especially from a vibrant colour like red, and helps your manicure last longer by providing a grippy foundation for the polish.
Simple Red and White Nail Designs to Try at Home
You don't need to be a professional nail artist to create beautiful designs. Here are a few accessible ideas that use the striking contrast of red and white.
Classic Manicure with a Twist
Give the traditional French manicure an update. Instead of the usual pink and white, try a neutral or pale white base with a crisp red tip. For a bolder look, reverse the colours: a full red nail with a thin, bright white tip. You can also play with the shape of the tip, making it diagonal or V-shaped for a more modern feel.
Minimalist Dots and Stripes
Simple geometric patterns are incredibly effective. For polka dots, you can use a dotting tool, the end of a bobby pin, or even a toothpick. Apply your base colour (either red or white) and let it dry completely. Then, dip your tool into the contrasting polish and gently press it onto the nail. For stripes, a thin striping brush is ideal. You can create vertical, horizontal, or diagonal lines for a clean, graphic look. Using nail art tape can help you achieve perfectly straight lines.
Abstract Swirls and Splatters
For a more artistic and free-form design, abstract patterns are perfect. Apply your base colour. While it's still slightly wet, place small drops of the contrasting colour on top. Use a fine-tipped tool like a toothpick or a dry brush to gently drag the colours into each other, creating a marbled or swirled effect. Another fun technique is the splatter effect: dip an old, stiff brush (like a fan brush or a toothbrush) in polish and gently flick it towards your nails to create an artistic splatter.
Quick Techniques for Intricate Looks
If you're short on time or want a more complex pattern without the freehand effort, there are several tools and techniques that can help.
- Nail Stamping: Stamping kits allow you to transfer detailed designs from an engraved plate to your nail using a stamper. There are countless red-and-white-friendly patterns available, from florals to geometric shapes.
- Nail Stickers and Decals: These are the fastest way to achieve a complex design. Simply apply your base coat of polish, let it dry, and then carefully place the sticker or decal on your nail. Seal it with a top coat for durability.
- The Dry Brush Technique: Apply your base colour and let it dry completely. Take your second colour and wipe almost all the polish off the brush on the neck of the bottle. Lightly brush the nearly-dry bristles across your nail to create a textured, distressed look. Layering red over white, or vice versa, can produce a stunning effect.
Making Your Red and White Manicure Last
After putting in the effort to create your design, you'll want it to last as long as possible. A few simple steps can extend the life of your manicure. Always finish with a high-quality top coat. This seals in your design, adds shine, and protects against chipping. For extra protection, reapply a thin layer of top coat every two to three days. When doing household chores, especially those involving water or cleaning agents, wear gloves to protect your nails. Finally, keep your cuticles and the skin around your nails hydrated by applying cuticle oil or a hand moisturiser daily. Healthy cuticles contribute to a longer-lasting manicure.




