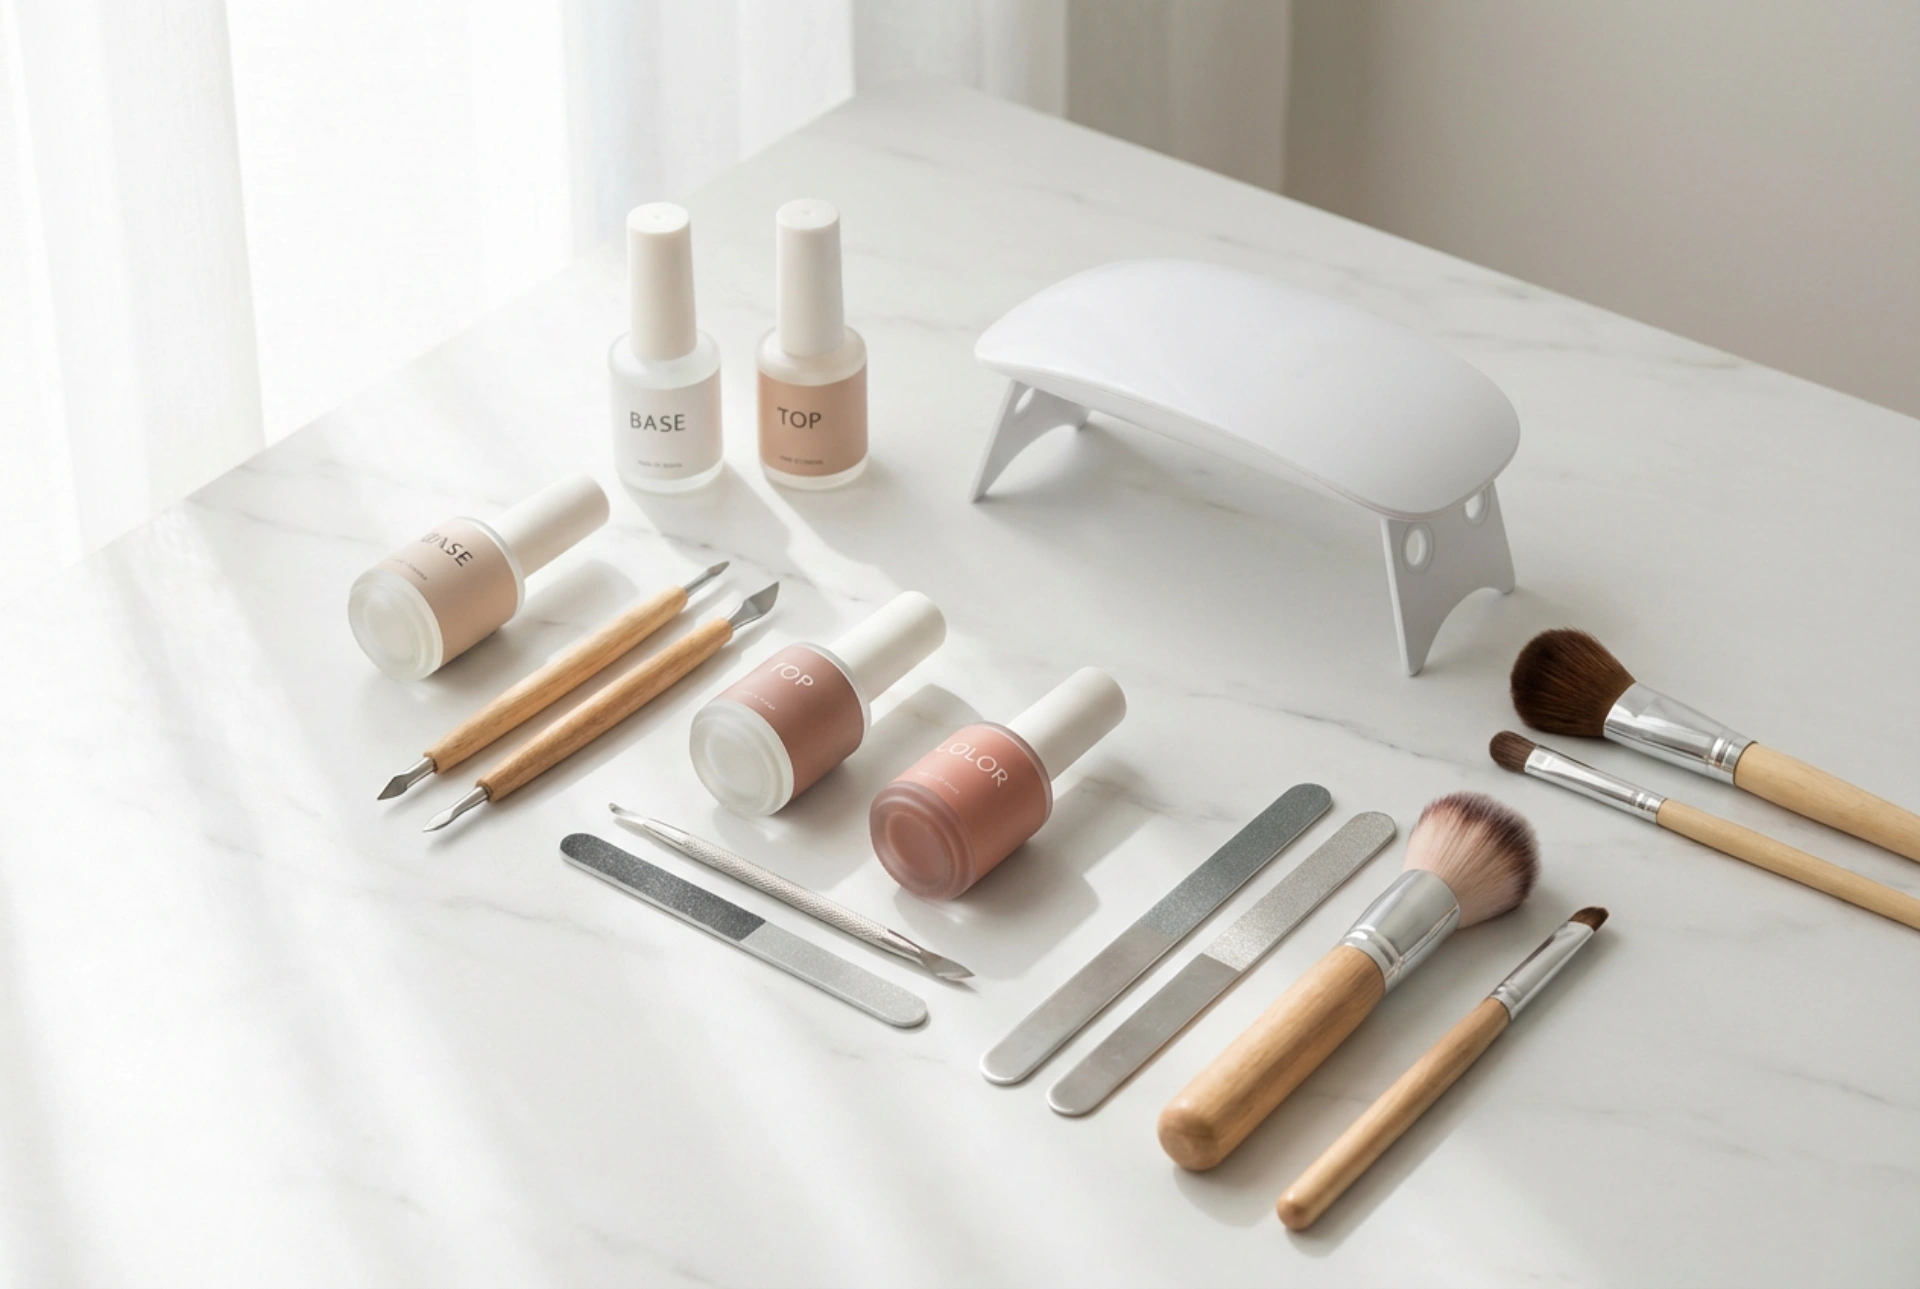


A perfectly executed hybrid manicure offers a durable, glossy finish that can last for weeks. Achieving this salon-quality result at home is entirely possible with the right set of tools and a clear understanding of the process. An organised kit, like the one elegantly laid out in the picture, is the first step towards mastering this popular nail technique. This guide will walk you through assembling your own kit, the correct application method, and the common errors to avoid for a flawless, long-lasting manicure.
Assembling Your Essential Hybrid Manicure Kit
To begin your at-home hybrid manicure journey, you'll need to gather a few key items. Having everything prepared and within reach will make the process smoother and more enjoyable. Think of it as creating your own personal nail station.
Core Components
- LED/UV Lamp: This is the most crucial tool. It cures, or hardens, the hybrid polish, which will not air-dry. LED lamps are generally faster, but both types are effective.
- Base Coat: A specific hybrid base coat is essential. It protects the natural nail and creates a foundation for the colour to adhere to.
- Top Coat: This seals in the colour, provides the signature high-gloss shine, and protects the manicure from chipping and scratching. Choose between a 'wipe' top coat (which leaves a sticky layer) or a 'no-wipe' version.
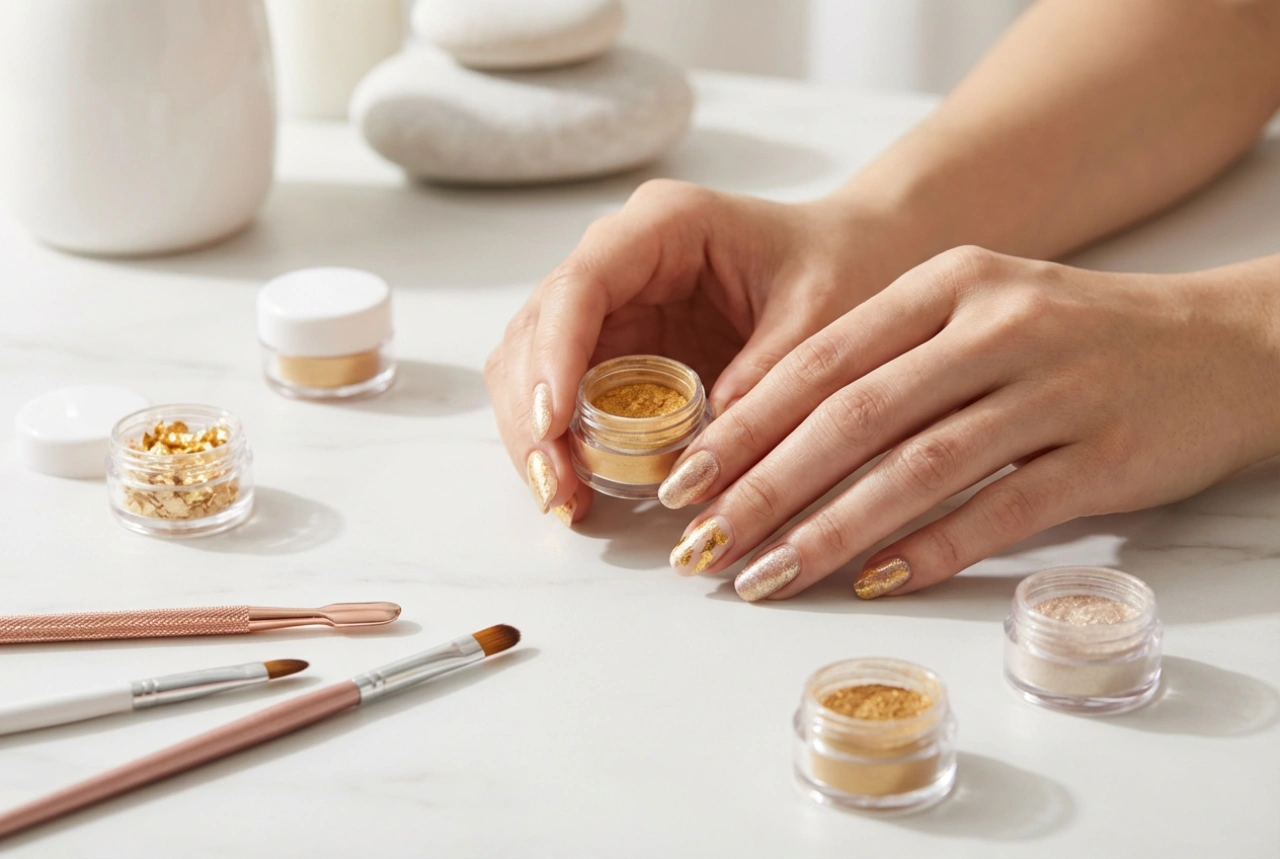
- Coloured Hybrid Polishes: Start with a few of your favourite shades. These special polishes are formulated to work with the lamp and base/top coats for long-lasting wear.
Preparation and Removal Tools
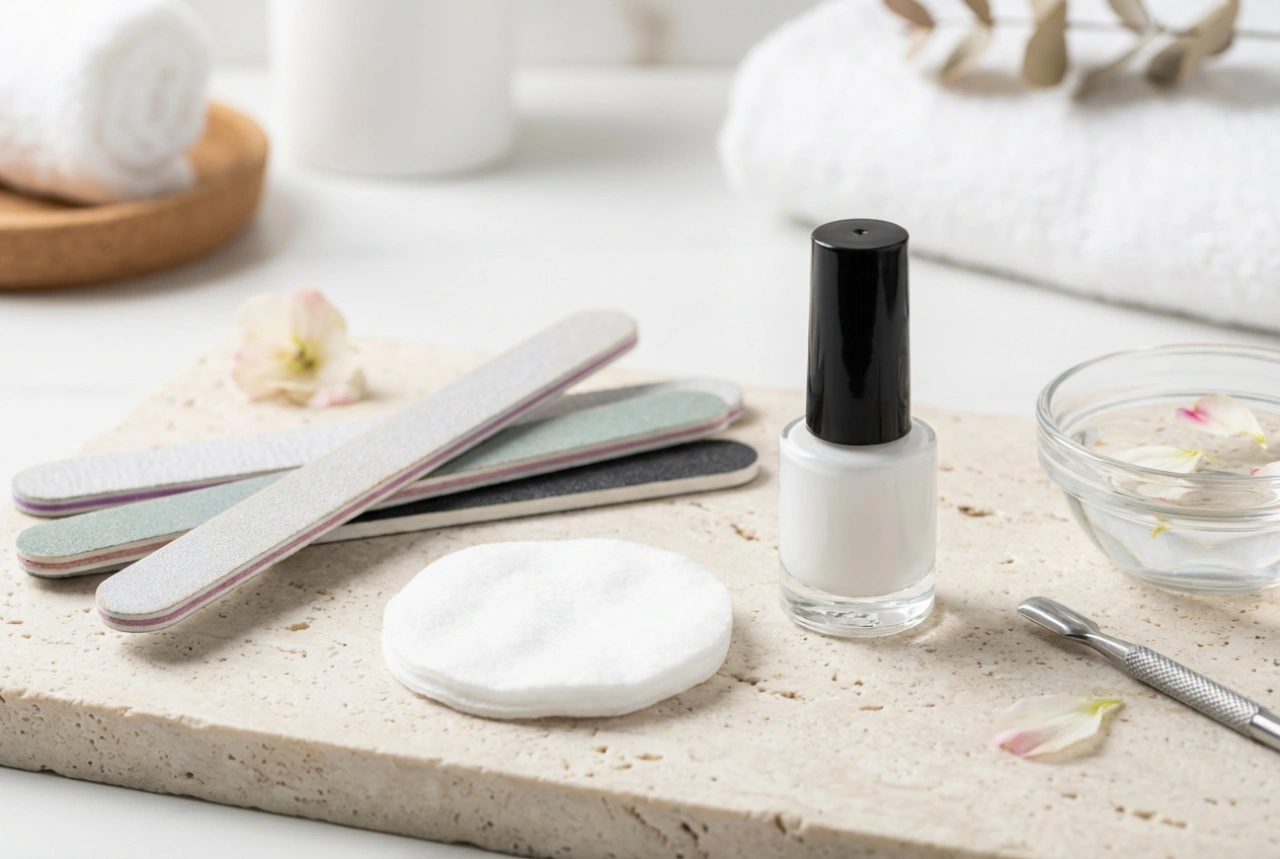
- Nail Cleaner/Dehydrator: An alcohol-based solution used to cleanse the nail plate of oils and debris before application. This step is vital for longevity.
- Hybrid Polish Remover: An acetone-based solution is typically required to break down and remove the polish safely.
- Nail Files and Buffers: You will need a file (around 180-grit) to shape your nails and a gentle buffer block to lightly roughen the nail surface, which helps the polish adhere.
- Cuticle Pusher or Wooden Sticks: These are used to gently push back cuticles for a neat and tidy nail bed.
- Lint-Free Wipes: Essential for using with the nail cleaner and for removing the sticky inhibition layer left by some top coats. Regular cotton pads can leave behind fibres.
A Step-by-Step Guide to a Flawless Application
Patience and precision are key. Rushing the process is the quickest way to a less-than-perfect result. Follow these steps carefully for a professional-looking finish.
Step 1: Nail Preparation
Start by removing any old polish. Shape your nails to your desired length and form using a file. Gently push back your cuticles, being careful not to cut them. Finally, take your buffer block and very lightly buff the entire surface of each nail. The goal is to remove the shine, not to thin the nail. Once done, use a lint-free wipe soaked in nail cleaner to thoroughly dehydrate and cleanse each nail plate.
Step 2: Apply the Base Coat
Apply a very thin, even layer of the hybrid base coat to one hand. Be meticulous about avoiding contact with your skin and cuticles. 'Cap' the free edge of the nail by running the brush along the tip. This helps prevent chipping. Cure the hand under your LED/UV lamp according to the product's instructions (typically 30-60 seconds for an LED lamp).
Step 3: Apply the Colour Coats
Apply your chosen hybrid colour in a thin, even layer. Again, avoid flooding the cuticles. If you do get polish on your skin, clean it up with a wooden stick dipped in remover before curing. Cure the layer under the lamp. Apply a second coat for full opacity, also in a thin layer, and cure again. Some lighter or sheerer colours might require a third coat.
Step 4: Apply the Top Coat
Apply a thin layer of the hybrid top coat, ensuring you cover the entire nail and cap the free edge. This layer will provide protection and shine. Cure for the recommended time, which may be slightly longer than for the colour coats.
Step 5: Final Touches
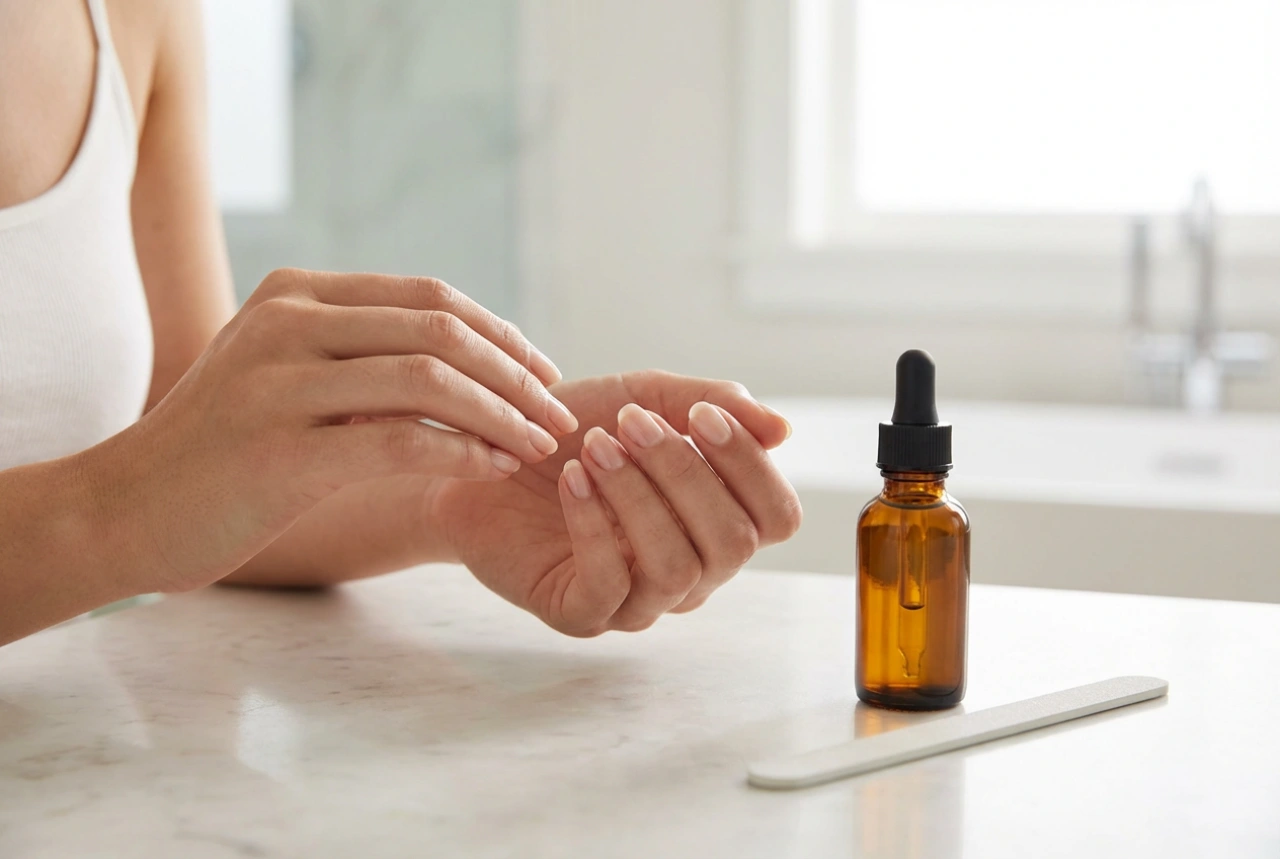
If you used a standard 'wipe' top coat, it will have a sticky residue after curing. This is the inhibition layer. Take a lint-free wipe saturated with nail cleaner and firmly wipe each nail to reveal the hard, glossy finish underneath. If you used a 'no-wipe' top coat, you can skip this step. Finish by applying a nourishing cuticle oil to the skin around your nails.
Common Mistakes to Avoid
Understanding why manicures fail can help you perfect your technique. Watch out for these common errors:
- Improper Nail Prep: Skipping the buffing or cleaning step will cause the polish to lift or peel quickly because it cannot adhere properly to an oily or smooth surface.
- Applying Thick Layers: Thick coats of polish do not cure properly. They can wrinkle under the lamp and will be prone to peeling. Always apply multiple thin coats instead of one thick one.
- Flooding the Cuticles: When polish touches the skin, it creates a point where lifting can begin as the nail grows. It also looks untidy. Always leave a tiny gap between the polish and the cuticle.
- Insufficient Curing Time: Under-cured polish will not be hard and will lack durability. Always follow the specific time recommendations for your lamp and the polishes you are using.
- Skipping the Base or Top Coat: These are not optional steps. The base coat protects the nail and provides adhesion, while the top coat provides shine and crucial protection against wear and tear.