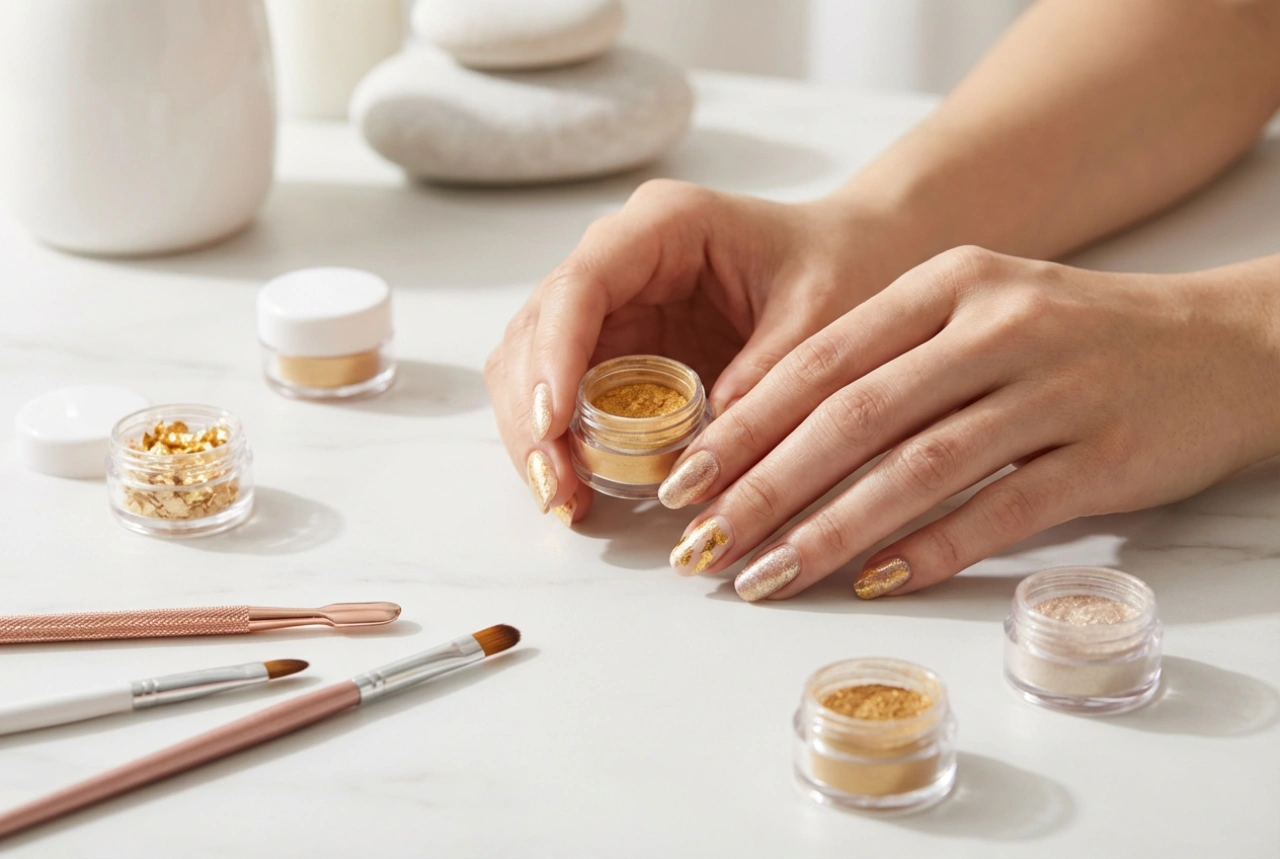


Vibrant, eye-catching, and full of energy, neon nails are a fantastic way to express your personality and add a pop of colour to any look. Whether you're getting ready for a summer festival, a holiday, or simply want to brighten up your day, a neon manicure is a perfect choice. Achieving that flawless, salon-quality finish at home might seem daunting, but with the right techniques and a little patience, you can master the art of neon nail application. This guide will walk you through everything from selecting the perfect shade for your skin tone to the final glossy top coat.
Choosing the Perfect Neon Shade
The first step to a stunning neon manicure is picking a colour that complements you. While personal preference is key, certain shades can enhance your natural skin tone beautifully.
For Fair Skin Tones
If you have fair or pale skin, neon pinks and corals will create a striking contrast without washing you out. A bright, electric pink can look particularly chic. Softer neon blues and greens can also work well, offering a cool, modern edge. It's often best to steer clear of neon yellows, as they can sometimes bring out yellow undertones in fair skin.
For Medium and Olive Skin Tones
Medium and olive skin tones are incredibly versatile and can pull off almost any neon shade. Fiery neon oranges, vibrant yellows, and electric lime greens look especially stunning against a warmer complexion. The warmth in your skin will make these bold colours appear even more radiant and intense. A hot magenta or a bright turquoise will also be incredibly flattering.
For Dark Skin Tones
Dark skin tones provide the perfect canvas for the brightest and boldest neons. The deep contrast makes every colour pop intensely. Hot pinks, electric blues, vibrant purples, and radiant yellows will all look absolutely sensational. Don't be afraid to experiment with the most vivid shades available – they are guaranteed to make a statement.
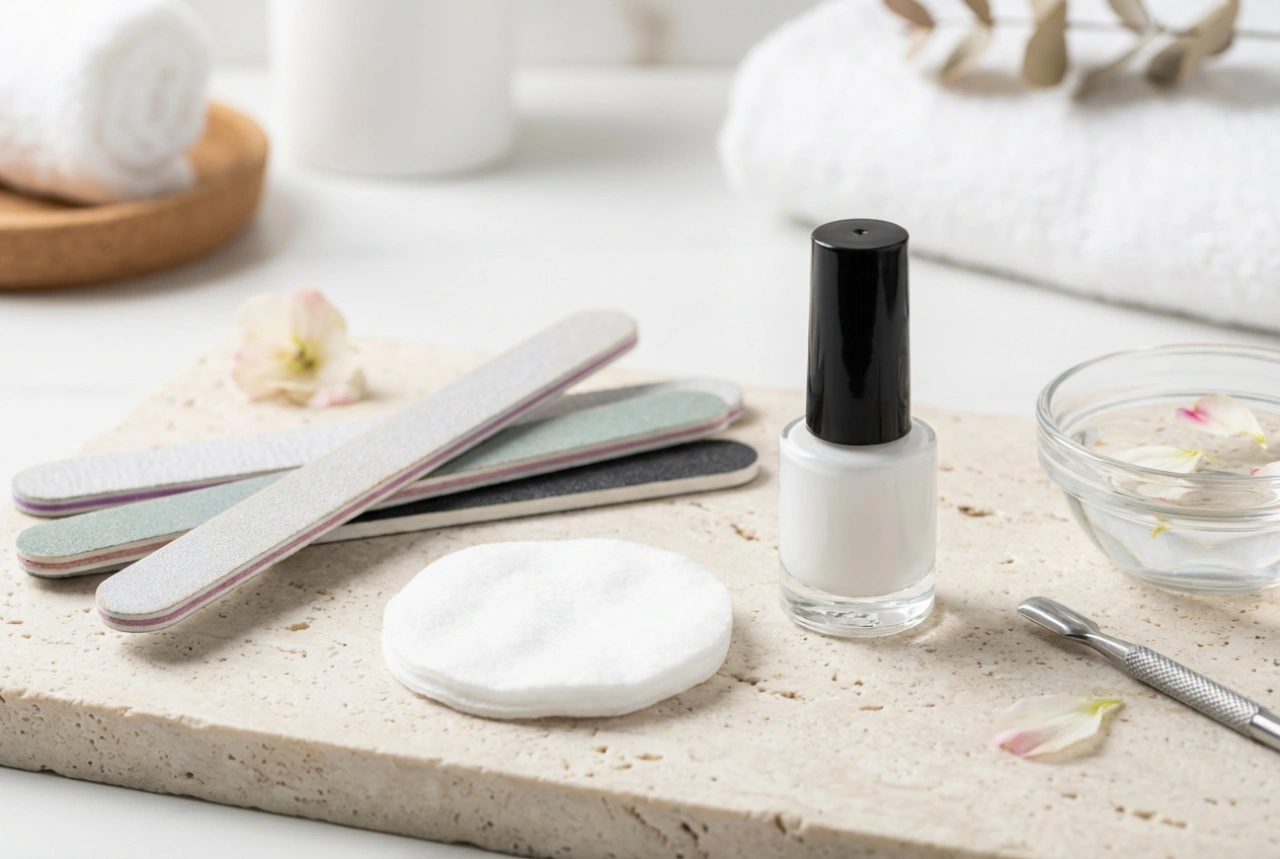
Preparing Your Nails for a Flawless Manicure
Proper preparation is the secret to a long-lasting and smooth manicure. Skipping this stage can lead to chipping and an uneven finish. Dedicate a few minutes to prepping your nails before you even think about opening the polish bottle.
- Clean and Shape: Start by removing any old polish. Wash your hands and gently scrub your nails. Next, file your nails into your desired shape, whether it's square, oval, or almond. Always file in one direction to prevent splitting.
- Cuticle Care: Gently push back your cuticles using a wooden or rubber-tipped cuticle pusher. Avoid cutting them, as this can lead to irritation. Proper cuticle care creates a larger, cleaner nail surface for polishing.
- Buff the Surface: Lightly buff the surface of your nails with a fine-grit buffer. This smooths out any ridges and creates a slightly textured surface that helps the polish adhere better.
- Dehydrate the Nail Plate: Finally, wipe each nail with a lint-free pad soaked in nail polish remover or rubbing alcohol. This removes any natural oils or residues, ensuring the base coat sticks perfectly.
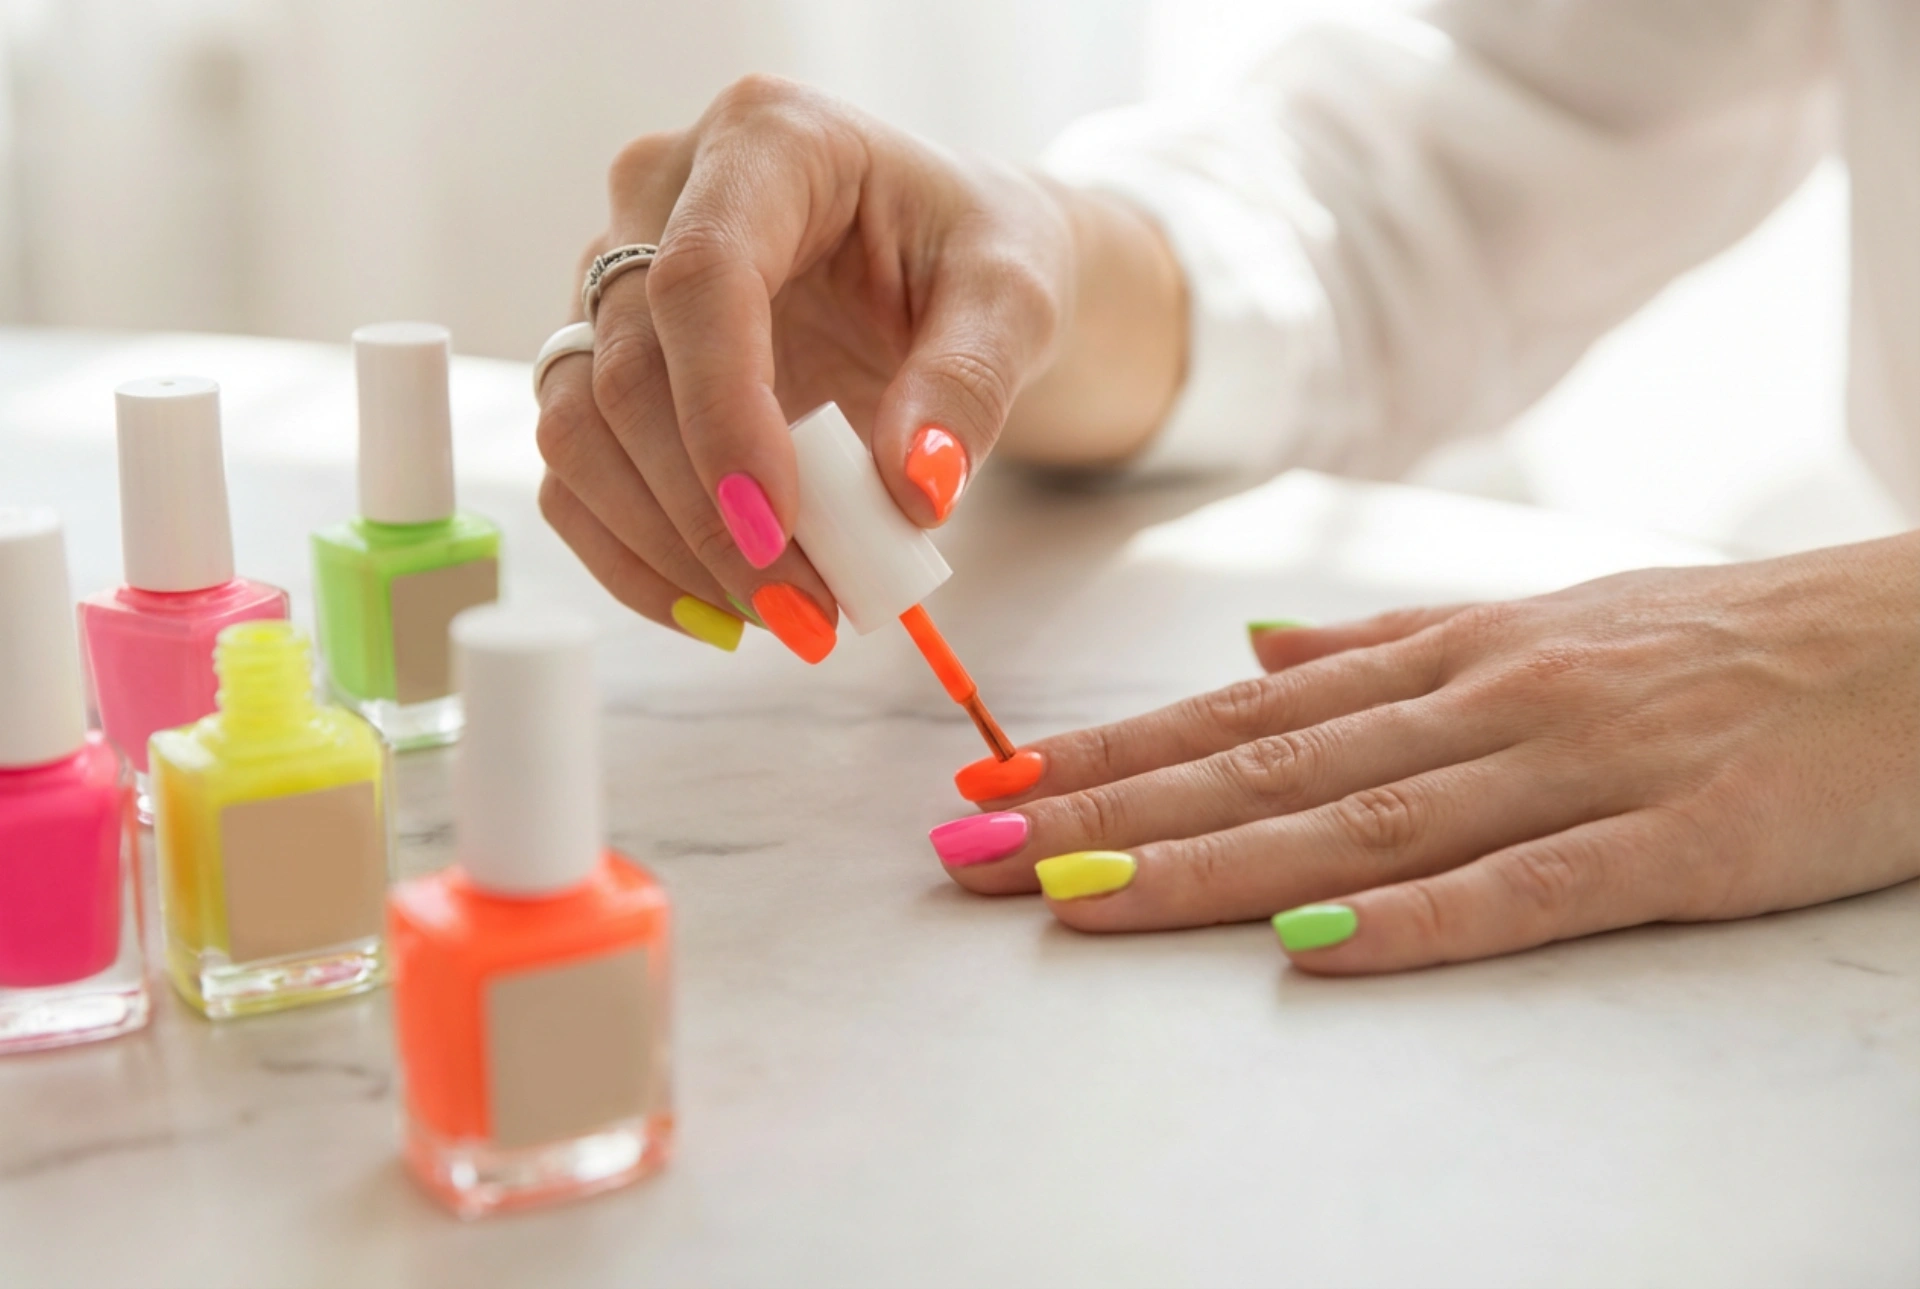
Step-by-Step Application for Maximum Impact
Neon polishes can sometimes be tricky to work with as they can have a slightly streaky formula. The key is to work in thin, even layers and use the right base.
Step 1: The Essential Base Coat
Never skip the base coat! It protects your natural nails from staining and helps your manicure last longer. For neons, a white, opaque base coat is a game-changer. Applying a thin layer of white polish before your neon colour will make the shade appear significantly brighter and more opaque, cancelling out any patchiness from the neon formula.
Step 2: Applying the Neon Colour
Once your base coat is completely dry, it's time for the colour. Shake the neon polish bottle well. Apply the first coat in a thin, even layer using the three-stroke method: one stroke down the centre, followed by one on each side. Don't worry if it looks streaky; the second coat will fix it. Let the first coat dry for at least two minutes before applying the second. A third coat might be necessary for some lighter neon shades to achieve full, vibrant coverage.
Step 3: Sealing with a Top Coat
A high-quality top coat is crucial for a professional-looking finish. It adds a brilliant shine, protects the colour from chipping and fading, and smooths out any minor imperfections. Apply a generous layer of a quick-drying, glossy top coat over the entire nail, making sure to 'cap' the free edge by swiping the brush along the tip of the nail. This seals the polish and significantly extends the life of your manicure.