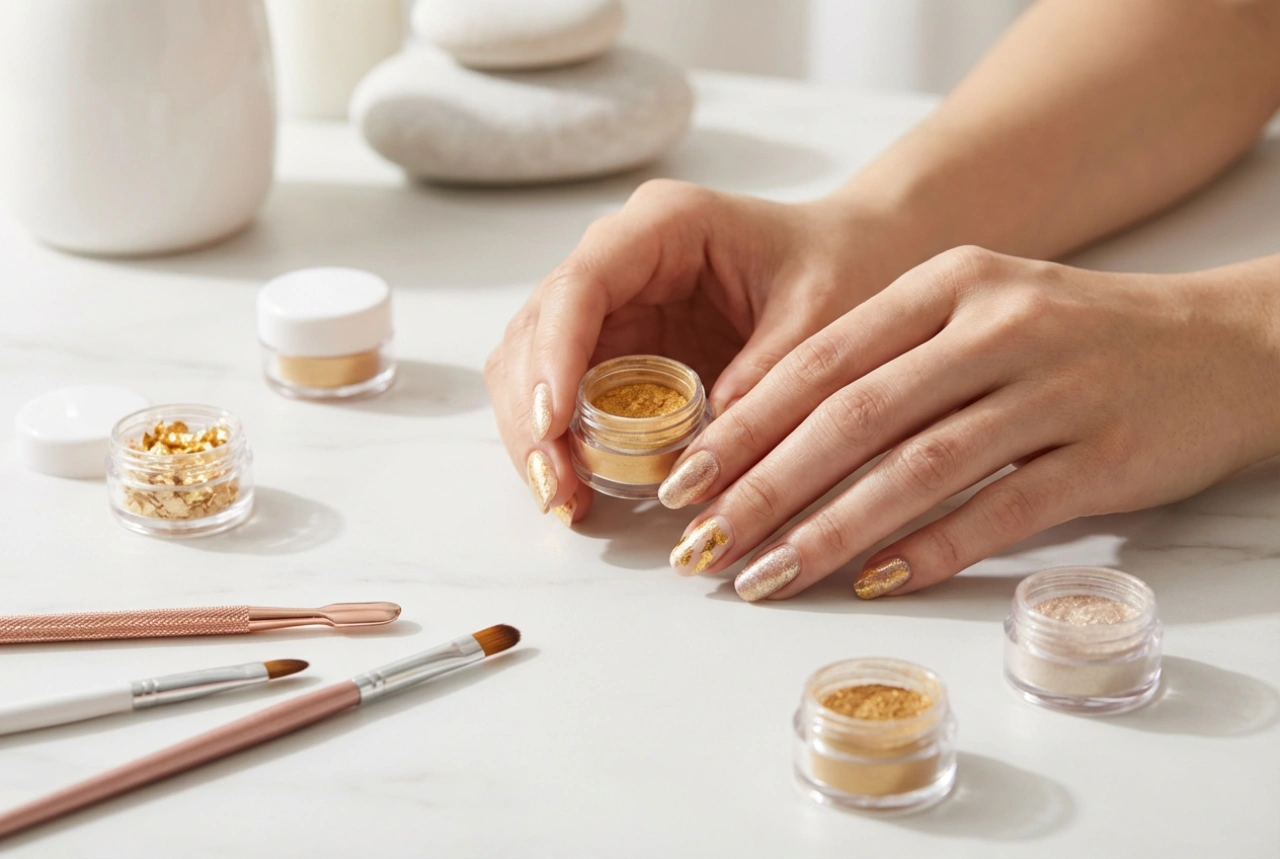


Creating a moment of calm for self-care, like an at-home manicure, can be a wonderfully relaxing experience. Having the right tools and a clear plan makes all the difference between a frustrating attempt and a beautiful, lasting result. Assembling your own nail styling kit is the first step towards achieving salon-quality nails in the comfort of your own home. This guide will walk you through the essential items you'll need and provide a simple workflow for a flawless finish.
Building Your Essential Nail Kit
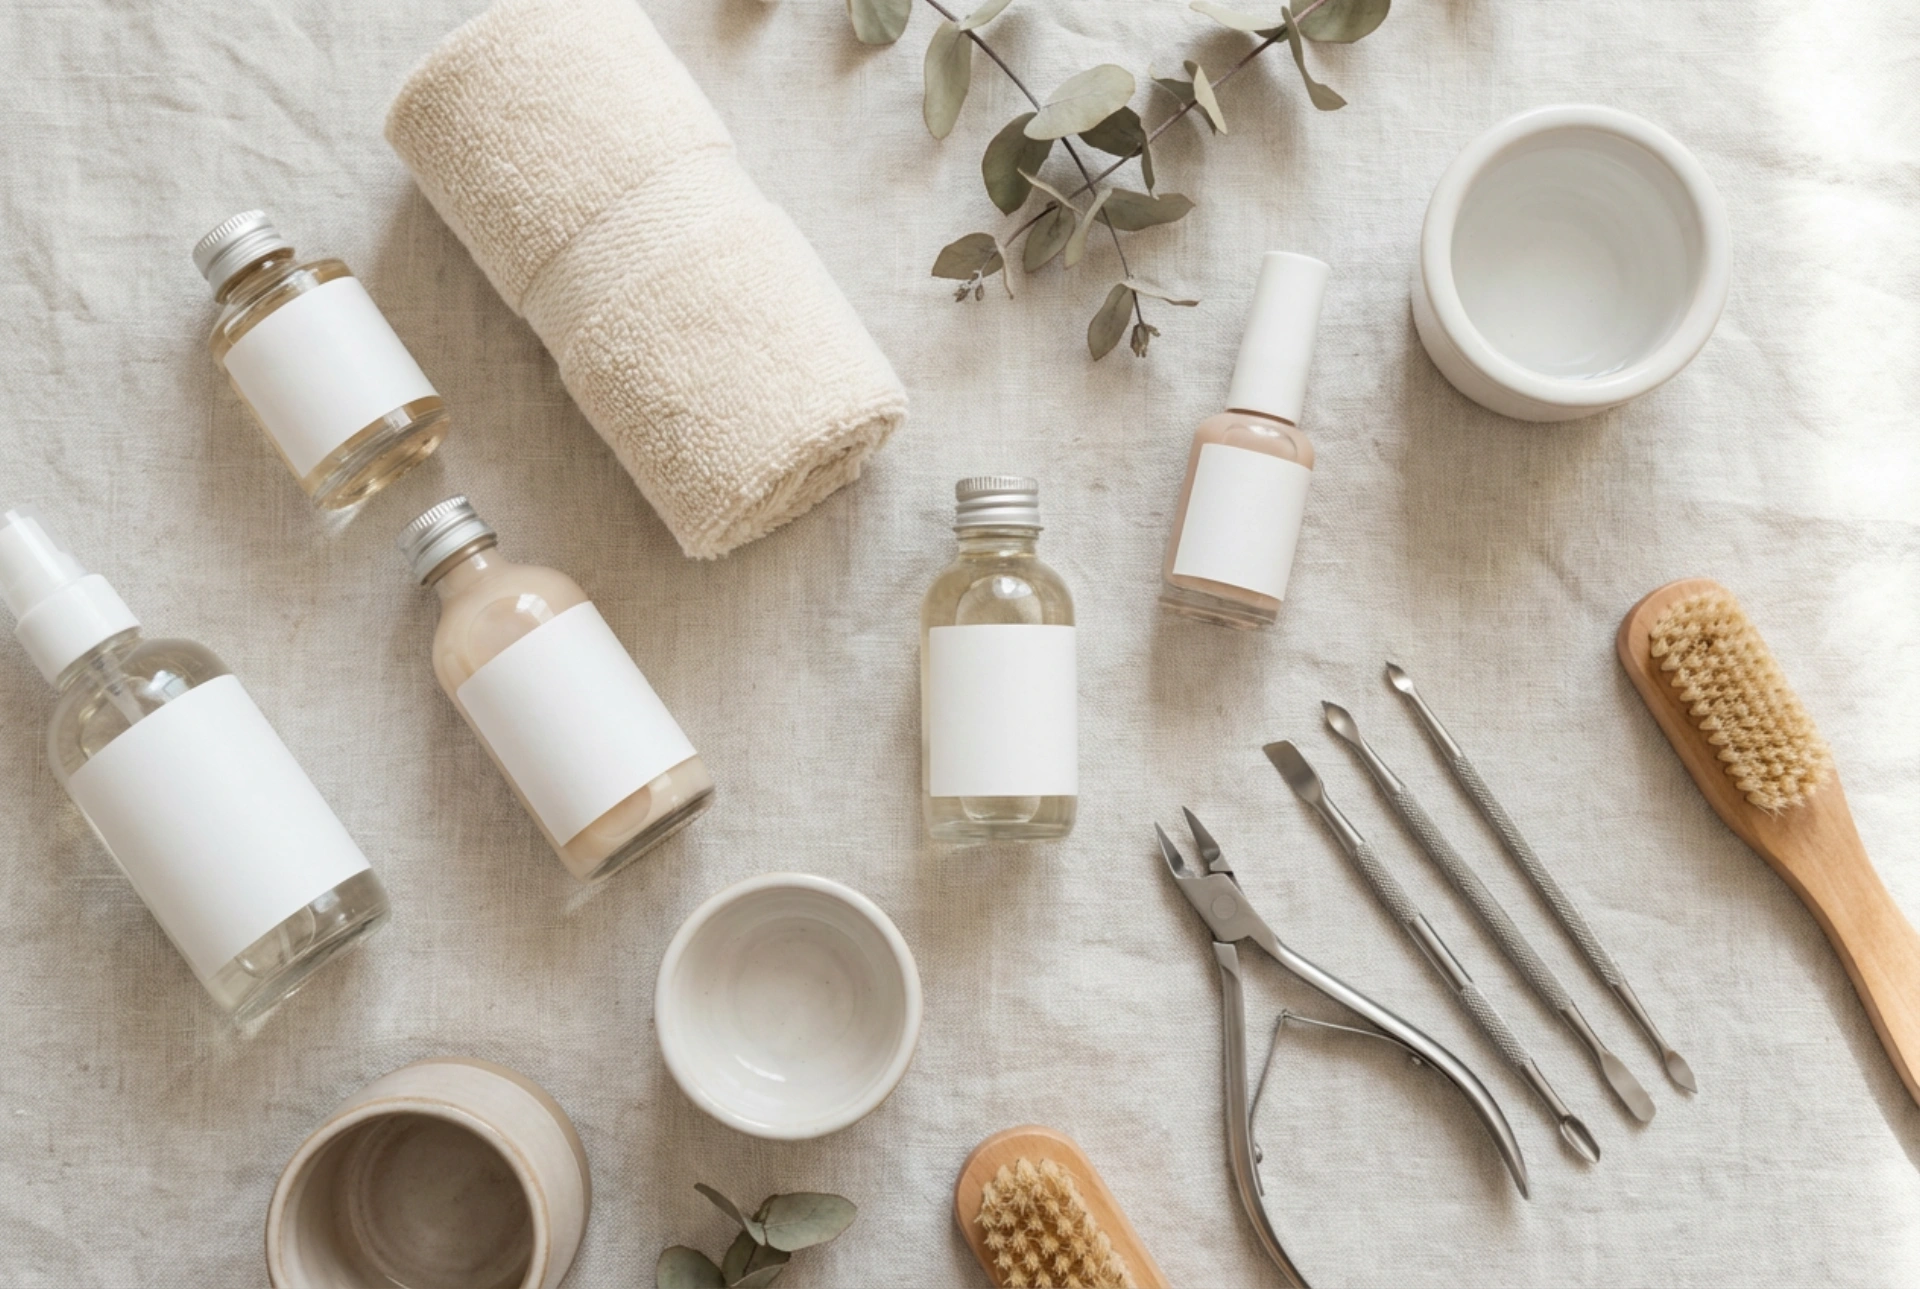
You don't need a vast collection of tools to get started. A few key items will cover all the fundamental steps of nail preparation, polishing, and finishing. Focus on quality over quantity to ensure your tools are effective and durable.
Tools for Shaping and Smoothing
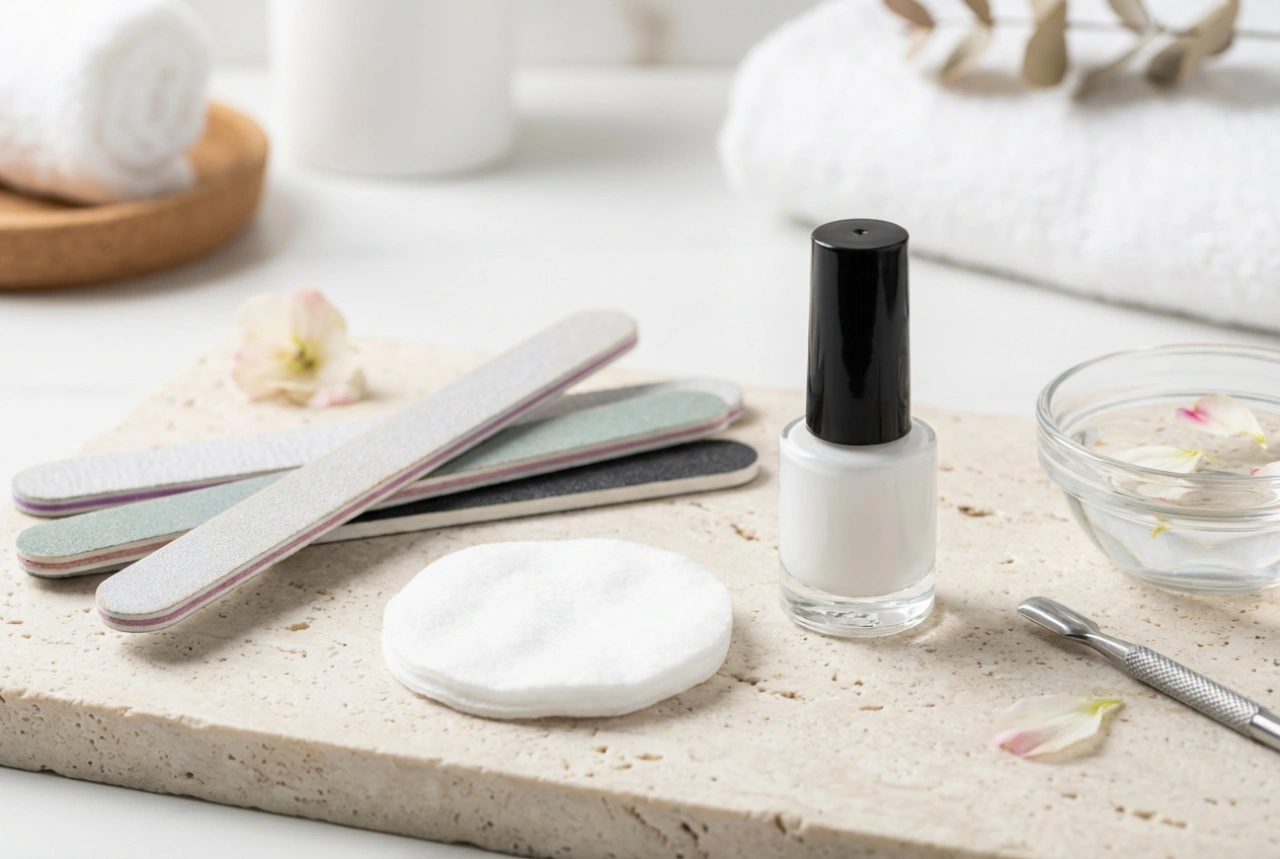
- Nail File: Choose a gentle file (often called a crystal or glass file) to shape your nails without causing splitting or peeling. A softer emery board is also a good option for natural nails.
- Buffer Block: A multi-sided buffer is excellent for smoothing ridges on the nail surface and creating a high shine, even without polish.
Cuticle Care Implements
- Cuticle Pusher: A wooden stick or a metal pusher with a soft, rounded edge is used to gently push back the cuticles from the nail plate.
- Cuticle Remover Solution: A gentle liquid formula helps to soften the dead skin around the nail, making it easier to push back and remove.
- Cuticle Nippers (Optional): These should be used with extreme care and only to trim hangnails or detached, dead skin. Never cut the living cuticle tissue (the eponychium).
Polishes and Removers
- Base Coat: This is a crucial step. A good base coat protects your nails from staining, helps the polish adhere better, and can provide nutrients to the nail.
- Nail Polish: Choose your favourite colours! It's helpful to have a classic neutral, a bold shade, and a timeless red in your collection.
- Top Coat: A high-quality top coat seals in the colour, adds a glossy shine, and protects your manicure from chipping, extending its life.
- Nail Polish Remover: Opt for an acetone-free remover if your nails are prone to dryness or brittleness, as it's less harsh.
- Cotton Pads or Lint-Free Wipes: For clean and efficient polish removal.
Your Step-by-Step Home Manicure Plan
With your kit assembled, you're ready to start. Set aside some time where you won't be interrupted. A clean, flat surface with good lighting is ideal.
Step 1: Preparation is Key
Start with clean, dry hands. Remove any old polish using a cotton pad soaked in remover. Wash your hands afterwards to get rid of any oily residue. Next, file your nails into your desired shape. File in one direction, from the side of the nail to the centre, to prevent weakening the nail. Gently buff the surface of each nail to smooth out any ridges.
Step 2: Cuticle Attention
Apply a small amount of cuticle remover solution to the base of each nail and let it sit for a minute. You can also soak your fingertips in warm, soapy water for a few minutes to soften the skin. Use a cuticle pusher to gently push back the softened cuticles. If you have any hangnails, carefully trim them with nippers. Avoid cutting the cuticle itself. Wipe away any excess remover.
Step 3: The Art of Polishing
Ensure your nails are completely dry and free of oils or lotions. Begin by applying a thin, even layer of base coat to each nail and allow it to dry completely. Next, apply your chosen colour. The trick is to use thin coats. Apply the first coat, starting from the base of the nail and stroking towards the tip. Use three strokes: one down the middle, then one on each side. Let the first coat dry for a few minutes before applying a second for full opacity. Finally, once the colour is touch-dry, apply a thin layer of top coat, making sure to 'cap' the free edge of the nail by swiping the brush along the tip. This helps prevent chipping.
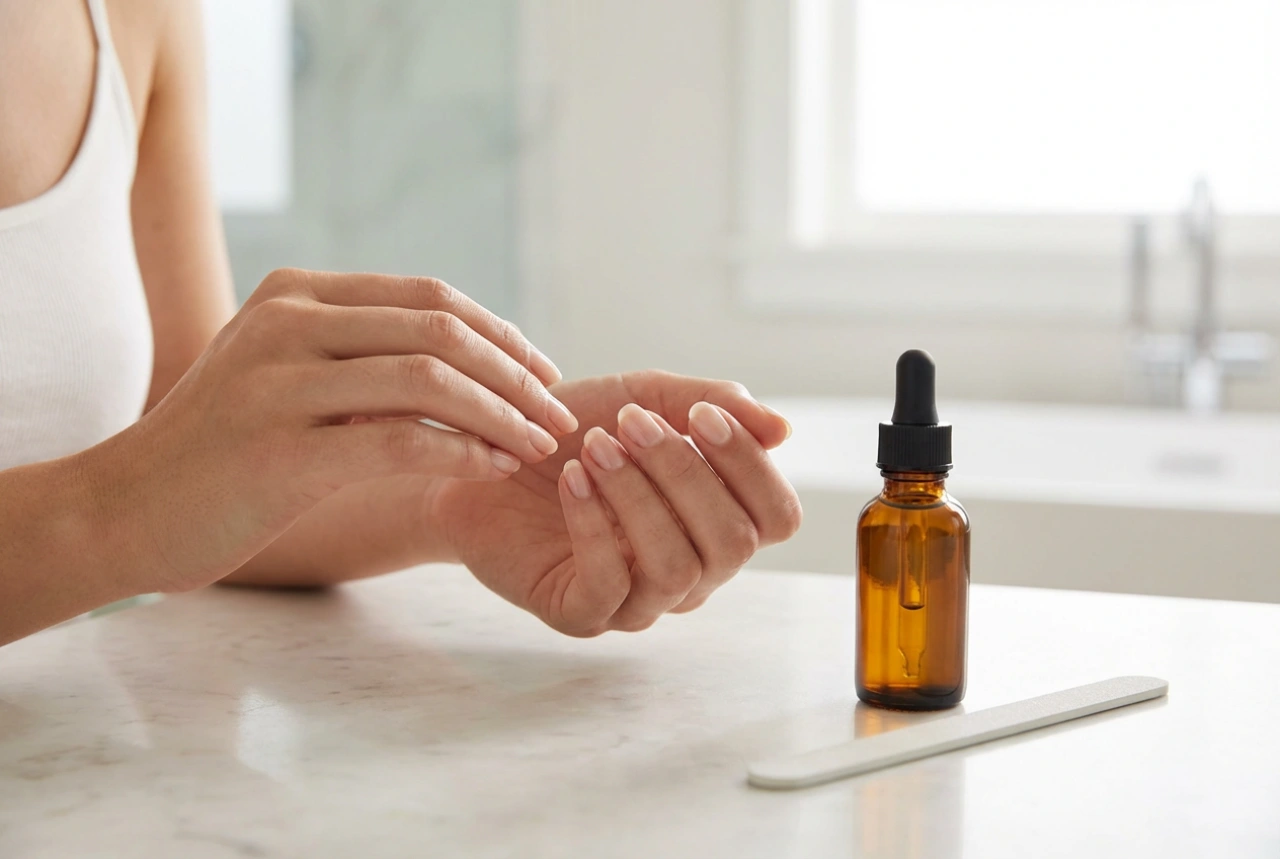
Step 4: Drying and Finishing Touches
Patience is a virtue when it comes to drying your nails. Allow at least 15-20 minutes of undisturbed drying time. To speed things up, you can use quick-dry drops, but letting them air dry naturally is often best. Once your nails are completely dry, apply a drop of cuticle oil to the base of each nail and massage it in. Finish by applying a nourishing hand cream to keep your skin soft and hydrated. This final step not only cares for your skin but also adds a professional, pampered feel to your home manicure.