


Geometric patterns on nails are a timeless choice, offering a look that is both modern and sophisticated. From simple lines to complex interlocking shapes, this style of nail art allows for endless creativity. Fortunately, you don't need to be a professional nail technician to achieve a flawless geometric manicure. With a few basic tools and a little patience, you can create stunning designs from the comfort of your own home. This guide will walk you through three popular methods: using tape, stamping, and fine brushes.
Preparing Your Nails for Geometric Designs
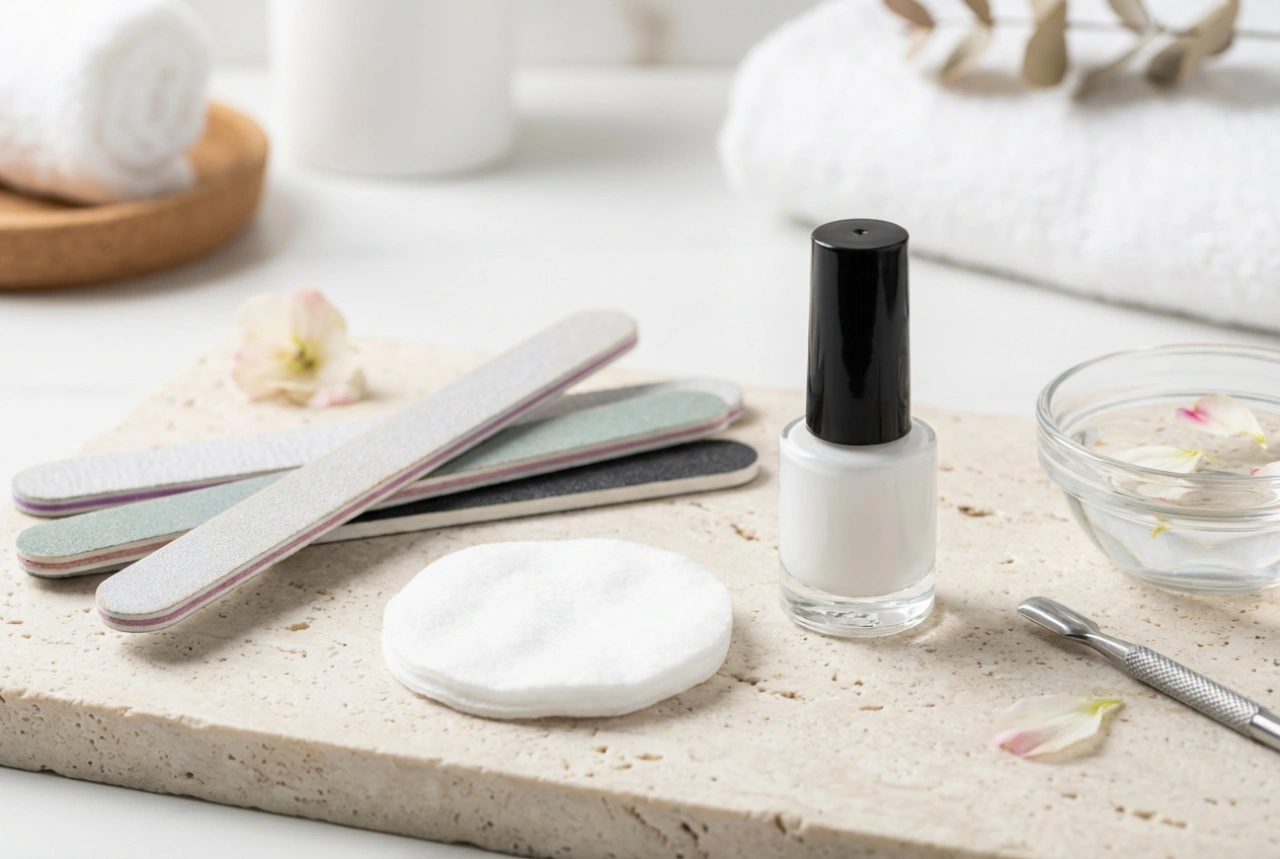
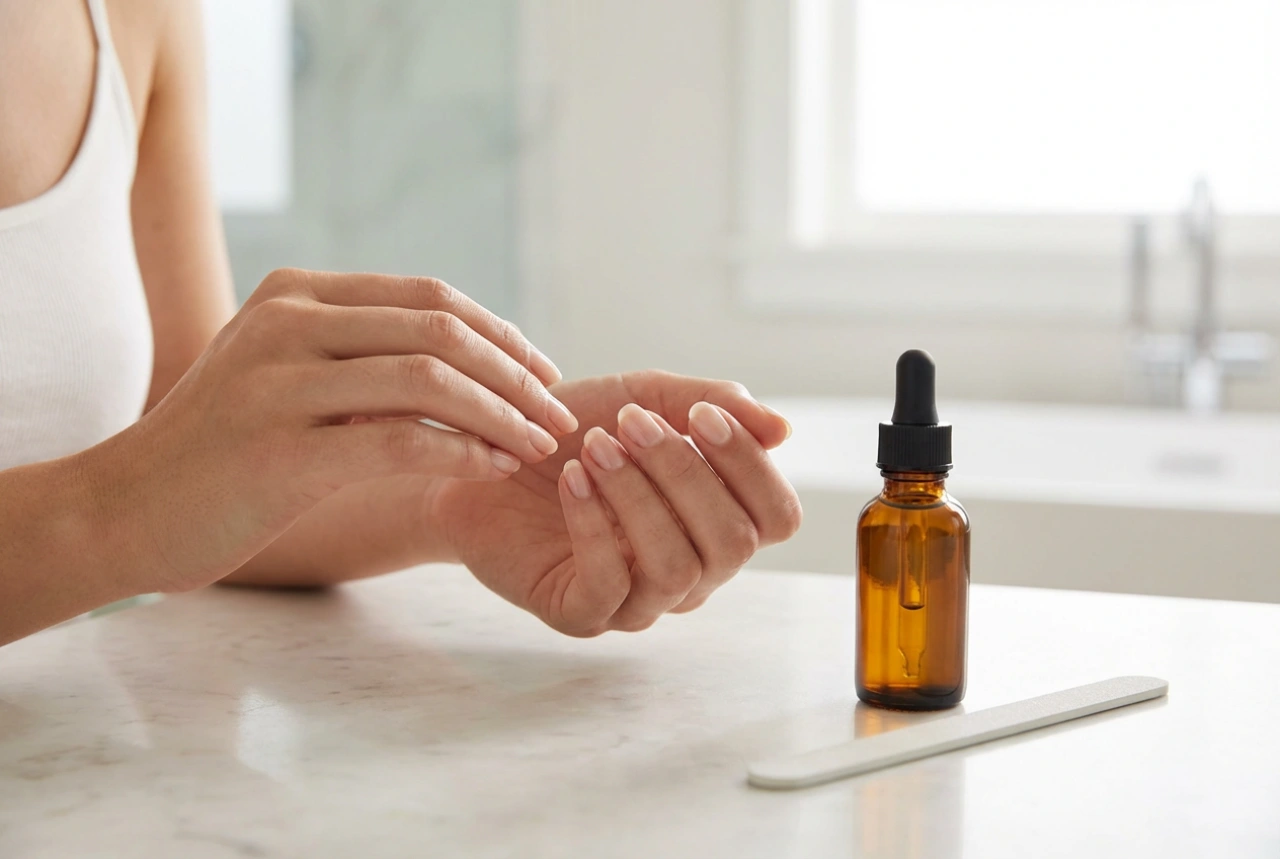
Before you begin creating your masterpiece, proper preparation is essential to ensure your design looks crisp and lasts as long as possible. A smooth canvas is the foundation of any great nail art. Start by shaping and buffing your nails to your desired form. Ensure your cuticles are pushed back and the nail plate is clean and free of any oils. Apply a quality base coat to protect your natural nails and help the polish adhere better. Once the base coat is dry, apply one or two coats of your chosen base colour. Lighter, neutral shades often work best to make geometric patterns pop, but feel free to experiment with any colour combination you love.
Creating Crisp Lines with Nail Art Tape
Nail art tape is a fantastic tool for beginners as it guarantees sharp, clean lines with minimal effort. This thin, adhesive tape is specifically designed for nail art and is easy to apply and remove.
Step-by-Step Guide
- Let It Dry Completely: The most crucial step is to ensure your base colour is 100% dry. If it's even slightly tacky, the tape may lift the polish when you remove it. Allow at least 20-30 minutes, or use a quick-dry top coat over your base colour and wait for that to dry.
- Plan Your Design: Decide on your pattern. You can create chevrons, stripes, grids, or abstract angular shapes. Cut small strips of tape and place them firmly on your nail to section off the areas you want to paint.
- Apply the Second Colour: Paint your second nail polish colour over the tape. Don't worry about being neat on the tape itself, but ensure you cover the exposed nail area fully.
- Remove Tape Promptly: While the second layer of polish is still wet, carefully and slowly peel off the tape strips using tweezers. This prevents the polish from smudging or cracking.
- Seal Your Design: Once the design is completely dry, apply a generous layer of a glossy or matte top coat. This will smooth out any ridges, protect your hard work, and give your manicure a professional finish.
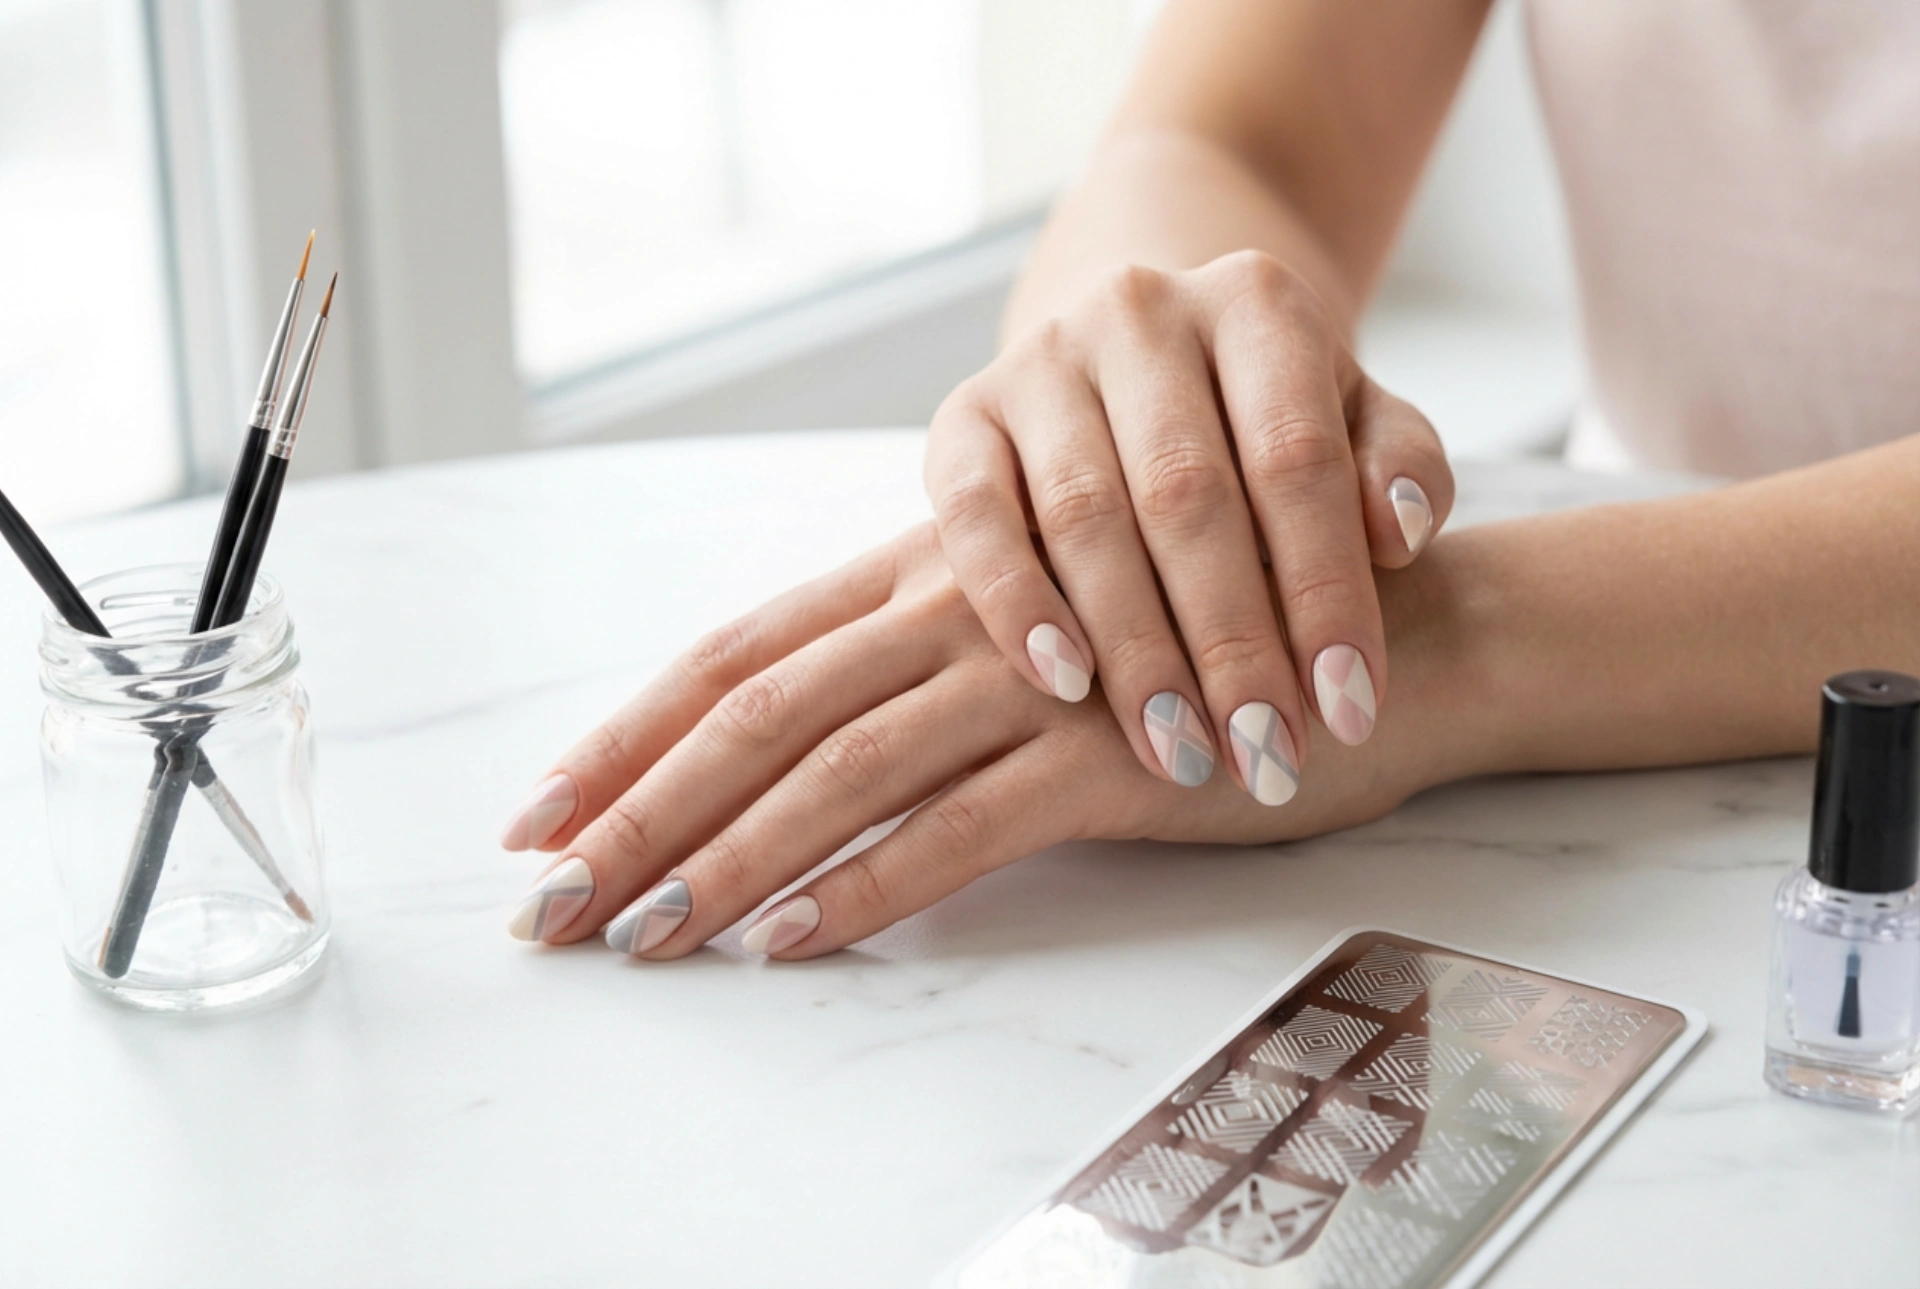
Effortless Patterns with Nail Stamping
Nail stamping is a game-changer for creating intricate, detailed, and perfectly uniform geometric patterns. It involves transferring a design from an engraved metal plate onto your nail using a silicone stamper.
How to Use a Nail Stamper
- Get Your Tools Ready: You will need a stamping plate with geometric designs, a scraper, a silicone stamper, and a highly pigmented stamping polish. Stamping polishes are thicker than regular nail polishes, which helps in picking up the design cleanly.
- Apply Polish to the Plate: Apply a small amount of stamping polish onto the desired design on the metal plate.
- Scrape the Excess: Holding the scraper at a 45-degree angle, swiftly scrape off the excess polish from the plate. This should leave polish only within the engraved design.
- Pick Up the Design: Immediately press the silicone stamper onto the design on the plate using a gentle rolling or pressing motion. The pattern should transfer onto the stamper.
- Transfer to the Nail: Quickly and carefully, roll or press the stamper onto your nail to transfer the design. Work one nail at a time.
- Clean Up and Seal: Use a small brush dipped in nail polish remover to clean up any excess polish on your skin. Once the stamped design is dry, apply a top coat to seal it in place. Be sure to float the top coat over the nail to avoid smearing the design.
Freehand Artistry with Fine Brushes
For those who feel more artistically inclined, using fine nail art brushes offers the ultimate creative freedom. This method requires a steady hand but allows you to create completely unique and personalised geometric designs.
Tips for Freehand Geometry
- Choose the Right Brush: A long, thin striper brush is perfect for straight lines, while a tiny detailer brush is excellent for filling in small shapes or creating intricate patterns.
- Practise First: If you're new to freehand nail art, practise your designs on a piece of paper or a nail art practice wheel first. This will help you get a feel for the brush and the consistency of the polish.
- Work with a Steady Hand: Rest your elbow and wrist on a table to stabilise your hand. This will help you draw straighter lines and have more control over the brush.
- Less is More: Dip only the tip of your brush into the polish. Using too much polish can lead to thick, bubbly lines that take a long time to dry and are prone to smudging.
- Build Your Design in Layers: Start with the basic shapes and lines of your design. Let each element dry before adding another that crosses over it to prevent colours from bleeding into one another. Finish with a top coat to protect your custom artwork.