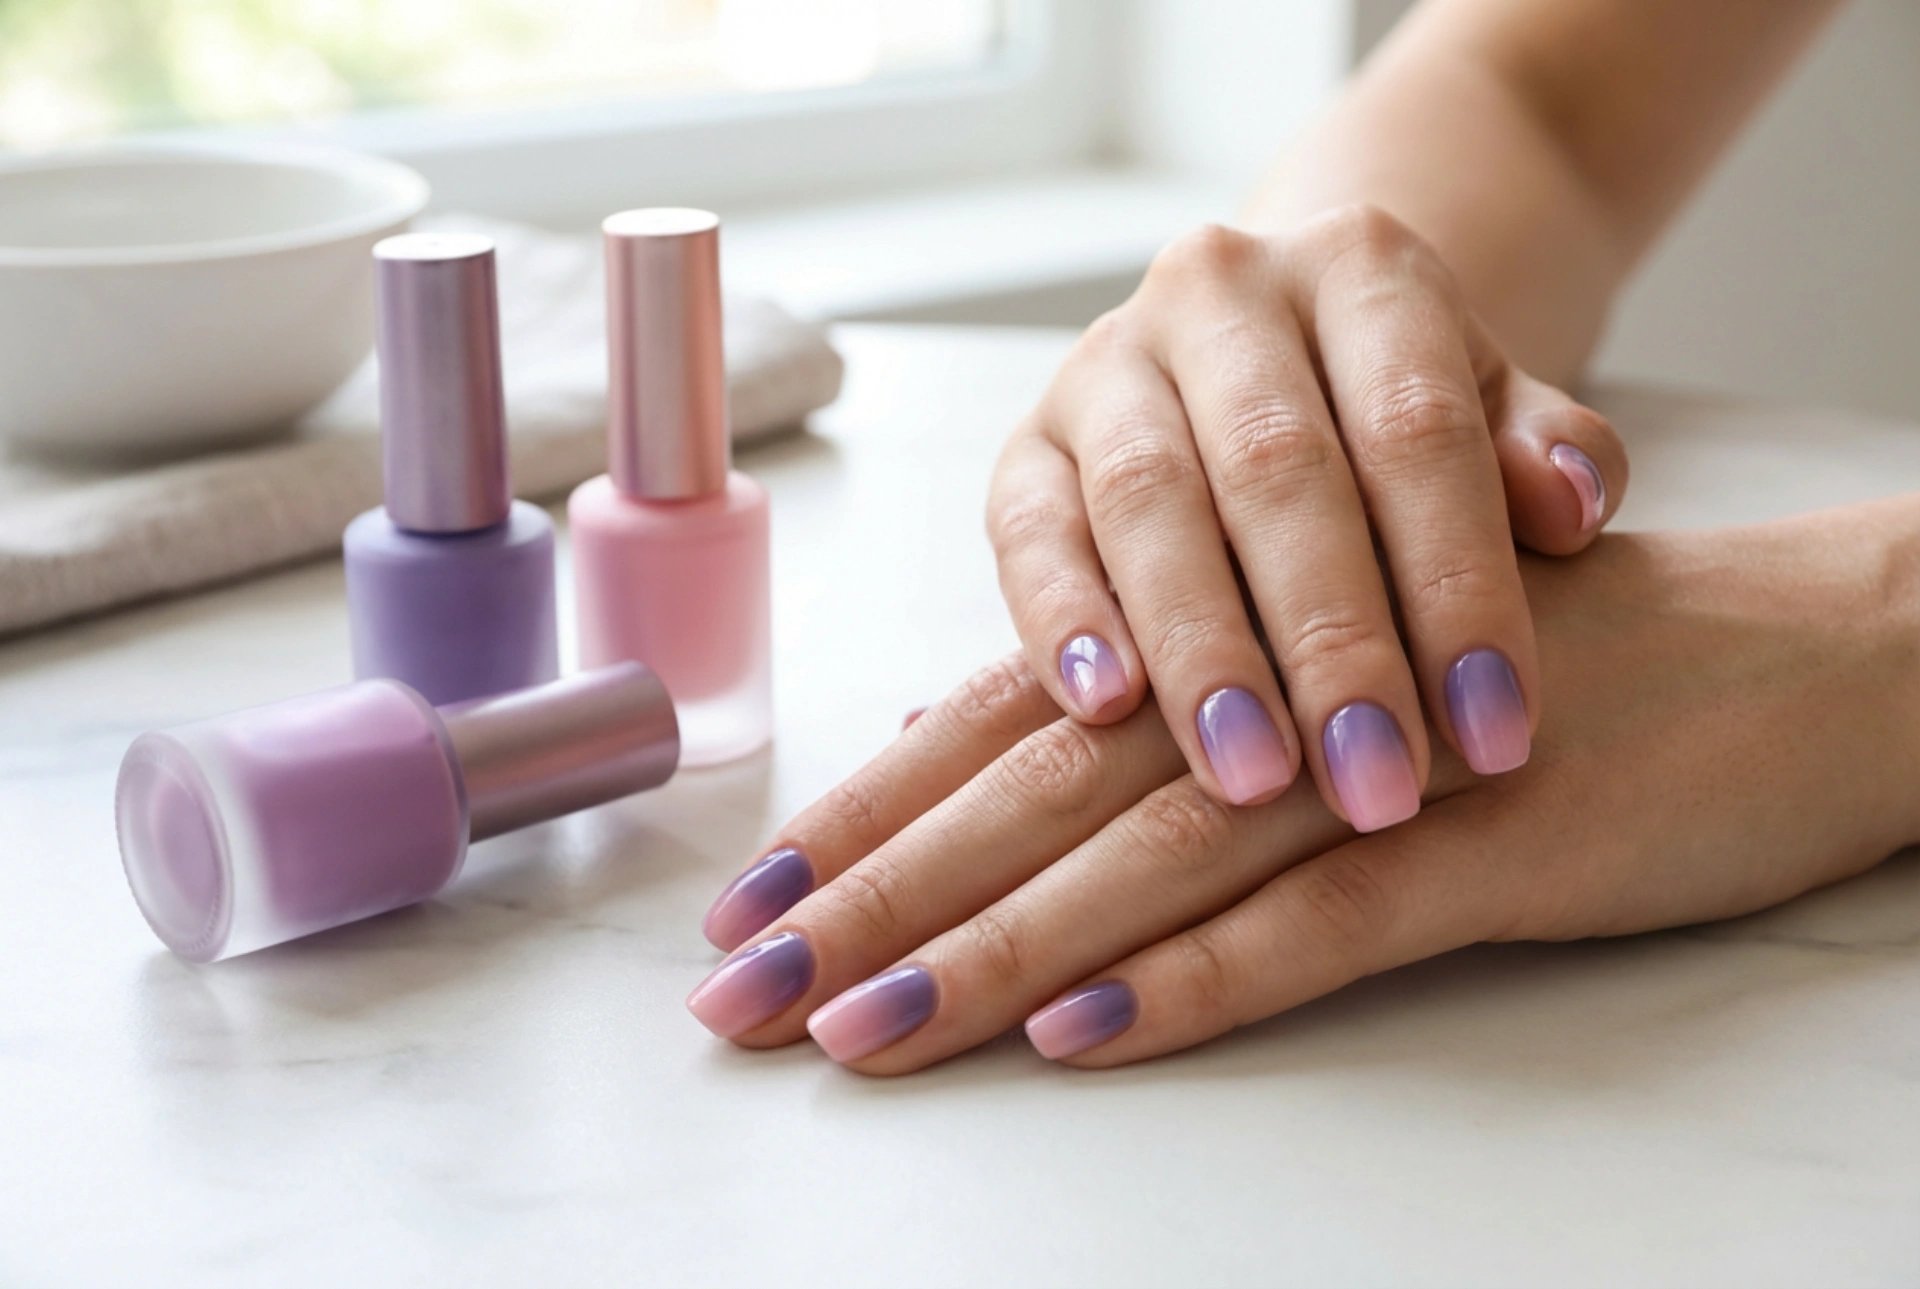


The combination of purple and pink on nails creates a visually striking and elegant effect, suitable for any season. The gradual transition from a deep, rich purple to a soft, delicate pink can make hands look sophisticated and well-groomed. This style, known as ombre or gradient, is surprisingly achievable at home with a few simple tools and a little patience. Whether you're preparing for a special occasion or simply want to elevate your daily look, learning how to create a smooth ombre and complement it with cohesive accents will give you a polished, salon-quality manicure.
Preparing Your Nails for the Ombre Effect
Proper preparation is the foundation of any long-lasting and beautiful manicure. Before you begin applying colour, it's essential to create a clean and smooth canvas. A well-prepared nail surface ensures that the polish adheres better and the final result is free of imperfections.
- Clean and Shape: Start by removing any old polish. Wash your hands and gently scrub your nails. File your nails to your desired shape, whether it's square, oval, or almond. Ensure all nails are of a uniform length.
- Cuticle Care: Gently push back your cuticles using a wooden or orange stick. Avoid cutting them, as this can lead to irritation. Tidy up any hangnails with a nipper.
- Buff the Surface: Lightly buff the surface of your nails with a fine-grit buffer. This removes natural oils and creates a slightly textured surface for the polish to grip onto, which helps the manicure last longer.
- Apply a Base Coat: Always apply a clear base coat. This step is crucial as it protects your natural nails from staining, especially from pigmented shades like purple, and provides a smooth base for the colour application. Let it dry completely.
The Sponge Technique for a Seamless Gradient
The secret to a perfect ombre nail is using a makeup sponge. This tool helps to blend the colours together seamlessly, creating that sought-after gradient effect. It might seem messy at first, but with a little practice, you'll master it.
Step-by-Step Guide:
First, choose your polishes. You'll need a light pink, a medium or dark purple, and a light base colour, like a pale pink or white, to make the ombre pop. Apply one or two coats of the light base colour to all your nails and let it dry completely. Next, protect the skin around your nails. You can apply a liquid latex barrier or use regular tape around the nail to make cleanup easier. Now, take a disposable makeup sponge. Paint horizontal stripes of your pink and purple polish directly onto the sponge, right next to each other. The colour band should be slightly wider than your nail. Gently dab the sponge onto your nail, moving it slightly up and down to blend the colours. Repeat this for a more intense look, but let the layer dry a bit between applications. Don't worry about the mess on your skin; you'll clean it up later. Repeat on all nails you wish to have the ombre effect.
Creating Cohesive Accents
While a full set of ombre nails is beautiful on its own, adding a few simple accents can elevate the manicure and give it a more personalised and cohesive look. Accents draw the eye and can tie the different colours together perfectly.
- Solid Colour Accent Nail: The easiest way to create a cohesive look is to paint one nail on each hand (typically the ring finger) in a solid colour. Use either the purple or the pink from your ombre palette. This creates a focal point and breaks up the pattern beautifully.
- Subtle Glitter: A thin coat of fine glitter polish can be applied over the ombre to add a touch of sparkle. You can apply it over the entire nail or concentrate it on the tip to enhance the gradient effect. A silver or iridescent glitter works best as it complements both pink and purple.
- Simple Dotting: Using a dotting tool or the end of a bobby pin, you can add a few small dots near the cuticle area. Use the contrasting colour—for example, purple dots over the pink part of the gradient—for a subtle yet stylish detail.
Finishing Touches for a Long-Lasting Manicure
The final steps are just as important as the preparation. They seal in your design, add a beautiful shine, and ensure your hard work lasts as long as possible.
Once the ombre and any accents are completely dry, it's time for cleanup. If you used a liquid latex barrier, simply peel it off. If you used tape, remove it carefully. For any remaining polish on the skin, dip a small, flat brush or a cotton swab in nail polish remover and carefully clean around the edges of your nail for a sharp, professional line. Finally, apply a generous layer of a high-quality, glossy top coat. This is the most crucial step for an ombre manicure, as the top coat not only protects the design from chipping but also magically melts the colours together, further smoothing out the gradient. It adds a brilliant shine that makes the colours look more vibrant. To finish, apply a few drops of cuticle oil to hydrate the skin around your nails, giving your manicure that fresh-from-the-salon look.




