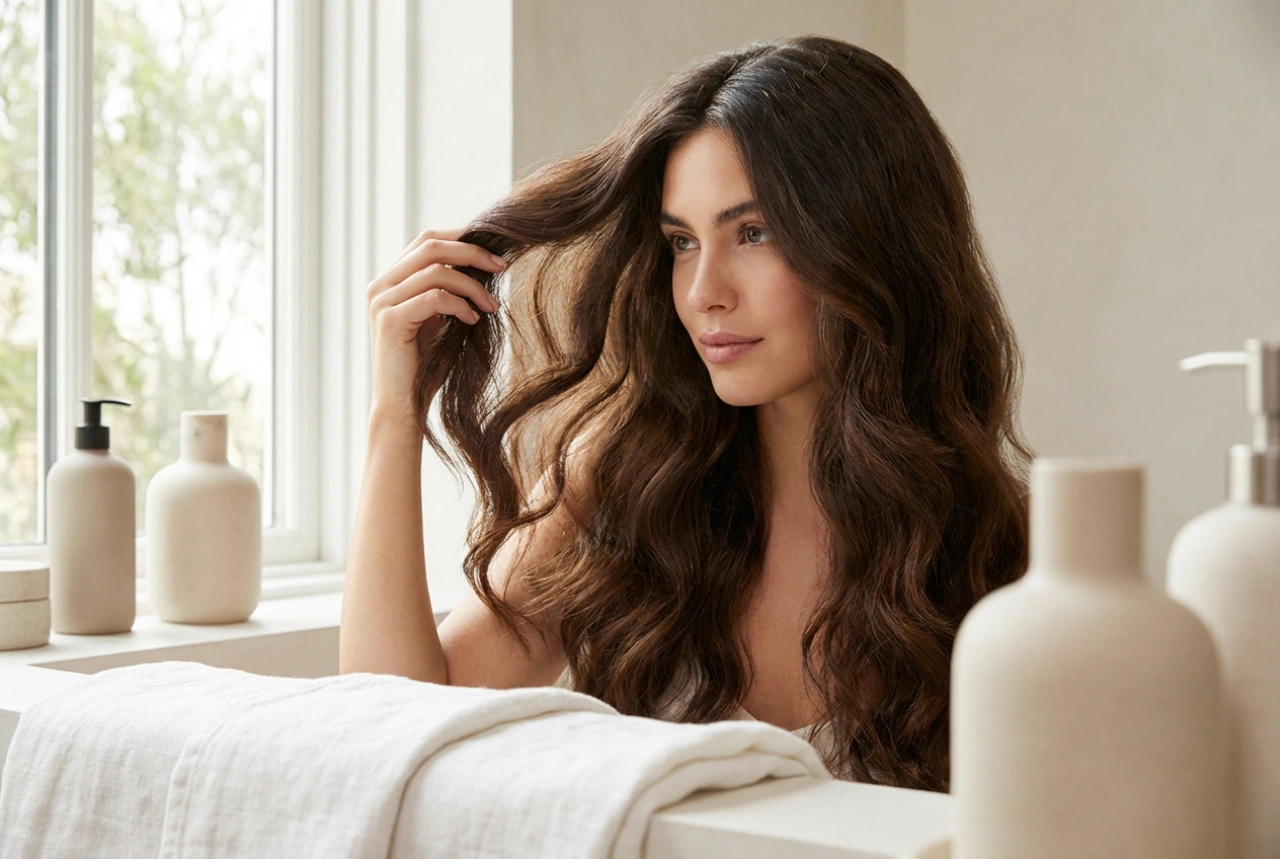


Taking care of our hair is a ritual that goes beyond simple cleansing. For those seeking to elevate their routine, especially when dealing with dry or delicate strands, exploring different washing techniques can be a game-changer. One such technique that has gained popularity for its protective and nourishing benefits is the OMO method. It involves a specific sequence of applying products to shield the hair from potential damage while ensuring a thorough cleanse and deep conditioning, transforming a simple wash into a truly restorative treatment for hair that looks and feels its best.
What Exactly is the OMO Method?
OMO is an acronym that stands for Conditioner (O), Wash (M), Conditioner (O). In some regions, the 'M' stands for the local word for 'wash' or 'shampoo'. The core principle of this three-step hair washing process is to protect the more vulnerable parts of your hair—typically the lengths and ends—from the potentially drying effects of shampoo. While shampoos are essential for cleansing the scalp of oil, dirt, and product build-up, their cleansing agents can sometimes strip natural oils from the hair shaft, leaving it dry and brittle. The OMO method provides a protective barrier before you even introduce shampoo, and follows up with an intensive nourishing treatment.
Who Can Benefit from OMO?
This method is particularly beneficial for individuals with specific hair concerns. You might find it transformative if your hair is:
- Dry and Brittle: The extra layers of conditioning help to lock in moisture.
- Damaged: Whether from heat styling, chemical treatments, or environmental factors, damaged hair benefits from the gentle approach.
- Colour-Treated: It can help protect colour from fading too quickly by shielding the hair fibre.
- High Porosity: This hair type absorbs and loses moisture quickly, so the double dose of conditioning helps to seal the cuticle and retain hydration.
- Long: The ends of long hair are older and more prone to dryness and split ends, making them ideal candidates for the protective first conditioning step.
A Step-by-Step Guide to the OMO Method
Integrating the OMO method into your hair care routine is straightforward. It simply reorganises the products you already use. Here’s how to do it correctly:
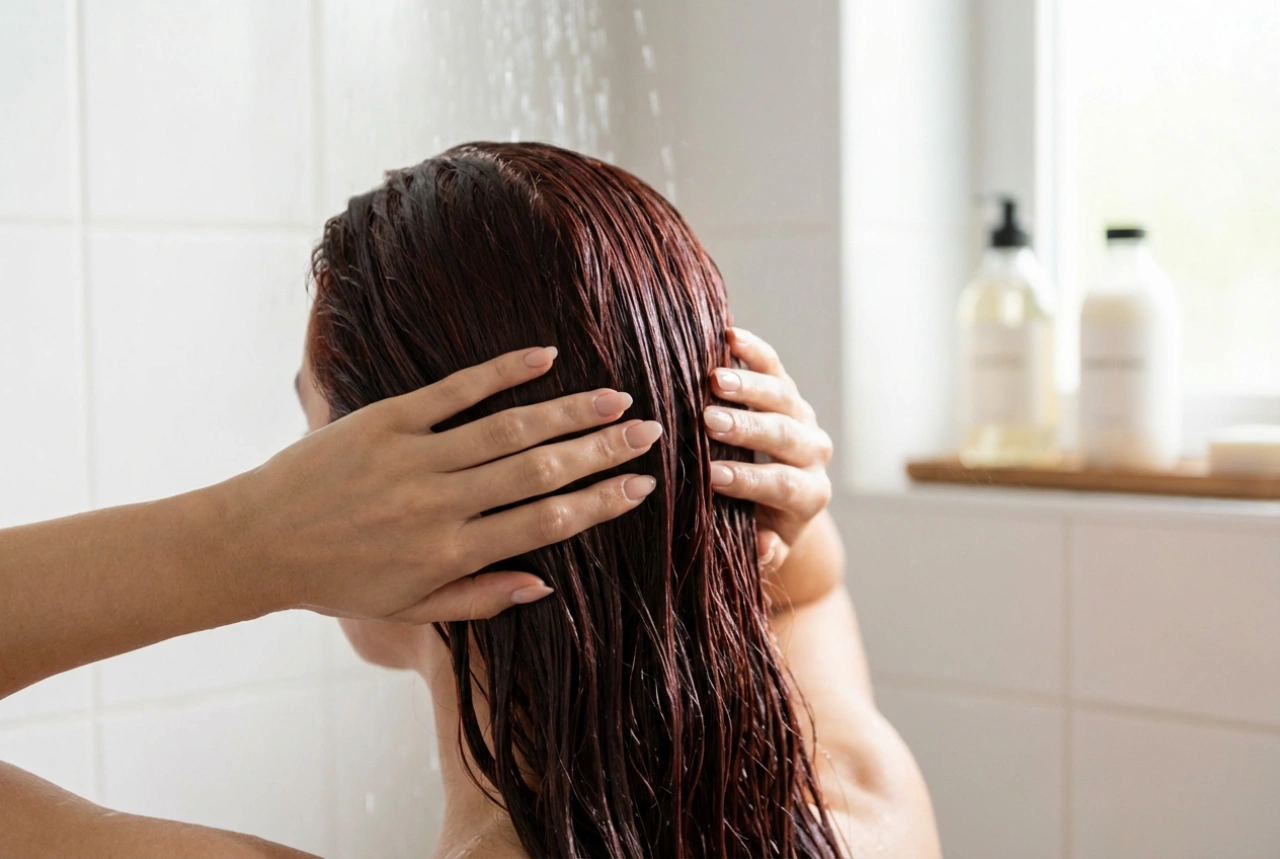
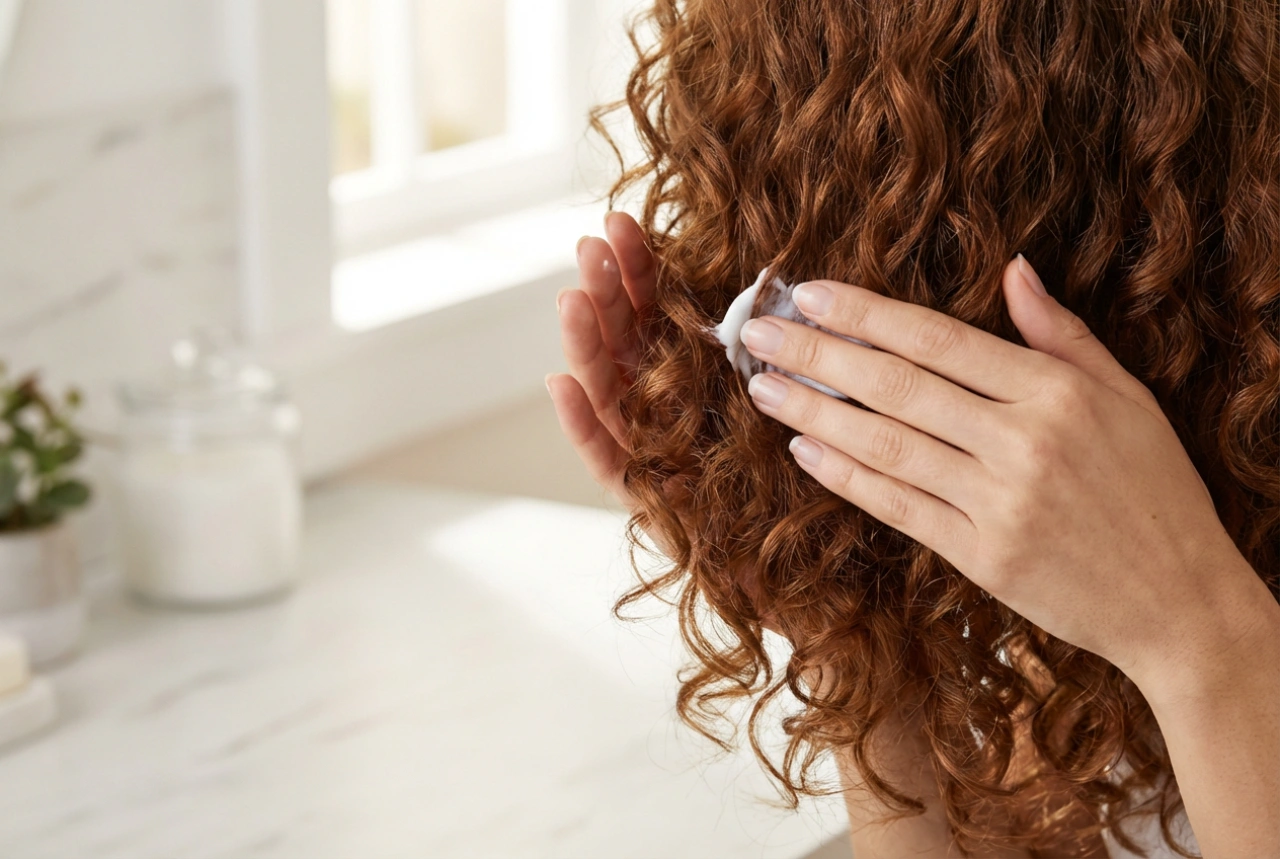
Step 1: O for Conditioner (The Protective Layer)
Before you even think about shampoo, begin by wetting your hair thoroughly. Squeeze out the excess water and apply a light conditioner to the lengths and ends of your hair, from about the ear level down. Avoid your scalp and roots. This initial layer of conditioner acts as a protective shield, preventing the shampoo from stripping these more fragile areas. You don't need to use your most expensive, heavy-duty conditioner for this step; a basic, lightweight one will do the job perfectly.
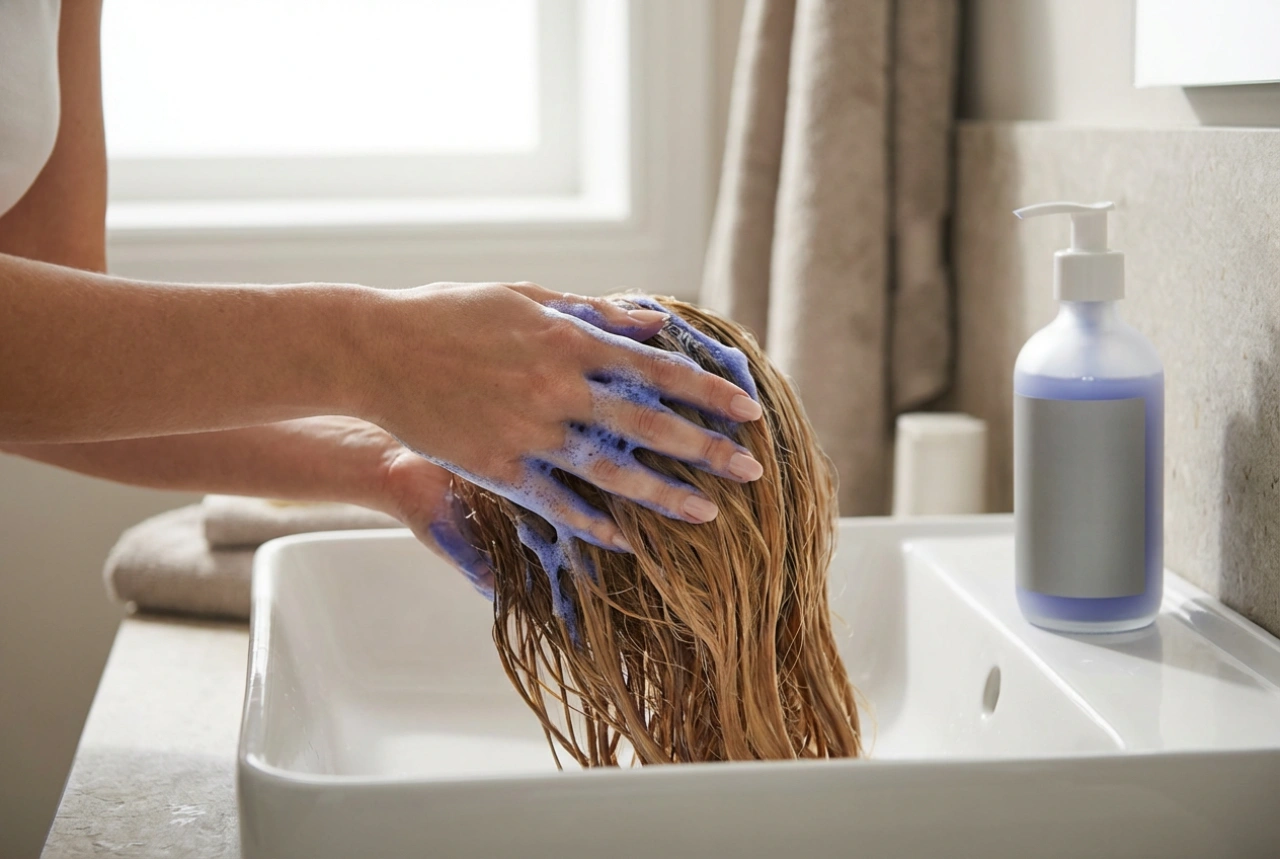
Step 2: M for Wash (The Cleanse)
With the first conditioner still in your hair, it's time to wash. Apply your chosen shampoo, but focus it directly on your scalp and roots where oil and build-up are most concentrated. Gently massage the shampoo into your scalp with your fingertips to create a lather. As you rinse, the suds will run down the lengths of your hair, providing a gentle cleanse without the harsh, direct contact that can cause dryness. This ensures your scalp gets clean while your ends remain protected.
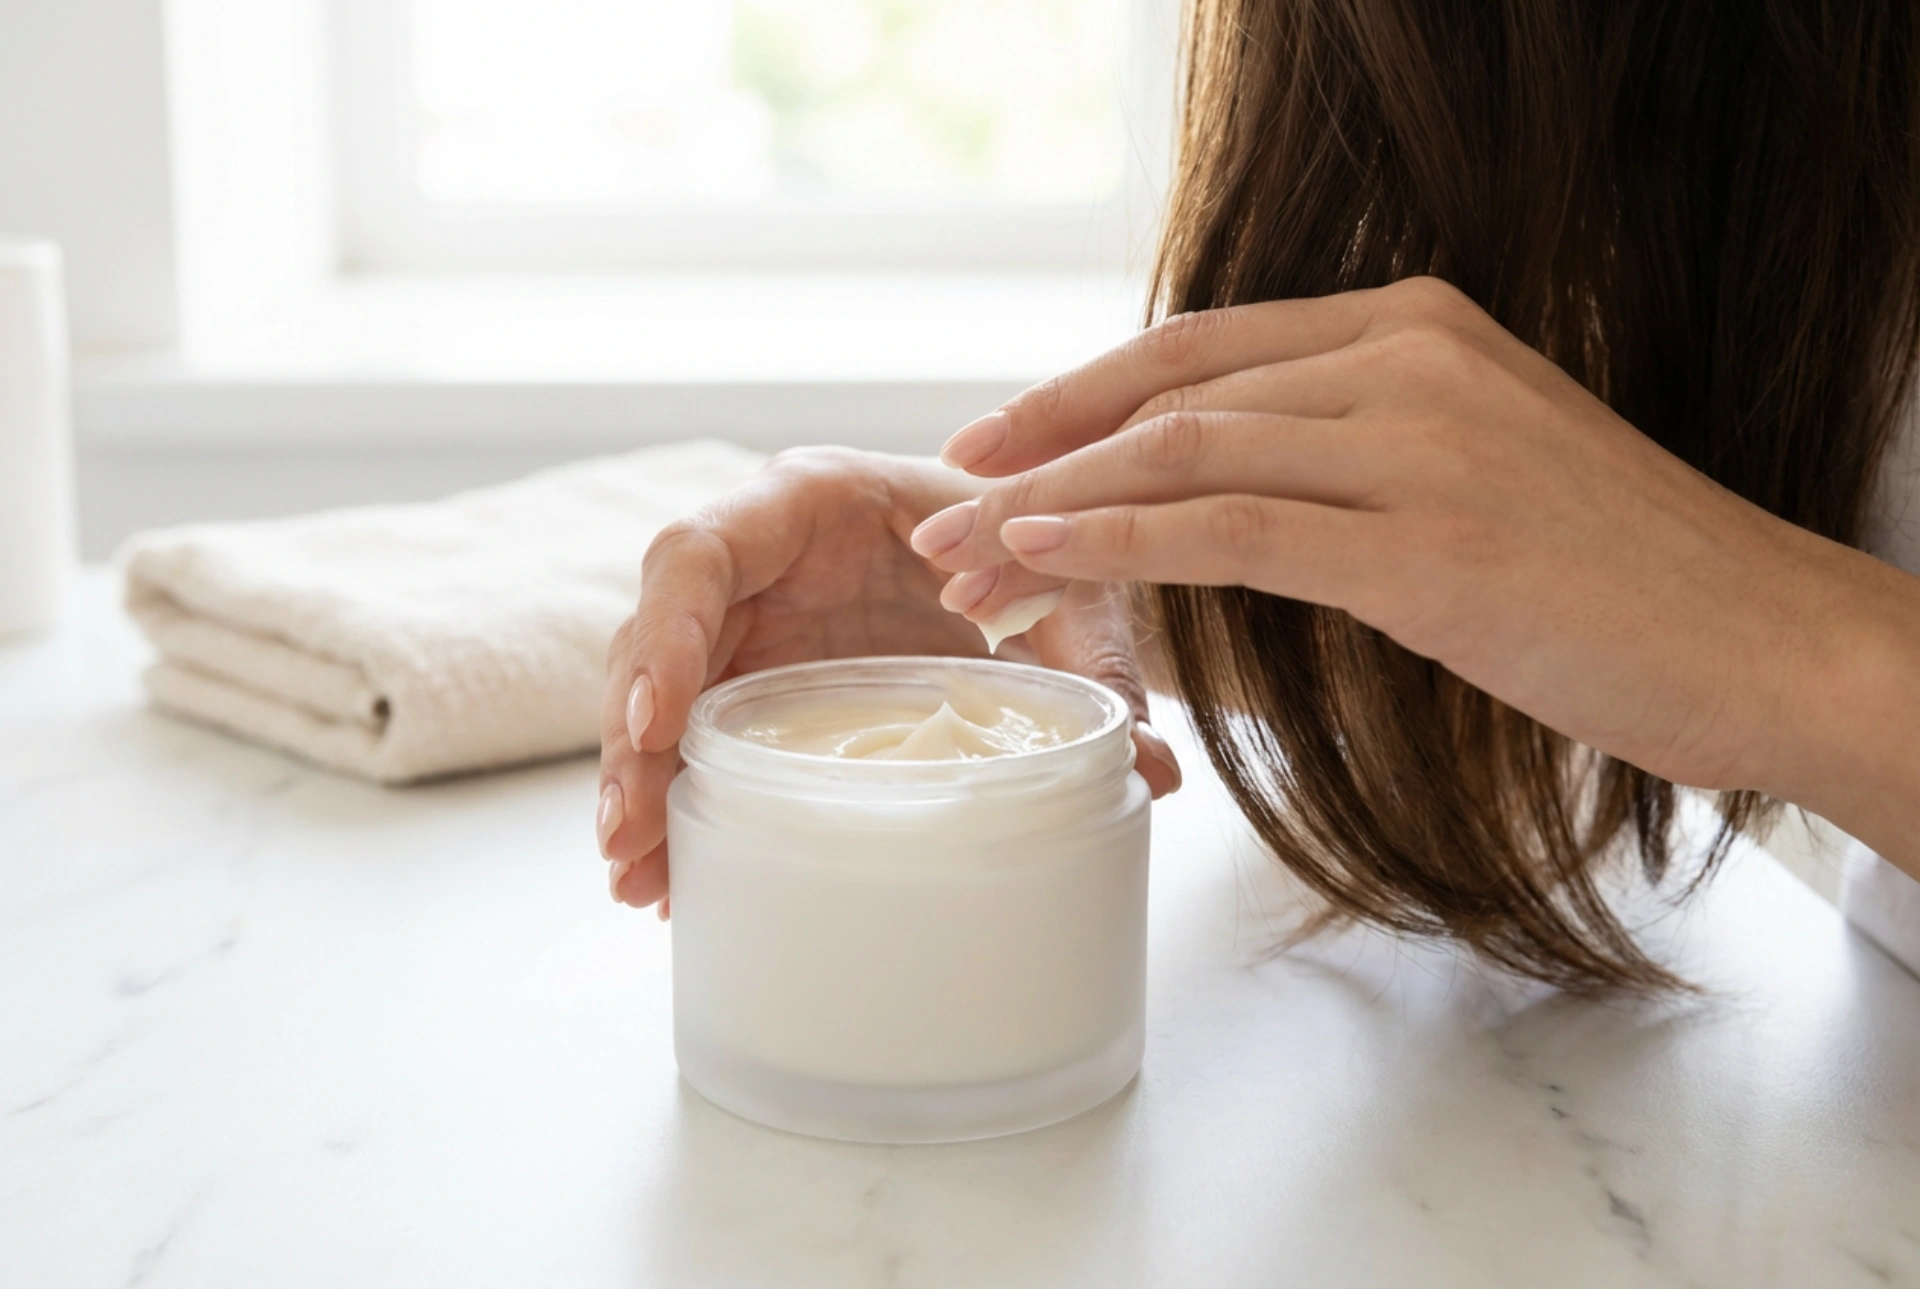
Step 3: O for Conditioner (The Nourishing Treatment)
After thoroughly rinsing out the shampoo and the first conditioner, gently squeeze the excess water from your hair. Now, it's time for the second conditioning step. This is where you should use your more intensive, nourishing conditioner or a hair mask. Apply it generously to the lengths and ends, the same areas you protected in the first step. This product's job is to deeply hydrate, nourish, and seal the hair cuticle, which was opened during washing. Leave it on for the recommended time—typically 3-5 minutes or longer for a deep treatment—before rinsing it out completely, preferably with lukewarm or cool water to help seal the cuticle and boost shine.
How to Choose the Right Products for Each Step
The success of the OMO method relies heavily on using the right type of product at each stage. Here are some guidelines:
- First Conditioner (O1): Look for a simple, lightweight, and likely silicone-free conditioner. Its main purpose is to provide slip and protection without causing build-up or weighing the hair down. An inexpensive conditioner often works best for this pre-shampoo step.
- Shampoo (M): Choose a shampoo based on your scalp's needs. If you have an oily scalp, you may still need a clarifying shampoo, but the OMO method will protect your ends. For sensitive or dry scalps, a gentle, sulphate-free shampoo is an excellent choice.
- Second Conditioner (O2): This should be your 'hero' product. Select a rich, deeply moisturising conditioner or a hair mask tailored to your hair's specific needs. Look for ingredients like humectants for moisture, proteins for repair if your hair is weak, and emollients like butters and oils to soften and smooth.
Practical Tips for Best Results
To get the most out of the OMO method, keep these final tips in mind. Fine hair can benefit from OMO, but it is crucial to use very lightweight products to avoid weighing it down and to rinse thoroughly. You don't have to use the OMO method for every wash; you can alternate it with your regular washing routine, perhaps using it once or twice a week as a special treatment. Be patient—while some people notice a difference after the first try, it may take a few washes for the cumulative benefits of improved hydration and protection to become truly visible. By customising the steps and products to your hair's unique character, the OMO method can become a cornerstone of your journey towards healthier, more resilient hair.