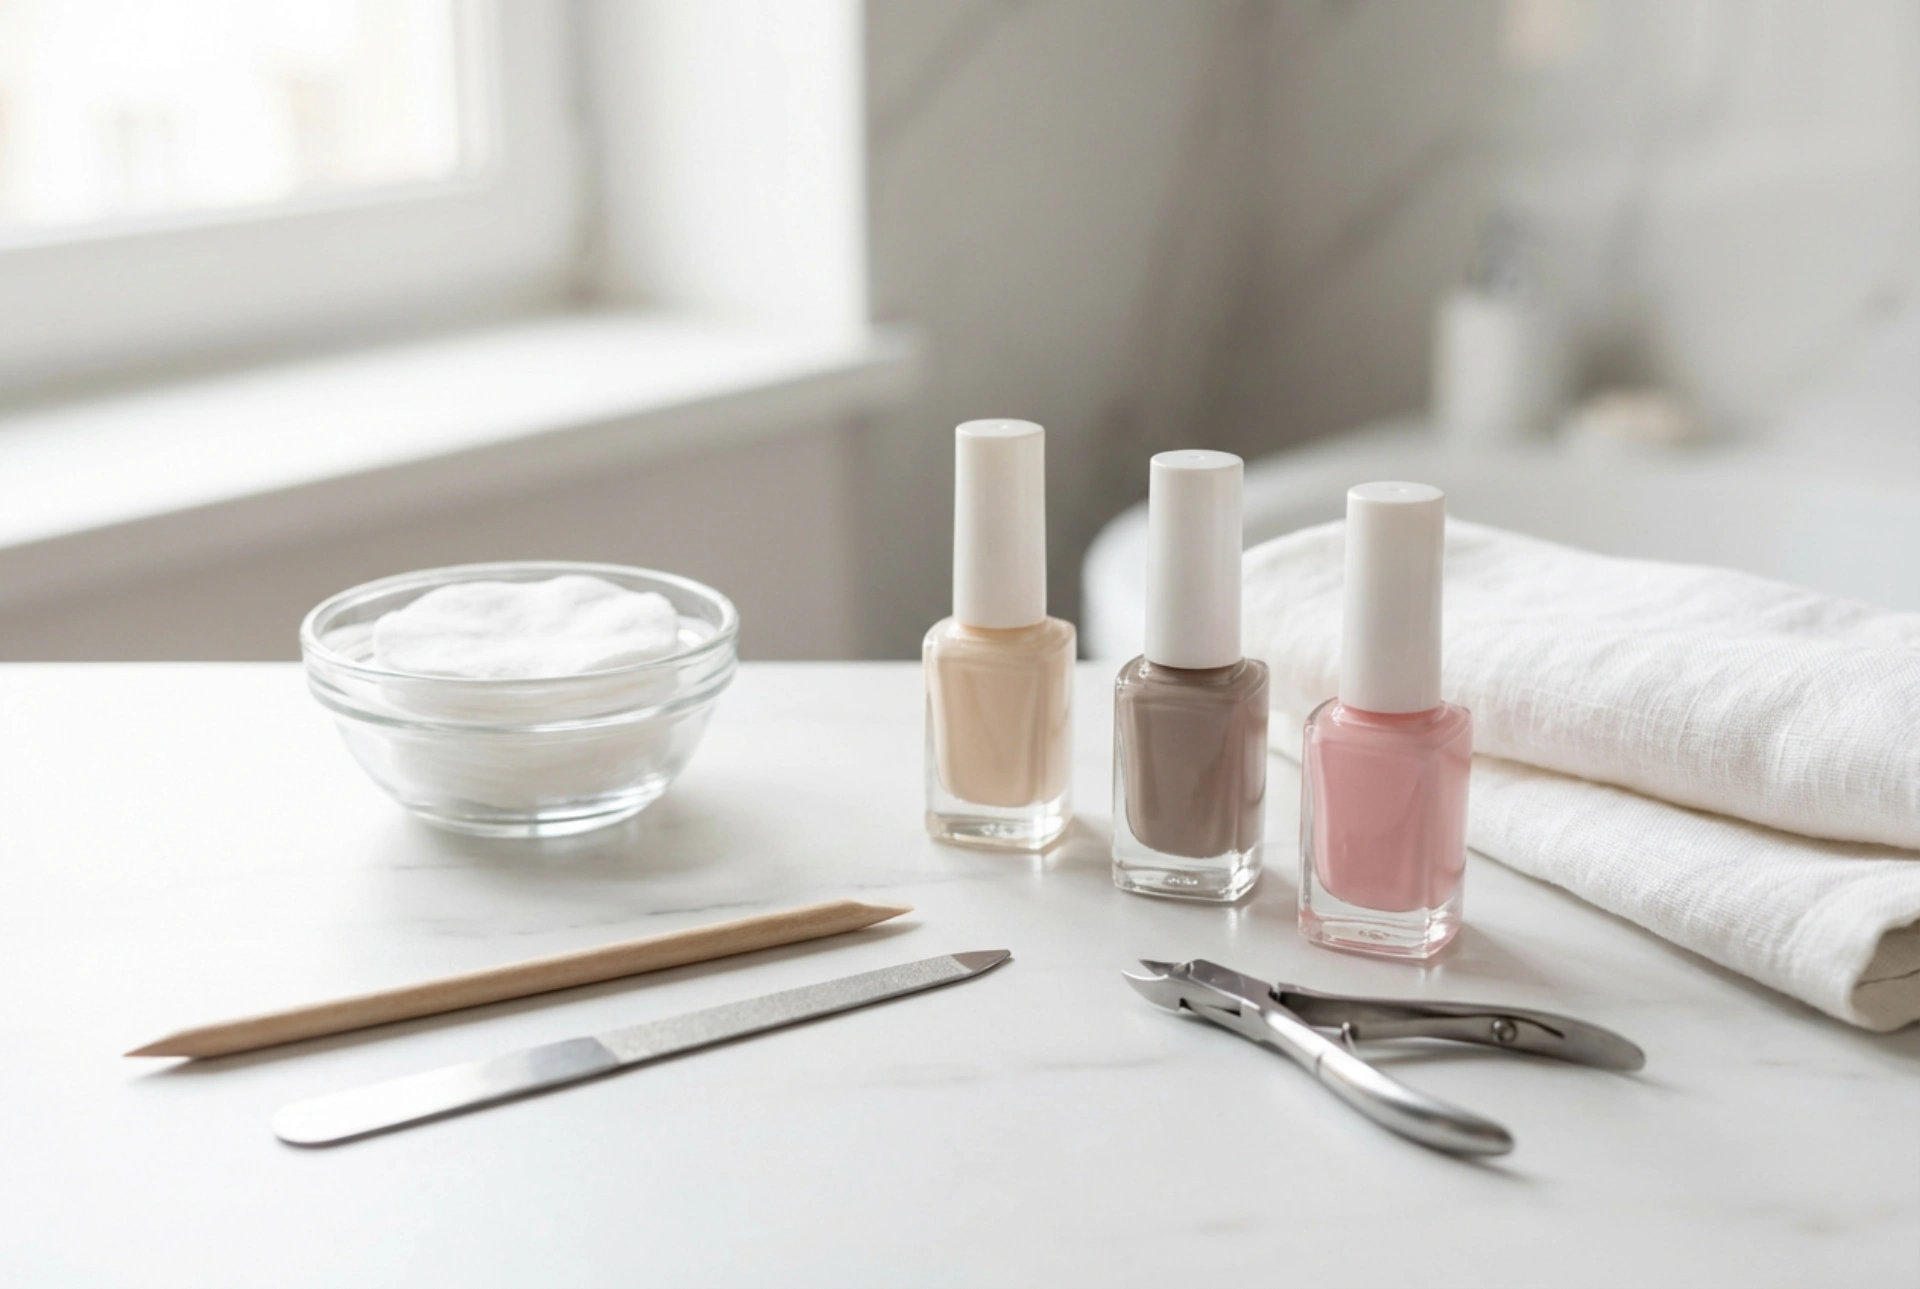


Creating a serene beauty ritual at home, such as giving yourself a manicure, is a wonderful way to practise self-care and achieve a polished look. Having a well-stocked kit with the right tools is the first step towards achieving beautiful, healthy-looking nails without leaving your house. A tidy set of tools on a clean surface can make the whole process feel more luxurious. This guide will walk you through the essential components of a home manicure set and how to use them for a flawless finish.
Essential Tools for Your Home Manicure Kit
Building your own manicure kit allows you to choose high-quality tools that suit your personal needs and preferences. While pre-made sets are available, selecting each item individually ensures it's right for you. Here are the fundamental items every comprehensive set should include:
- Nail Clippers or Scissors: For trimming your nails to the desired length. Choose a size and shape (curved or straight) that you find easy to handle.
- Nail File: A glass or crystal nail file is often recommended as it is gentler on the nails and can be easily cleaned. Use it to shape the nail edge smoothly after trimming.
- Nail Buffer: A multi-sided buffer block is excellent for smoothing ridges and creating a natural shine on the nail surface, which helps polish adhere better.
- Cuticle Pusher: A wooden orangewood stick or a stainless steel pusher helps to gently push back the cuticles from the nail plate.
- Cuticle Oil or Cream: Essential for hydrating the cuticles and the skin around the nails, preventing them from becoming dry and ragged.
- Base Coat, Nail Polish, and Top Coat: The three pillars of a lasting polish job. A base coat protects the nail, the colour provides the aesthetic, and the top coat seals it all in.
- Nail Polish Remover: Choose an acetone-free remover if your nails are prone to dryness.
- Hand Cream: To finish your manicure by hydrating your hands, leaving them soft and smooth.
Preparing Your Nails for a Flawless Manicure
Proper preparation is the secret to a long-lasting and neat manicure. Rushing this stage is a common mistake that leads to chipping and peeling. Before you even think about applying polish, dedicate time to these crucial steps for a professional-quality result.
Step 1: Clean and Shape
Start by removing any old nail polish completely using a cotton pad soaked in nail polish remover. Wash your hands with a gentle soap and dry them thoroughly. Next, trim your nails with clippers if they are too long. Then, use your nail file to shape them. Always file in one direction, from the side of the nail to the centre, as a back-and-forth sawing motion can weaken the nail and cause it to split.
Step 2: Cuticle Care
To soften your cuticles, you can soak your fingertips in a bowl of warm water for a few minutes or apply a specialised cuticle-softening product. Once softened, take your cuticle pusher and gently push the cuticles back from the nail plate. It is generally advised to avoid cutting your cuticles at home, as this can lead to irritation or damage if not done correctly. The cuticle serves as a protective barrier, and simply pushing it back is a safer alternative.
Step 3: Buff and Smooth
Take your nail buffer and use the gentlest side to lightly go over the surface of each nail. This removes natural oils and smooths out any minor ridges, creating a perfect canvas for your nail polish. Be careful not to over-buff, as this can thin the nail. A few light swipes are all you need. Wipe away any dust with a clean, dry cloth before moving on.
The Art of Polishing: A Step-by-Step Guide
With your nails perfectly prepped, it is time for the colour. Patience and a steady hand are key here. Work in a well-lit area with your arm resting on a stable surface, like a table, to minimise shaking.
Applying the Base Coat
Never skip the base coat. It serves two important functions: it prevents dark polishes from staining your natural nails, and it gives the coloured polish something to grip onto, extending the life of your manicure. Apply one thin, even layer to each nail and let it dry completely, which usually takes about two minutes.
Applying the Colour
Apply your chosen nail polish using the three-stroke method. Start by placing a small dot of polish near the cuticle in the centre of the nail, then push it back slightly towards the cuticle without touching it. Pull the brush straight up to the tip of the nail. Return to the base for the second stroke along one side of the nail, and finish with a third stroke on the other side. It is better to apply two thin coats of colour than one thick, goopy one. Allow the first coat to dry fully before applying the second.
Finishing with a Top Coat
A top coat is the final, essential step for sealing your manicure. It provides a high-gloss shine, protects the colour from chipping, and helps it dry faster. Apply one layer of top coat over the entire nail, making sure to 'cap' the free edge by swiping the brush along the very tip of the nail. This creates a seal that helps prevent chips. Allow your nails to dry completely for at least 15-20 minutes.




