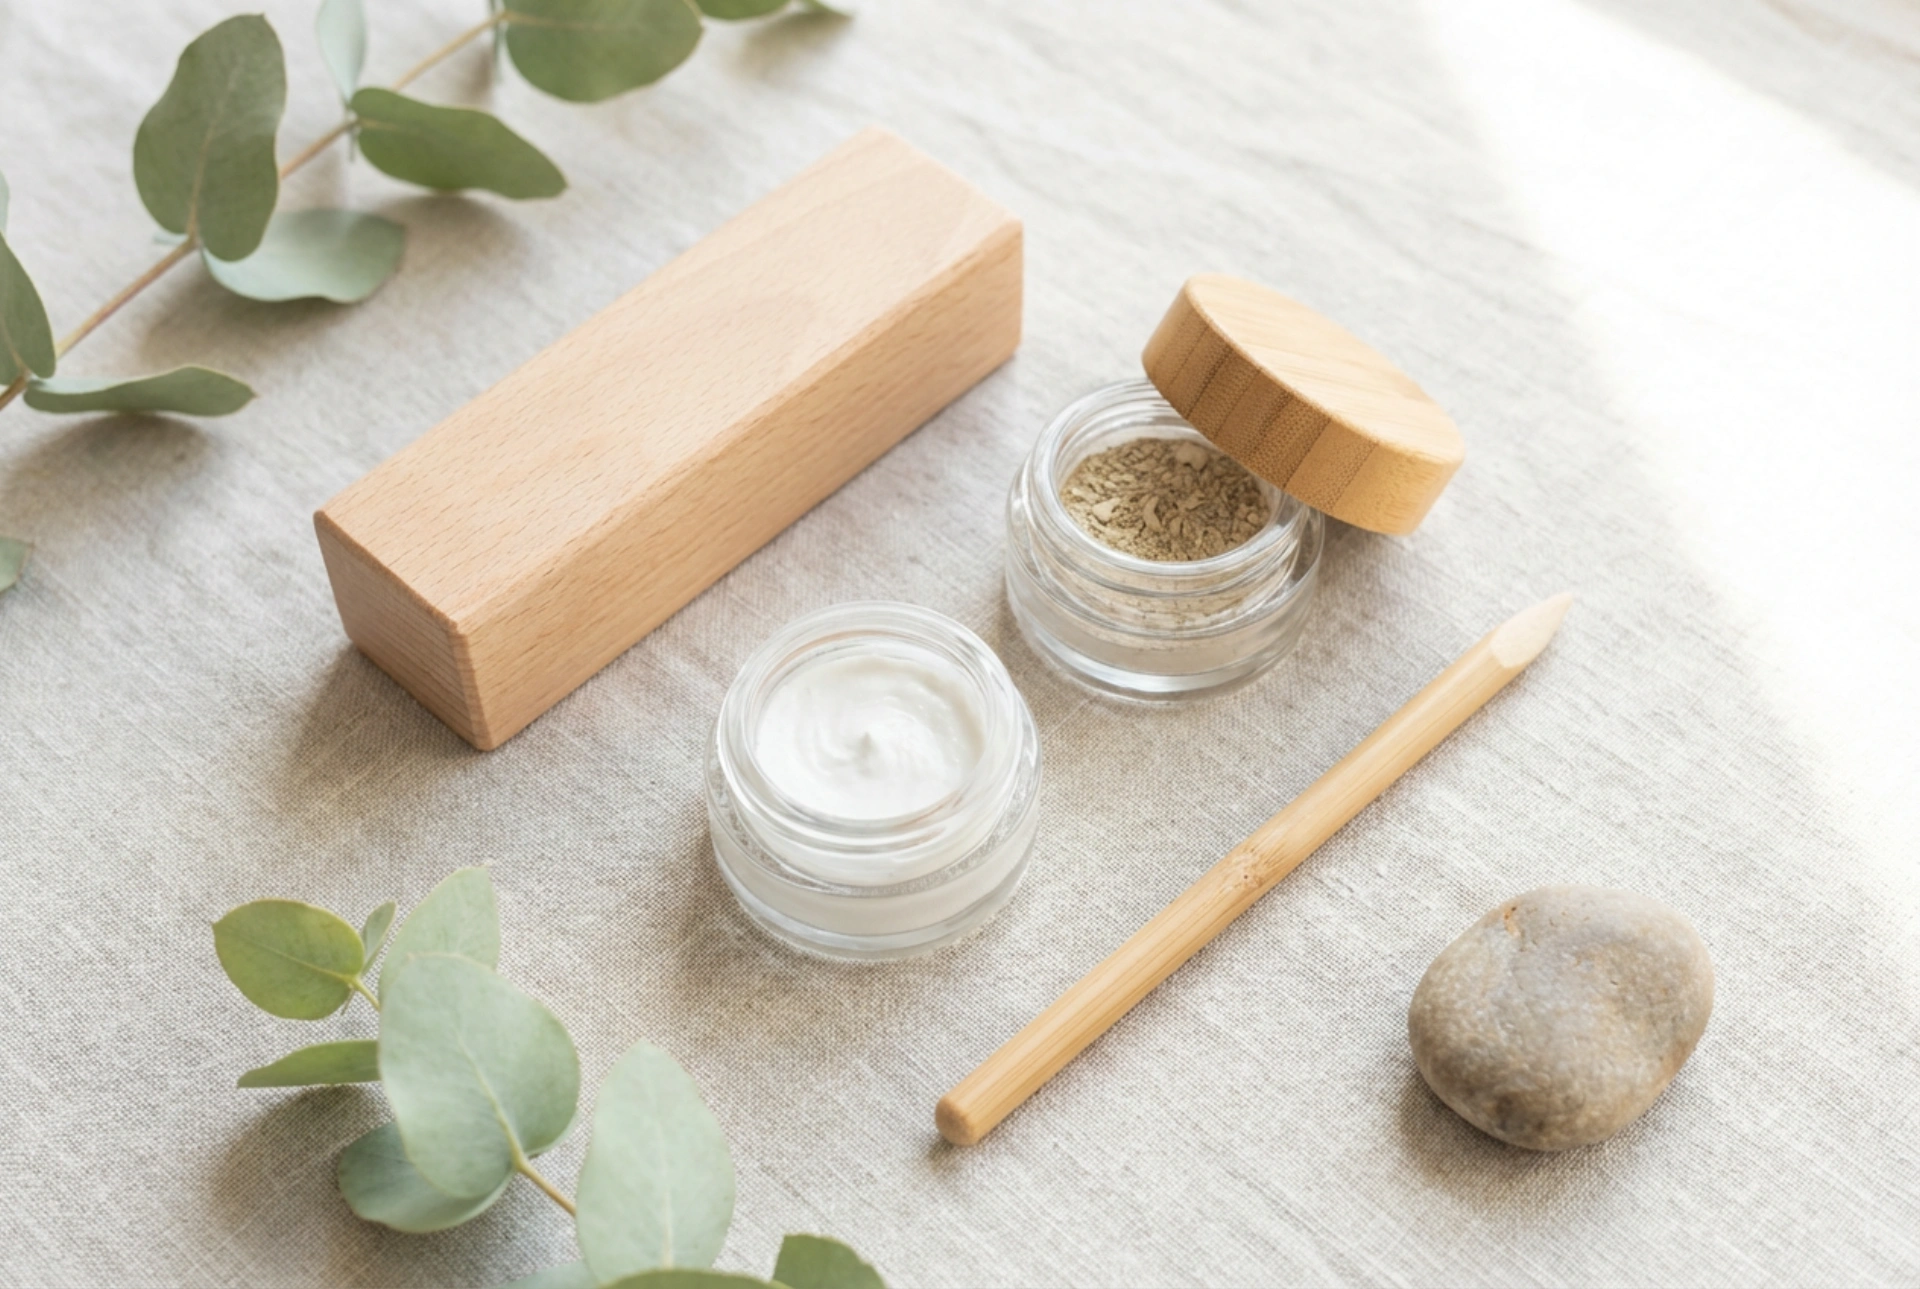


A Japanese manicure is a method of nail care that champions natural beauty and health over artificial enhancements. Rooted in centuries-old Japanese tradition, this treatment focuses on deeply nourishing the nail plate to reveal its intrinsic strength and lustre. Unlike conventional manicures that apply layers of polish, this technique works by buffing nutrient-rich pastes and powders into the nail, resulting in a subtle, healthy pink shine that looks effortlessly elegant. It is the perfect choice for anyone seeking to improve the condition of their nails and embrace a more minimalist approach to beauty.
What is a Japanese Manicure?
The primary goal of a Japanese manicure is to restore nails to their optimal health. The process involves a meticulous buffing technique that infuses the nail plate with natural ingredients. Key components like vitamins A and E, keratin, bee pollen, and silica from the Sea of Japan are worked directly into the nail. This not only strengthens weak or brittle nails but also stimulates blood circulation at the nail bed, promoting healthier growth. The result is not just aesthetic; it is a deep conditioning treatment that builds resilience from within. The characteristic high-gloss finish is entirely natural, created by smoothing the nail's surface and sealing in the nourishing ingredients.
Contents of a Typical Japanese Manicure Kit
A standard kit for performing a Japanese manicure contains a few specialised items designed to work in synergy. While packaging may vary, the core components remain consistent.
Core Components: Paste and Powder
The treatment revolves around two key products. The first is a dense, green-coloured paste, which is the primary nourishing agent. It is packed with vitamins and minerals that penetrate the nail plate to fortify and condition it. The second is a fine pink or white powder. Its role is to seal the nutrients from the paste into the nail and to create the signature long-lasting, pearl-like shine by polishing the surface.
Essential Tools for Application
Specific tools are required for the correct application of the products. These typically include:
- Cuticle Pusher: Usually made of wood or plastic, used to gently push back the cuticles without damaging them.
- Nail File: A fine-grit file or emery board for shaping the nails before the treatment.
- Buffing Block: A gentle, multi-sided buffer used to lightly smooth the nail plate to prepare it for product absorption.
- Coloured Buffers: These are the most important tools. A green buffer, often made from deerskin, is used exclusively to work the green paste into the nail. A second, pink buffer is used to apply the finishing powder. Using separate, dedicated buffers prevents cross-contamination and ensures each step is performed correctly.
Preparing Your Nails for the Treatment
Proper preparation is key to achieving the best results from your Japanese manicure. Before you begin, ensure you have a clean and comfortable workspace. Follow these simple steps:
- Cleanse the Nails: Start with clean, dry hands. Remove any old nail polish completely using a gentle, non-acetone remover.
- Manage Cuticles: Soften your cuticles by soaking your fingertips in warm water for a few minutes. Then, use a wooden or plastic cuticle pusher to gently push them back. Avoid cutting the cuticles, as they serve as a natural barrier.
- Shape the Nails: Use a fine-grit nail file to shape your nails to your desired length and form. File in one direction to prevent splitting.
- Mattify the Nail Plate: Using the softest side of a polishing block, very lightly and gently buff the surface of each nail. The aim is to remove the natural shine and create a slightly matte surface, which will allow the paste to adhere and absorb more effectively. Be extremely careful not to over-buff, as this can weaken the nail.
A Step-by-Step Guide to Performing a Japanese Manicure
With your nails prepped, you are ready to begin the main treatment. Work on one hand at a time, completing the full process for each nail before moving to the next.
Step 1: Applying the Nourishing Paste
Take a very small amount of the green paste using the provided spatula and apply it to the surface of one nail. Using the dedicated green buffer, rub the paste firmly into the nail plate. Use consistent, one-directional strokes from the cuticle towards the tip. Continue buffing until the paste is absorbed and the nail starts to develop a subtle sheen. The friction and heat generated by the buffing action help the nutrients penetrate deeply.
Step 2: Sealing with the Finishing Powder
Next, apply a tiny amount of the pink powder onto the same nail. Using the separate pink buffer, repeat the buffing process. Again, use firm, one-directional strokes. You will notice the nail's surface transforming, becoming incredibly smooth and developing a high-gloss, pinkish shine. This step locks in the benefits of the paste and creates a protective layer that repels water and dirt.
Step 3: Aftercare and Maintenance
Once you have treated all your nails, your Japanese manicure is complete. It is best to avoid applying any nail polish for at least 24-48 hours to allow the treatment to fully settle. The beautiful, natural shine can last for up to two weeks. To maintain the health and appearance of your nails, you can repeat the treatment every two to three weeks. Regular application will lead to progressively stronger, healthier, and more beautiful nails over time.




