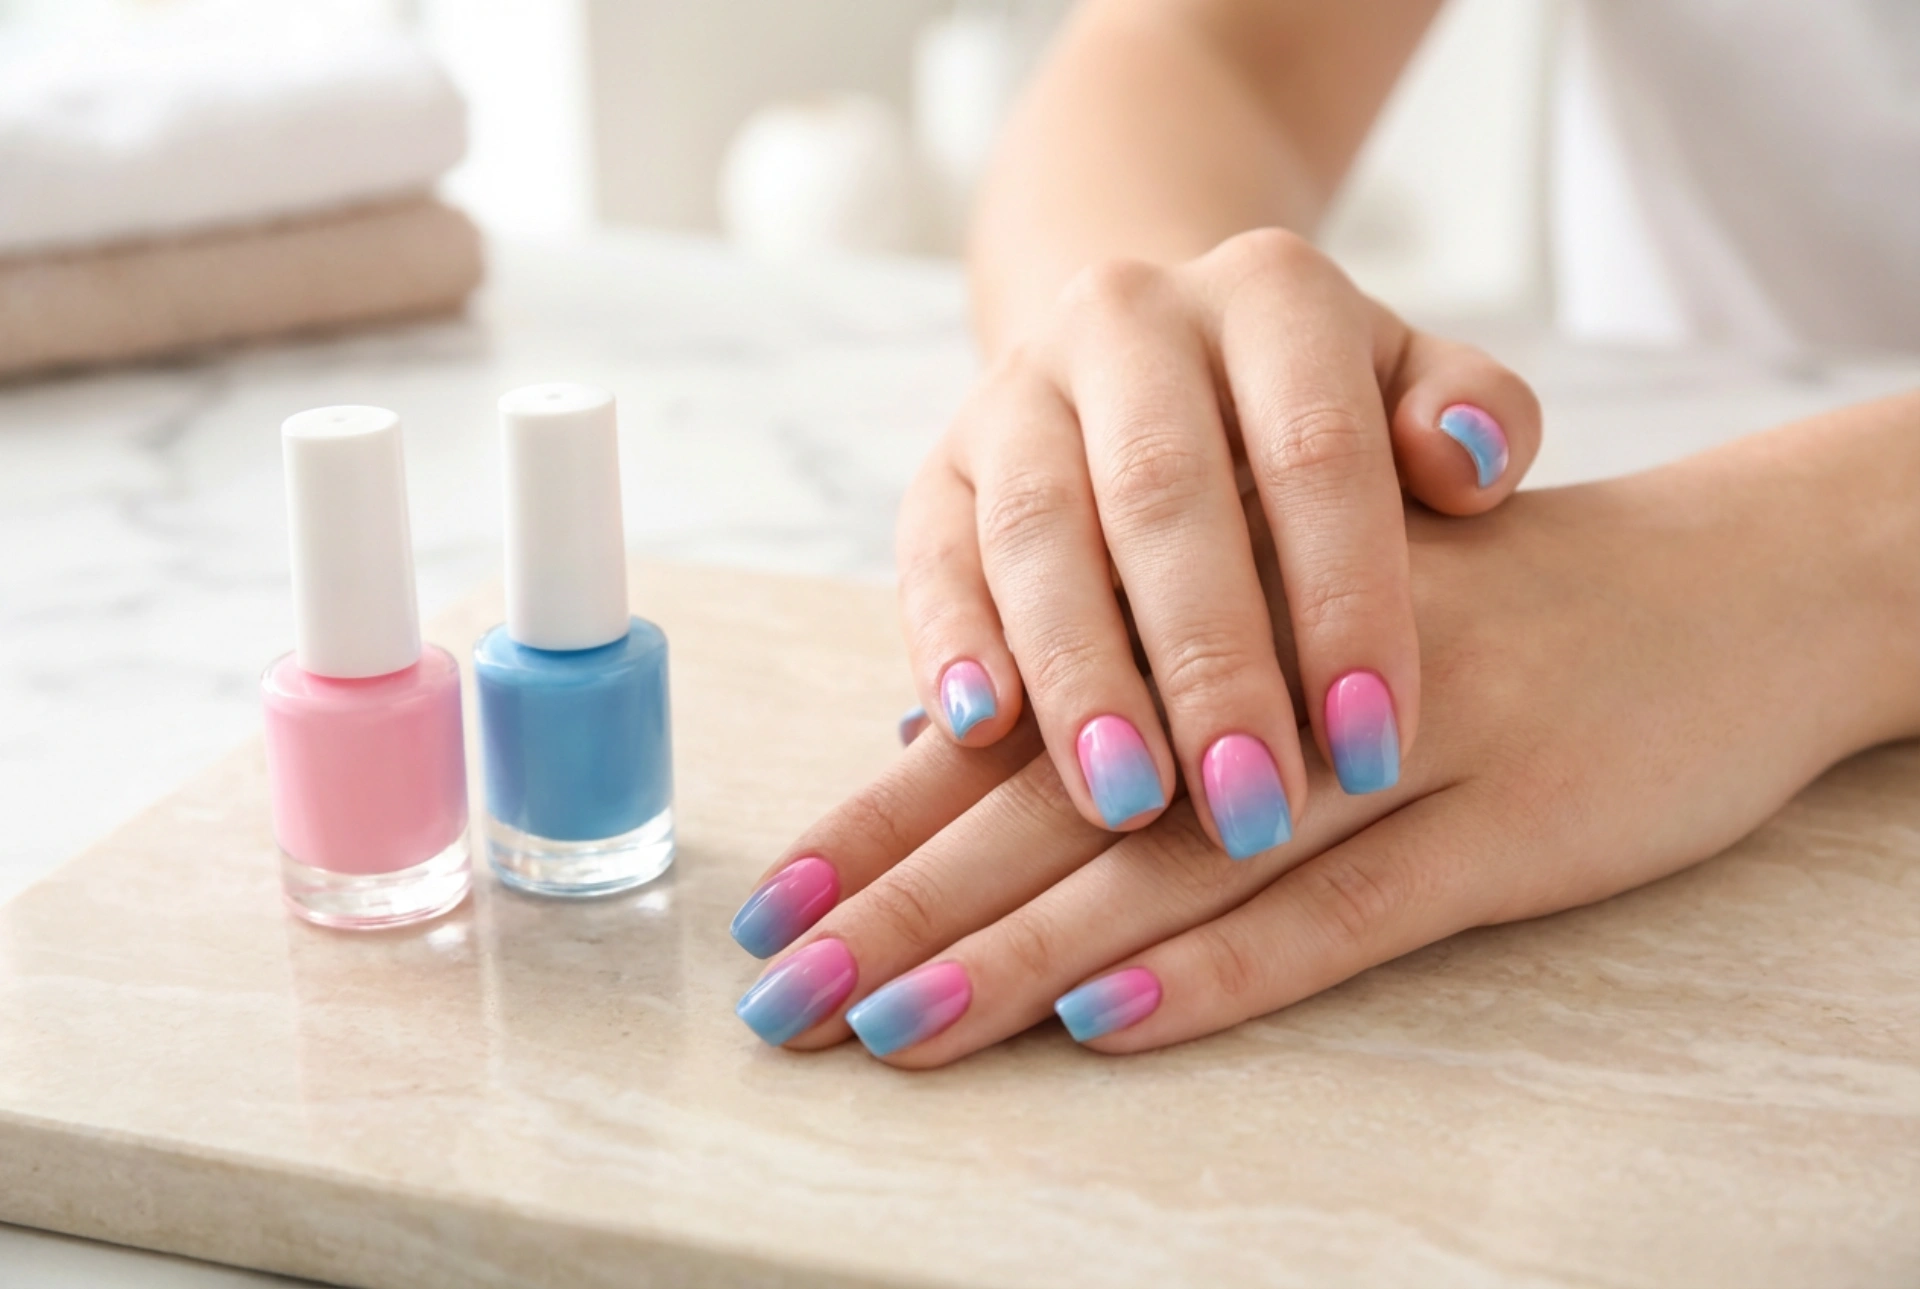


Ombre nails remain a timeless trend, offering a beautiful way to express creativity and add a splash of colour to your look. The gentle transition from one shade to another creates an elegant and eye-catching effect. A pink and blue combination is particularly striking, evoking everything from soft sunsets to vibrant candy floss skies. Achieving this gradient look at home is easier than you might think. With the right polishes, a simple tool, and a bit of patience, you can create a professional-looking ombre manicure that is sure to brighten your day.
Choosing the Perfect Shades of Pink and Blue
The success of an ombre manicure lies in the colour selection. For a pink and blue gradient, you have a wide spectrum of possibilities. The key is to choose shades that will blend harmoniously.
Consider the Undertones
Think about whether you want a warm or cool-toned look. For a soft, dreamy effect, you might pair a pastel baby pink with a periwinkle or sky blue. For a more vibrant and bold statement, a hot pink or magenta can be beautifully blended into a royal or cobalt blue. Lay the bottles next to each other to see how they interact. Generally, colours with similar undertones (e.g., both cool-toned) will blend more seamlessly.
Experiment with Finishes
While a classic glossy finish is always a great choice, don't be afraid to play with different textures. You could use:
- Cream Polishes: These are the standard and most common choice for ombre, as they blend very smoothly.
- Shimmer or Metallic Polishes: A shimmer in one or both colours can add a magical, light-catching dimension to your gradient.
- Glitter Polishes: Applying a fine glitter top coat over the finished ombre can help to further disguise any imperfections in the blend and add a festive sparkle.
Preparing Your Nails for a Flawless Manicure
Proper preparation is the foundation for any lasting nail art. Taking the time to prep your nails will ensure the polish adheres better, lasts longer, and looks smoother. A clean canvas is essential for the ombre technique.
Start by removing any old polish. Gently file your nails to your desired shape and length, ensuring they are all uniform. Lightly buff the surface of your nails to create a smooth base for the polish to grip. Next, push back or carefully trim your cuticles. Wash your hands to remove any dust or oils, and dry them thoroughly. Finally, apply a thin layer of a quality base coat. This step is crucial as it prevents the polish from staining your natural nails and helps your manicure last longer.
Step-by-Step Guide to Creating the Pink and Blue Gradient
The most popular and effective method for creating a home ombre manicure involves a simple makeup sponge. A disposable, latex-free wedge sponge works best as its small pores create a finer, more airbrushed-looking blend.
Step 1: Apply a Base Colour
Once your base coat is dry, apply one or two coats of the lighter of your two chosen colours. In this case, the pink would be a good option. This creates an even canvas and ensures the final look is vibrant. Allow this base colour to dry completely before moving on to the gradient step.
Step 2: Prepare the Gradient on the Sponge
Take your two nail polishes and paint two horizontal stripes directly onto the flat surface of the makeup sponge. The stripes should be right next to each other, slightly overlapping in the middle. Be generous with the polish, as the sponge will absorb some of it. The top stripe should be your second colour (blue) and the bottom stripe should be your base colour (pink).
Step 3: Dab the Colour onto the Nail
Now, gently dab the sponge onto your nail. Use a light bouncing or stamping motion, moving it slightly up and down to help blend the colours. The first layer will look sheer and a bit patchy—this is normal. Reapply the polish stripes to the sponge and repeat the dabbing process on the same nail two or three times, or until you are happy with the opacity and the smoothness of the gradient. Repeat this process for all your nails.
Tips for a Clean and Lasting Finish
The ombre technique can be a bit messy, but with a few simple tricks, cleanup is straightforward and the results can be incredibly professional.
- Protect Your Skin: Before you start dabbing with the sponge, apply a liquid latex barrier or some petroleum jelly to the skin around your nails. This will catch any excess polish and make cleanup much easier. Once your nails are dry, you can simply peel off the barrier.
- Clean Up Edges: For any polish that still gets on your skin, dip a small, flat brush or a cotton bud into nail polish remover and carefully trace around your cuticle line to create a sharp, clean edge.
- Seal Your Design: The final and most important step is to apply a generous layer of a fast-drying, high-gloss top coat. This not only protects your design and prevents chipping but also has the magical effect of melting the colours together even more, smoothing out the gradient for a truly seamless look. It will also smooth over the slightly textured surface left by the sponge.




