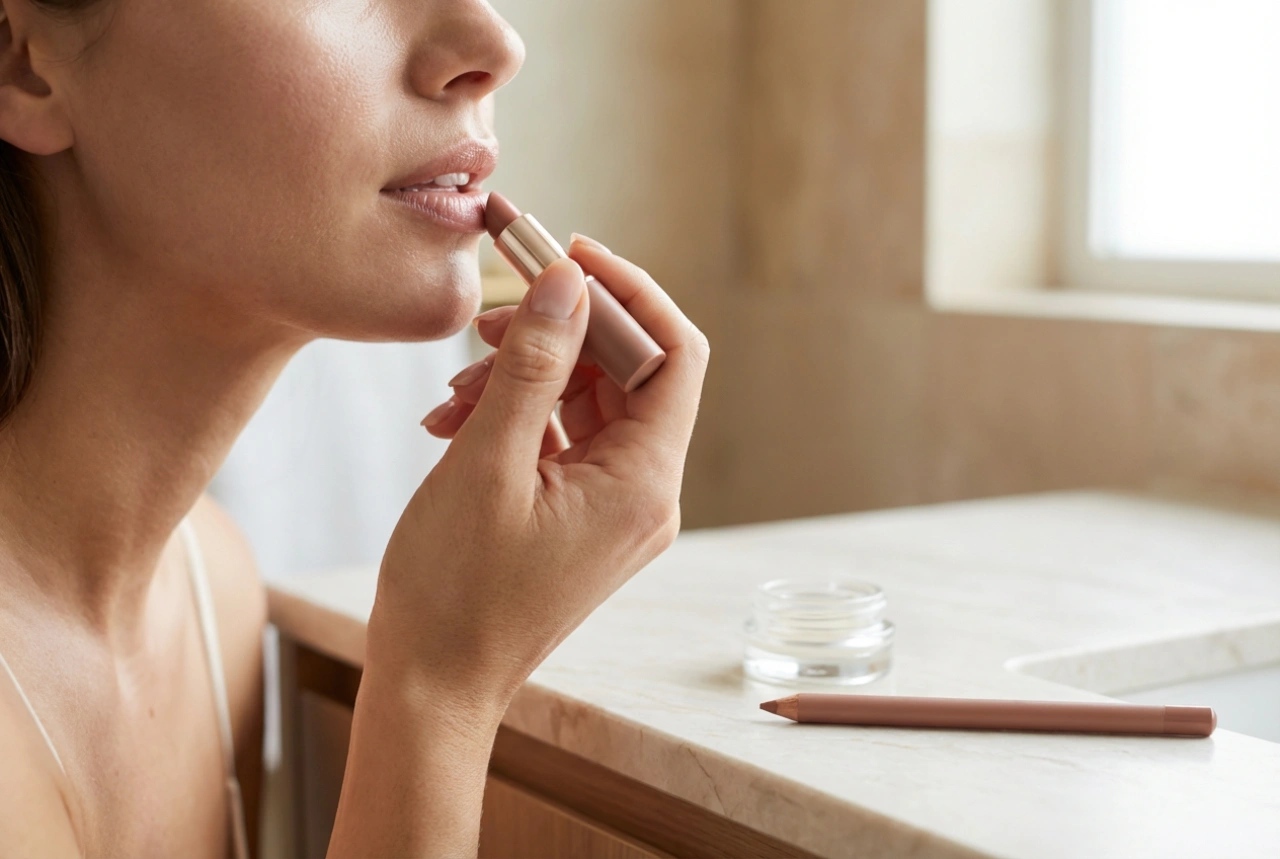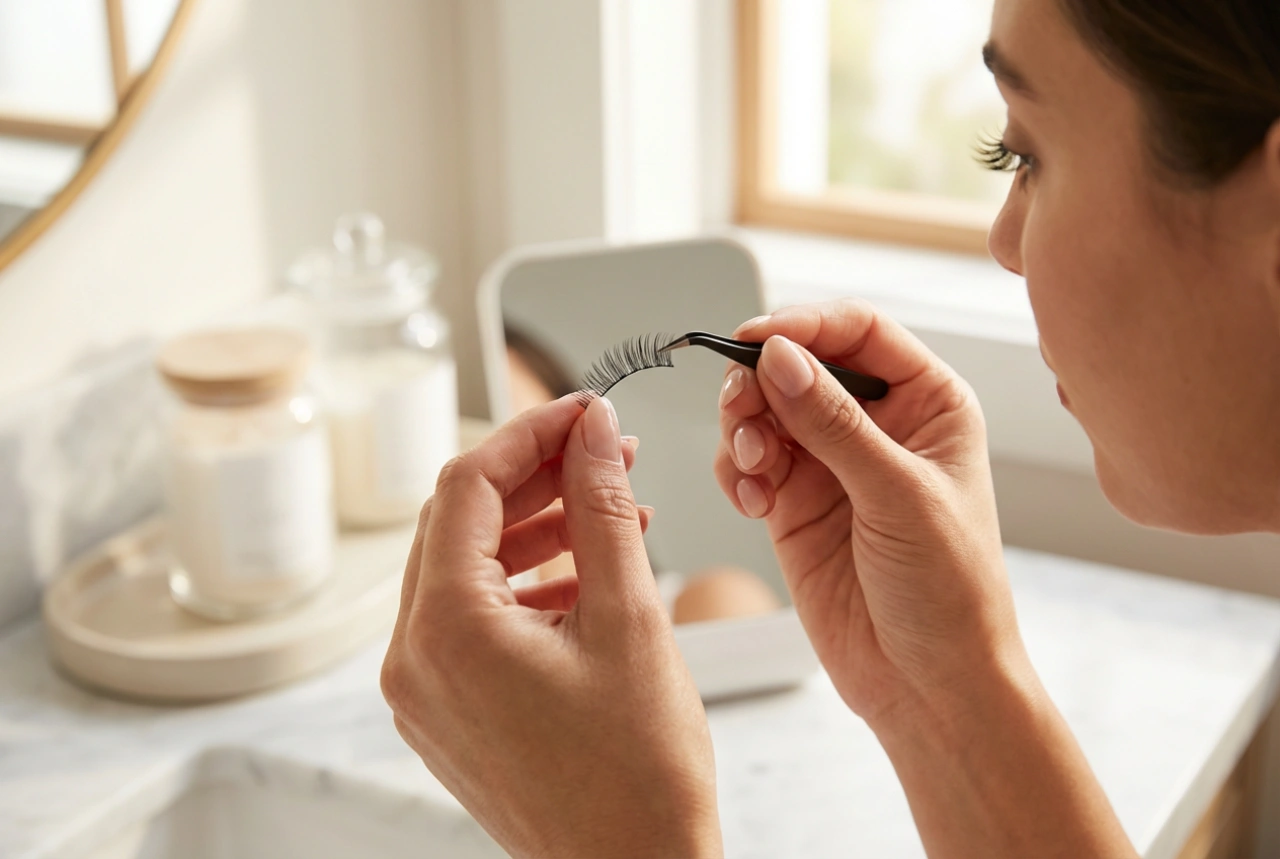


A perfectly applied lipstick can elevate your entire look, and the secret weapon behind a flawless pout is often a humble lip liner. Far more than just a tool for outlining, a lip liner can define shape, prevent colour from bleeding, and significantly extend the wear of your favourite lipstick. Understanding how to choose the right shade and master different application techniques is key to unlocking the full potential of your lip products, turning a simple makeup step into an art form.
Choosing Your Ideal Lip Liner Shade
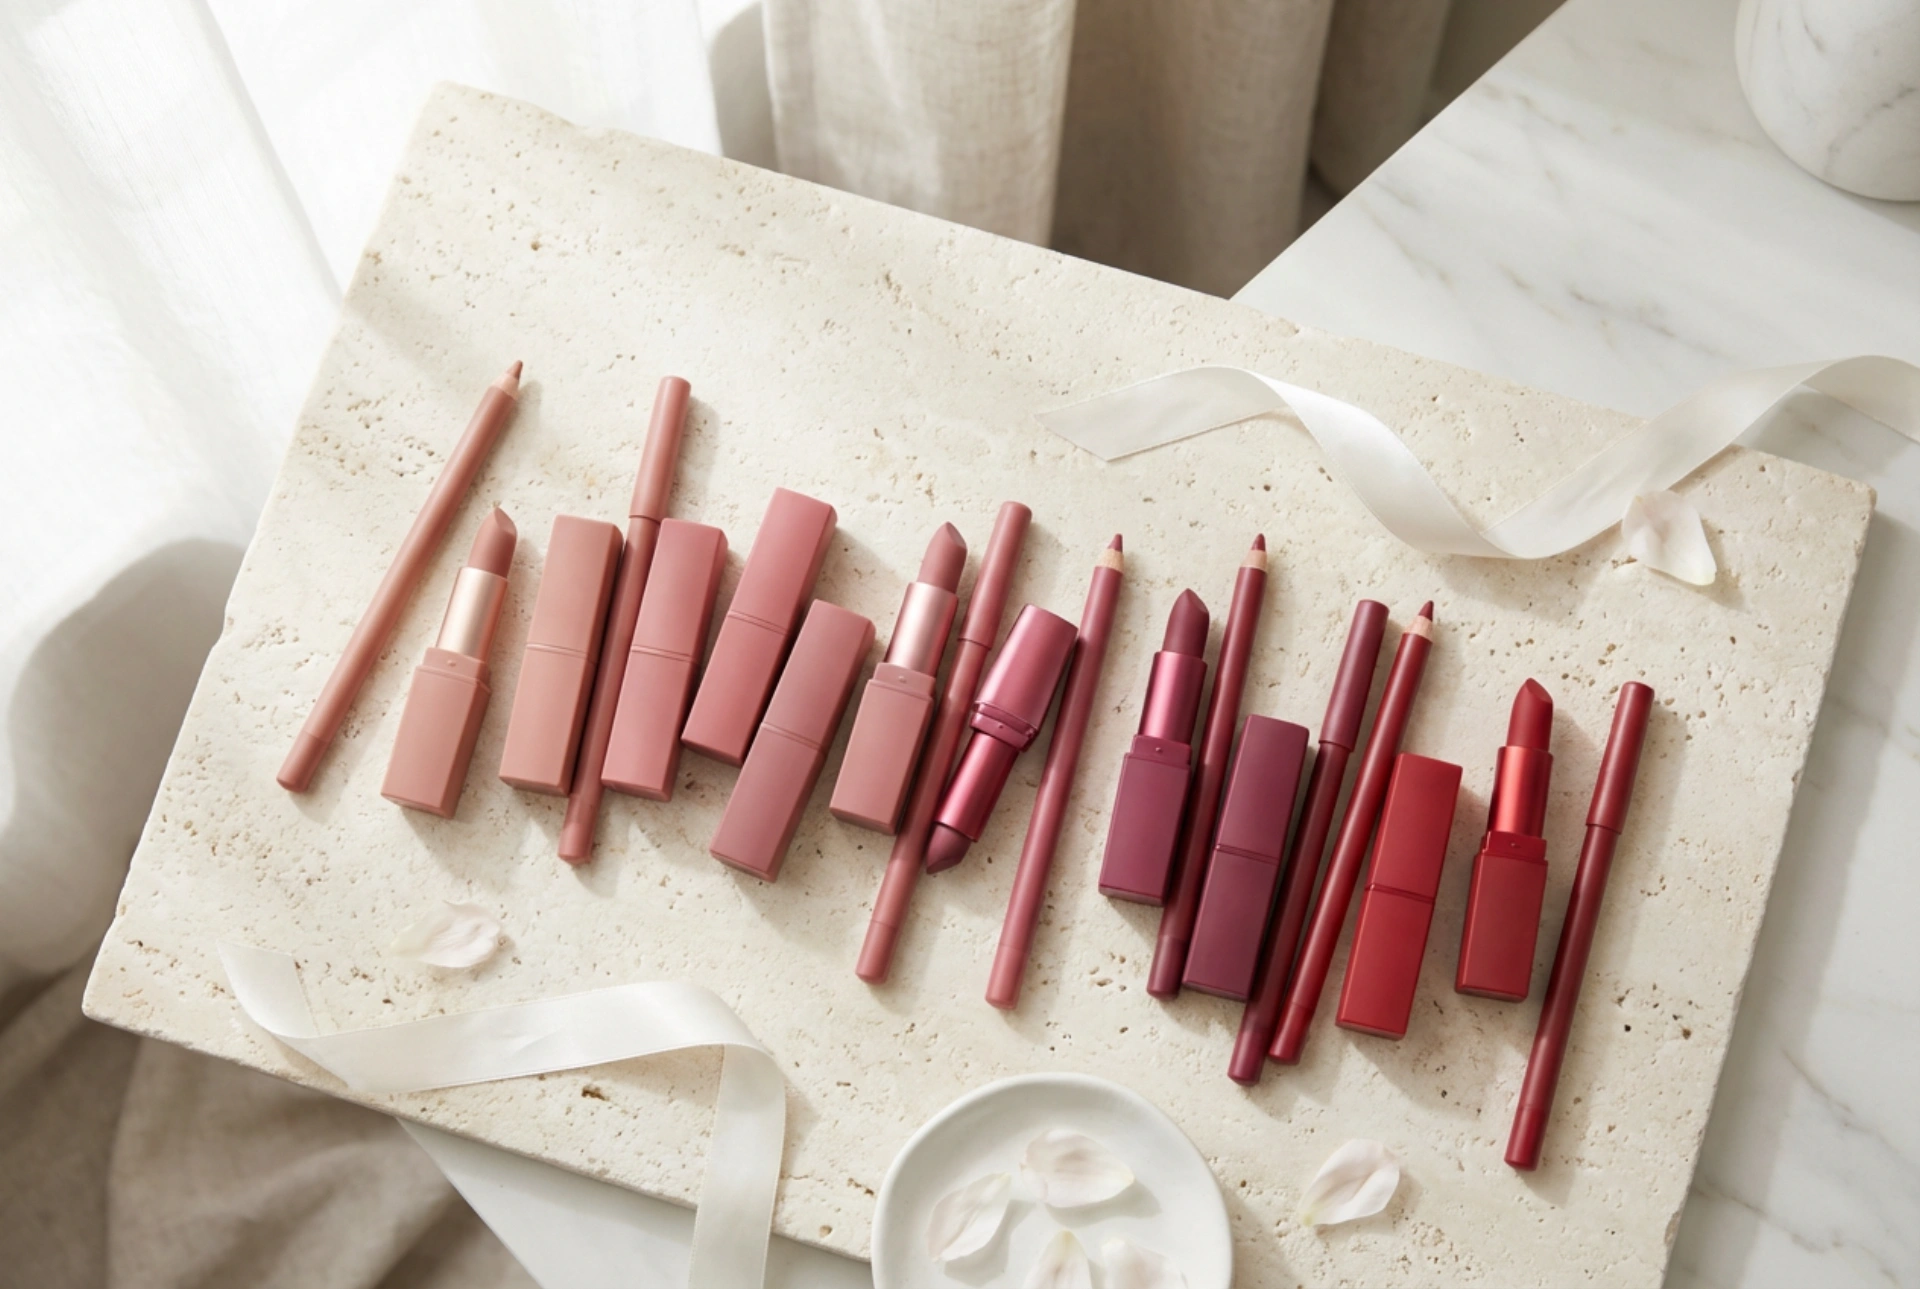
The shade of your lip liner can dramatically alter the final effect of your lipstick. The choice depends entirely on the look you wish to achieve. There are three main approaches to selecting the perfect colour.
The Classic Match
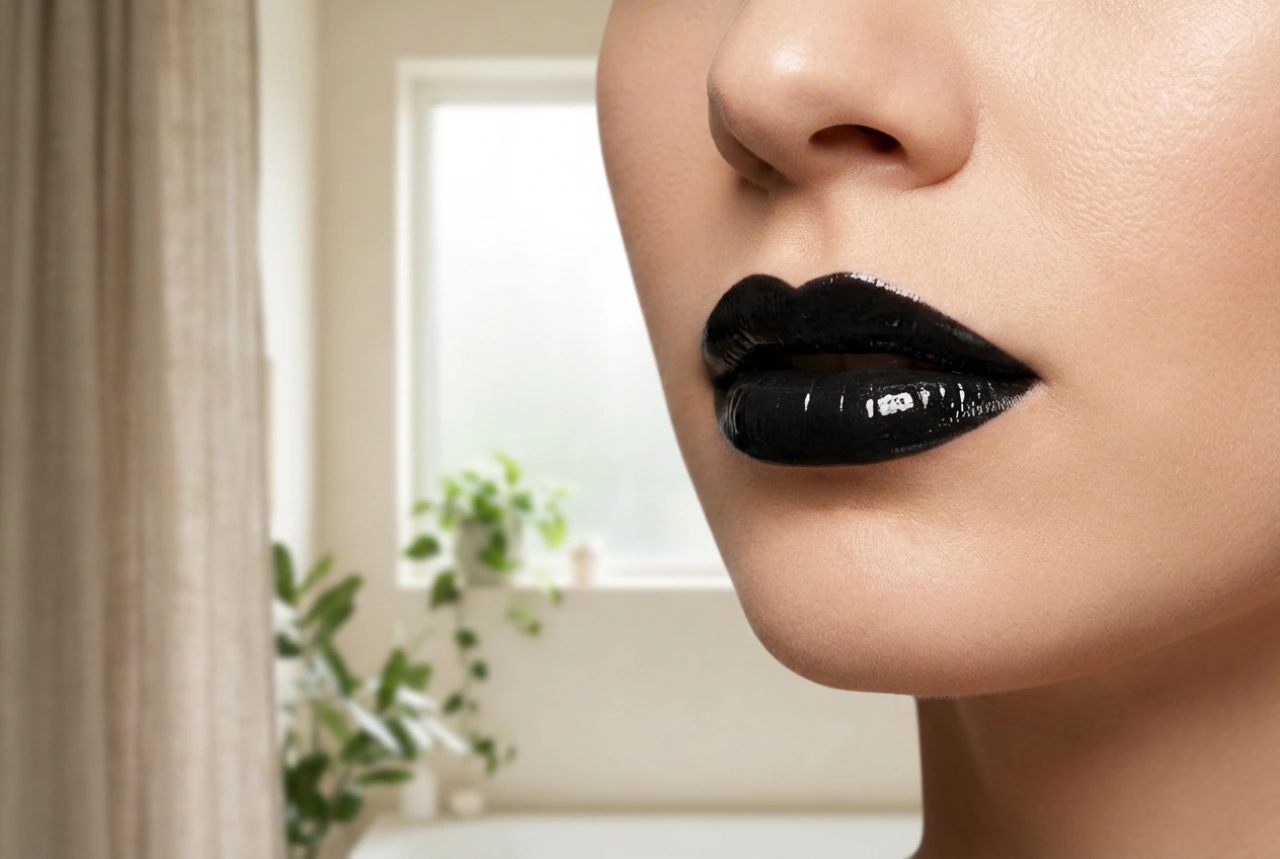
The most traditional method is to choose a lip liner that is an exact or very close match to your lipstick shade. This technique creates a seamless, polished, and defined look. It ensures that the edges of your lips are sharp and clean, providing a perfect boundary that keeps your lipstick in place. This is the go-to method for classic red lips or bold, vibrant colours where precision is paramount.
The Versatile Nude
A nude lip liner that matches your natural lip tone is perhaps the most versatile tool in any makeup bag. It can be used under any lipstick colour. Its primary function is to define your natural lip shape and create a barrier against feathering without adding any noticeable colour. This is ideal for pairing with lip glosses, sheer lipsticks, or when you want to subtly enhance your lip shape without a visible outline. It can also be used to create the illusion of a fuller pout by subtly overlining.
The Contouring Darker Shade
For a more dimensional, contoured effect, choose a lip liner that is one or two shades deeper than your lipstick. This technique, often used to create an 'ombre' lip, adds depth and can make lips appear fuller. Apply the darker liner around the perimeter of your lips and blend it slightly inwards. When you apply the lighter lipstick to the centre, the gradient effect creates a beautiful, plumped-up look.
Application Techniques for Different Effects
How you apply your lip liner is just as important as the shade you choose. Different techniques can be used to alter your lip shape and improve the performance of your lipstick.
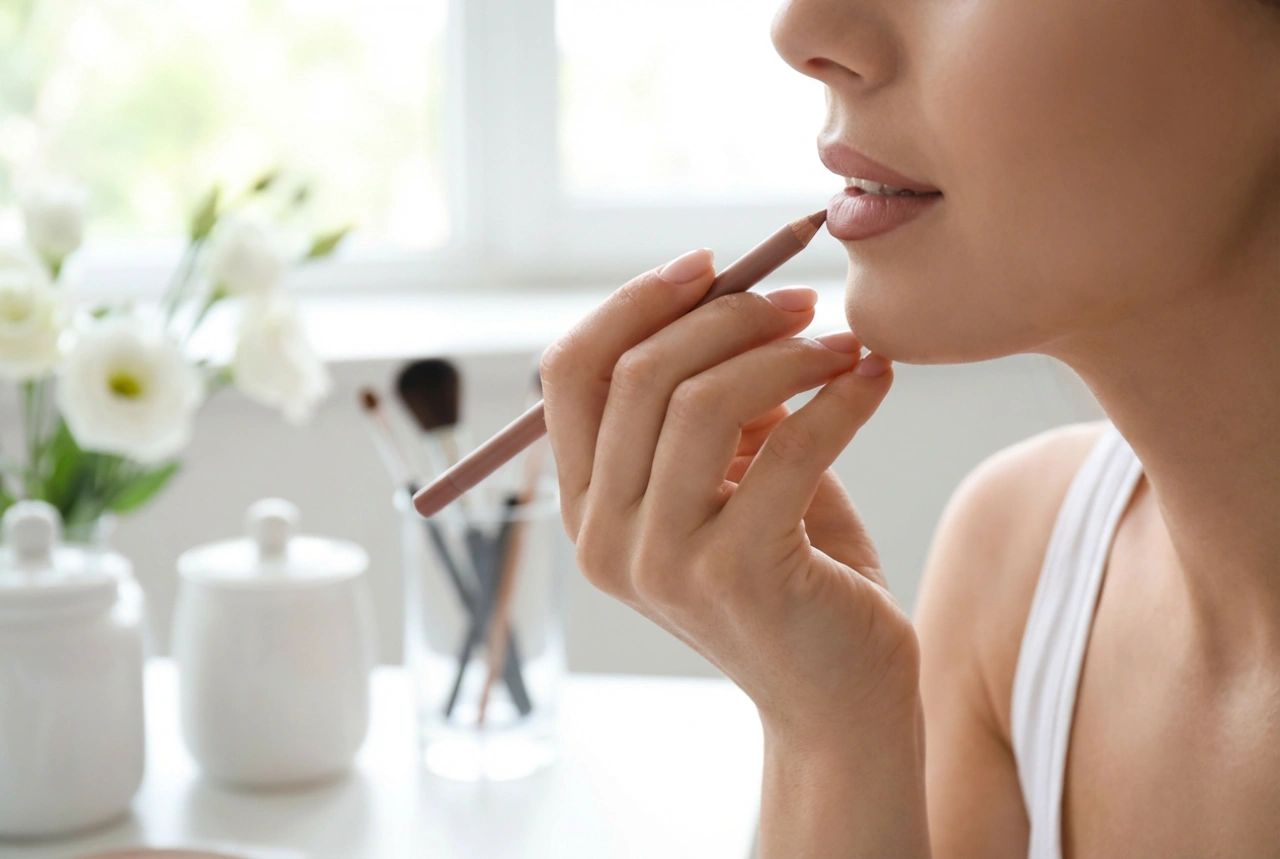
For Crisp Definition
For a standard, well-defined lip, start with a sharpened pencil. Begin at the Cupid's bow, drawing a small 'X' to define the peaks. Then, starting from the outer corners, draw a line inwards to meet the 'X'. Repeat on the bottom lip, starting from the corners and meeting in the centre. This ensures a symmetrical and clean outline.
To Create the Illusion of Fullness
To make lips appear larger, you can use a technique called overlining. The key is subtlety. Using a nude or colour-matched liner, trace just outside your natural lip line, focusing on the centre of your upper and lower lips. Avoid overlining at the corners, as this can look unnatural. Blend the line gently inwards to soften the edge before applying lipstick.
For Extended Lipstick Wear
One of the best ways to make your lip colour last all day is to use your liner as a base. After outlining your lips, use the side of the pencil to completely fill in your entire lip area. This creates a waxy, pigmented primer that your lipstick can adhere to. It not only boosts longevity but also ensures the colour wears off more evenly throughout the day.
Pairing Liners with Lipstick Finishes
Different lipstick textures benefit from specific liner pairings and techniques. Matching them correctly ensures the best possible result.
Matte and Liquid Lipsticks
Matte formulas are known for their staying power but can sometimes be drying and unforgiving of application mistakes. A precise, matching liner is essential for a clean edge. Filling in the lips with liner beforehand is highly recommended, as it creates a smooth base and prevents the matte formula from settling into fine lines.
Cream and Satin Lipsticks
These comfortable, hydrating formulas are more prone to feathering and bleeding into the fine lines around the mouth. A well-defined lip liner acts as a crucial barrier. A matching shade is a safe bet, but a nude liner also works well to create an invisible wall that keeps the creamy colour contained.
Sheer Lipsticks and Glosses
With sheer and glossy finishes, the goal is to define the lip shape without a harsh line. A clear, wax-based lip liner is an excellent choice as it provides a barrier against bleeding without depositing any colour. Alternatively, a nude liner that matches your natural lip tone will provide subtle definition that won't compete with the light, glossy finish.
Quick Tips for a Flawless Finish
Keep these simple tricks in mind for a professional-looking application every time.
- Always work with a sharpened pencil for the most precise lines. A dull tip can create a thick, messy outline.
- If your pencil feels hard, warm the tip on the back of your hand for a moment. This will soften the formula and help it glide smoothly over your lips.
- Use short, light, feathery strokes rather than trying to draw one continuous, hard line. This gives you more control and a more natural-looking result.
- For a softer look, use a small lip brush or your fingertip to gently blend the liner inwards after application.
- If you make a mistake, don't wipe it away. Instead, use a small, flat brush with a tiny amount of concealer or foundation to clean up the edge for a super sharp finish.