

Achieving a smooth, hair-free bikini line from the comfort of your own home is entirely possible with the right approach and a little practice. The key to a successful and comfortable experience lies in understanding the different types of wax available, mastering the correct temperature, and following a precise application and removal technique. This guide will walk you through the essential steps to help you achieve professional-looking results safely.
Choosing the Right Wax for the Bikini Area
The wax you choose can make a significant difference, especially for a sensitive area like the bikini line. The two main categories are hard wax and soft wax, each with its own set of properties.
Hard Wax (Stripless Wax)
Hard wax is often considered the best choice for the bikini area. It is applied warm, allowed to cool and harden, and then removed without the need for a fabric strip. Its main advantage is that it adheres primarily to the hair, not the skin. This makes it less irritating and generally more comfortable for delicate zones with coarser hair. When it cools, it effectively shrink-wraps the hair, making it efficient at removing shorter, stubborn strands.
Soft Wax (Strip Wax)
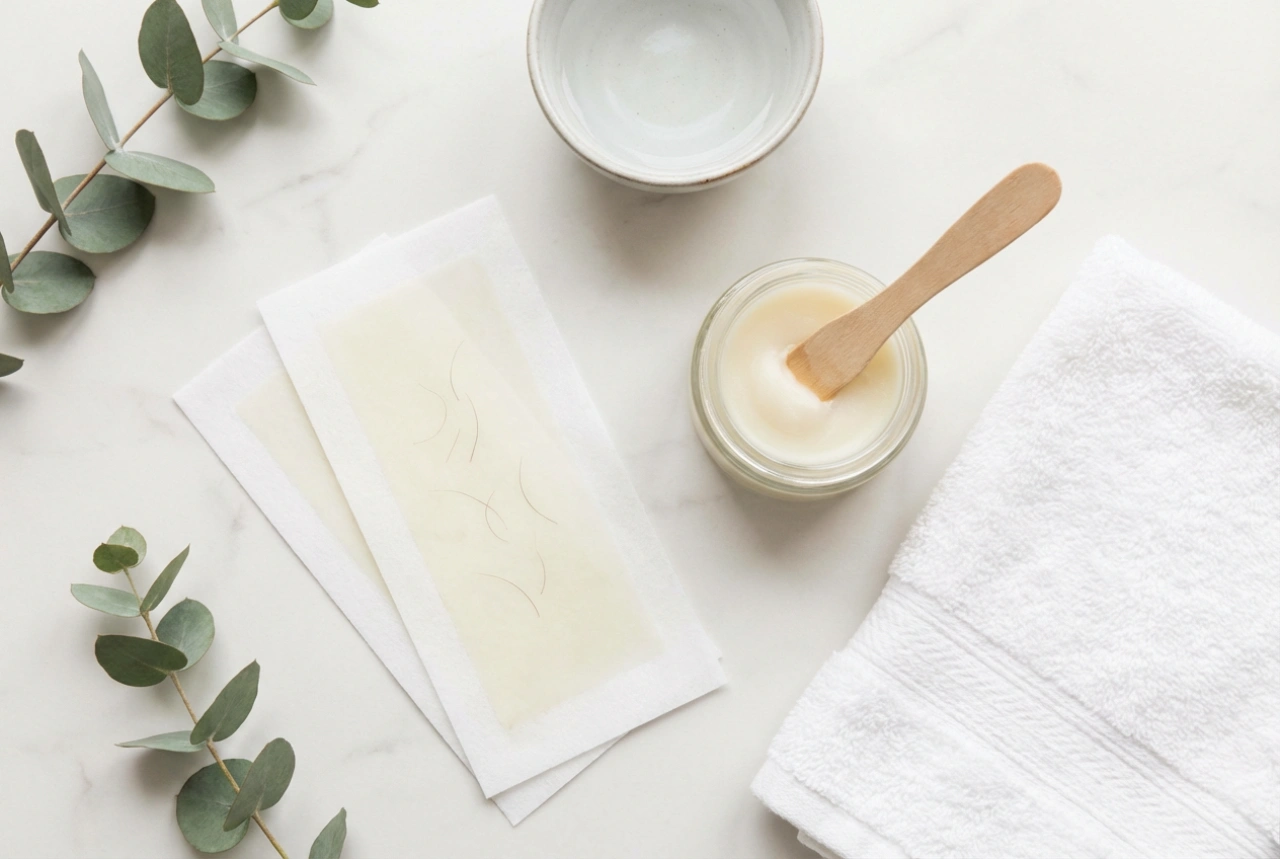
Soft wax remains tacky and requires a fabric or paper strip for removal. It is spread in a very thin layer and is excellent for removing finer hair over larger, less sensitive areas of the body, like the legs. While it can be used on the bikini line, it adheres more strongly to the skin, which can cause more irritation for some individuals. If you choose soft wax, it's crucial to work in small, manageable sections.
Preparing Your Skin for Waxing
Proper preparation is non-negotiable for a successful waxing session. It helps the wax perform better and minimises the risk of irritation and ingrown hairs. Follow these steps for optimal skin readiness:
- Ensure the right hair length: For wax to grip effectively, hair should be about 6mm long, roughly the length of a grain of rice. If it's too short, the wax won't grab it; if it's too long, it can be more uncomfortable to remove. Trim if necessary.
- Cleanse the area: Shortly before you begin, wash the bikini area with a gentle, non-oily cleanser and warm water to remove any sweat, oil, or lotions. Pat the skin completely dry with a clean towel.
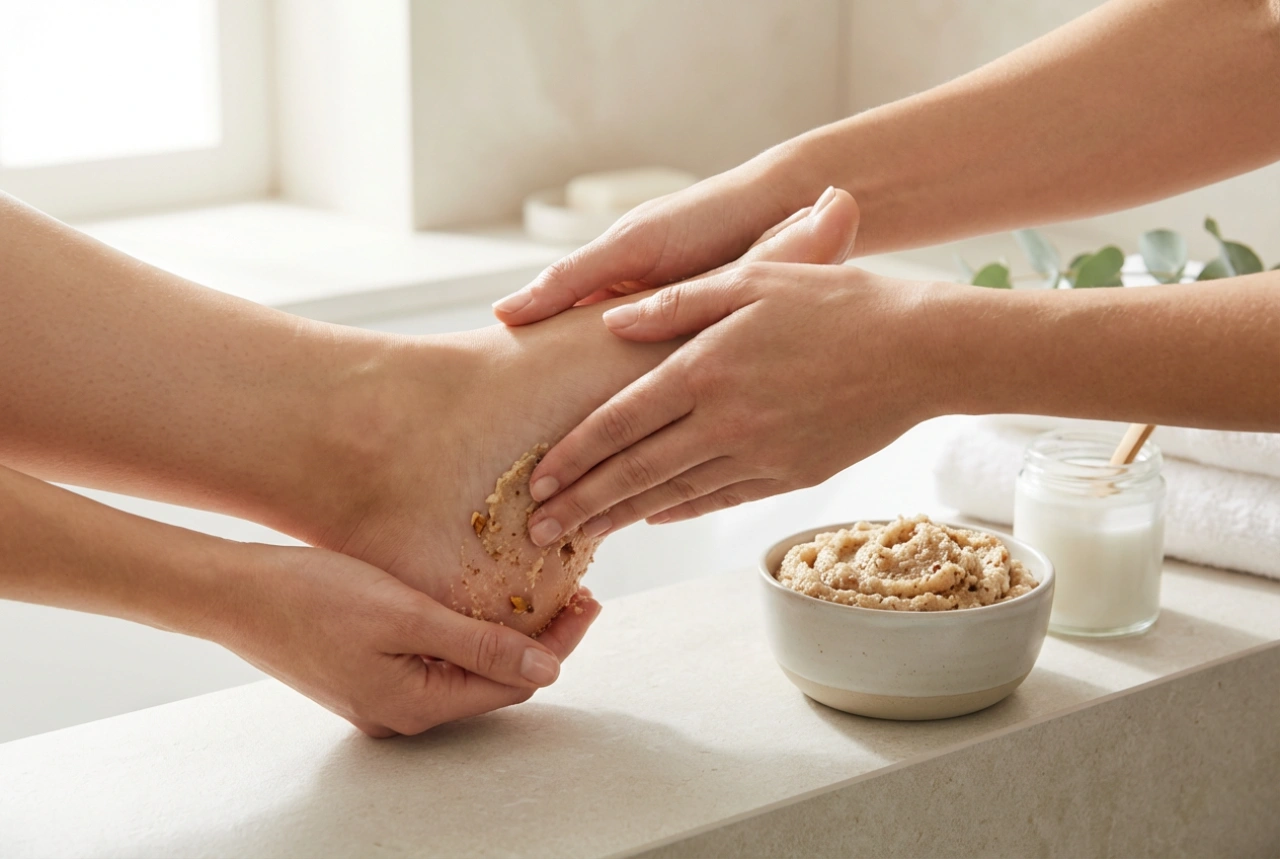
- Exfoliate in advance: Gently exfoliate the area a day or two before your waxing session. This helps to remove dead skin cells and free any trapped hairs, but avoid exfoliating on the day of waxing as it can make the skin too sensitive.
- Keep it dry: Moisture is the enemy of wax adhesion. Ensure the skin is bone dry. A light dusting of a talc-free powder can help absorb any residual moisture or oil.
Mastering the Application Technique
The process of applying and removing the wax is where technique truly matters. Rushing this stage can lead to poor results and skin irritation.
Getting the Temperature Just Right
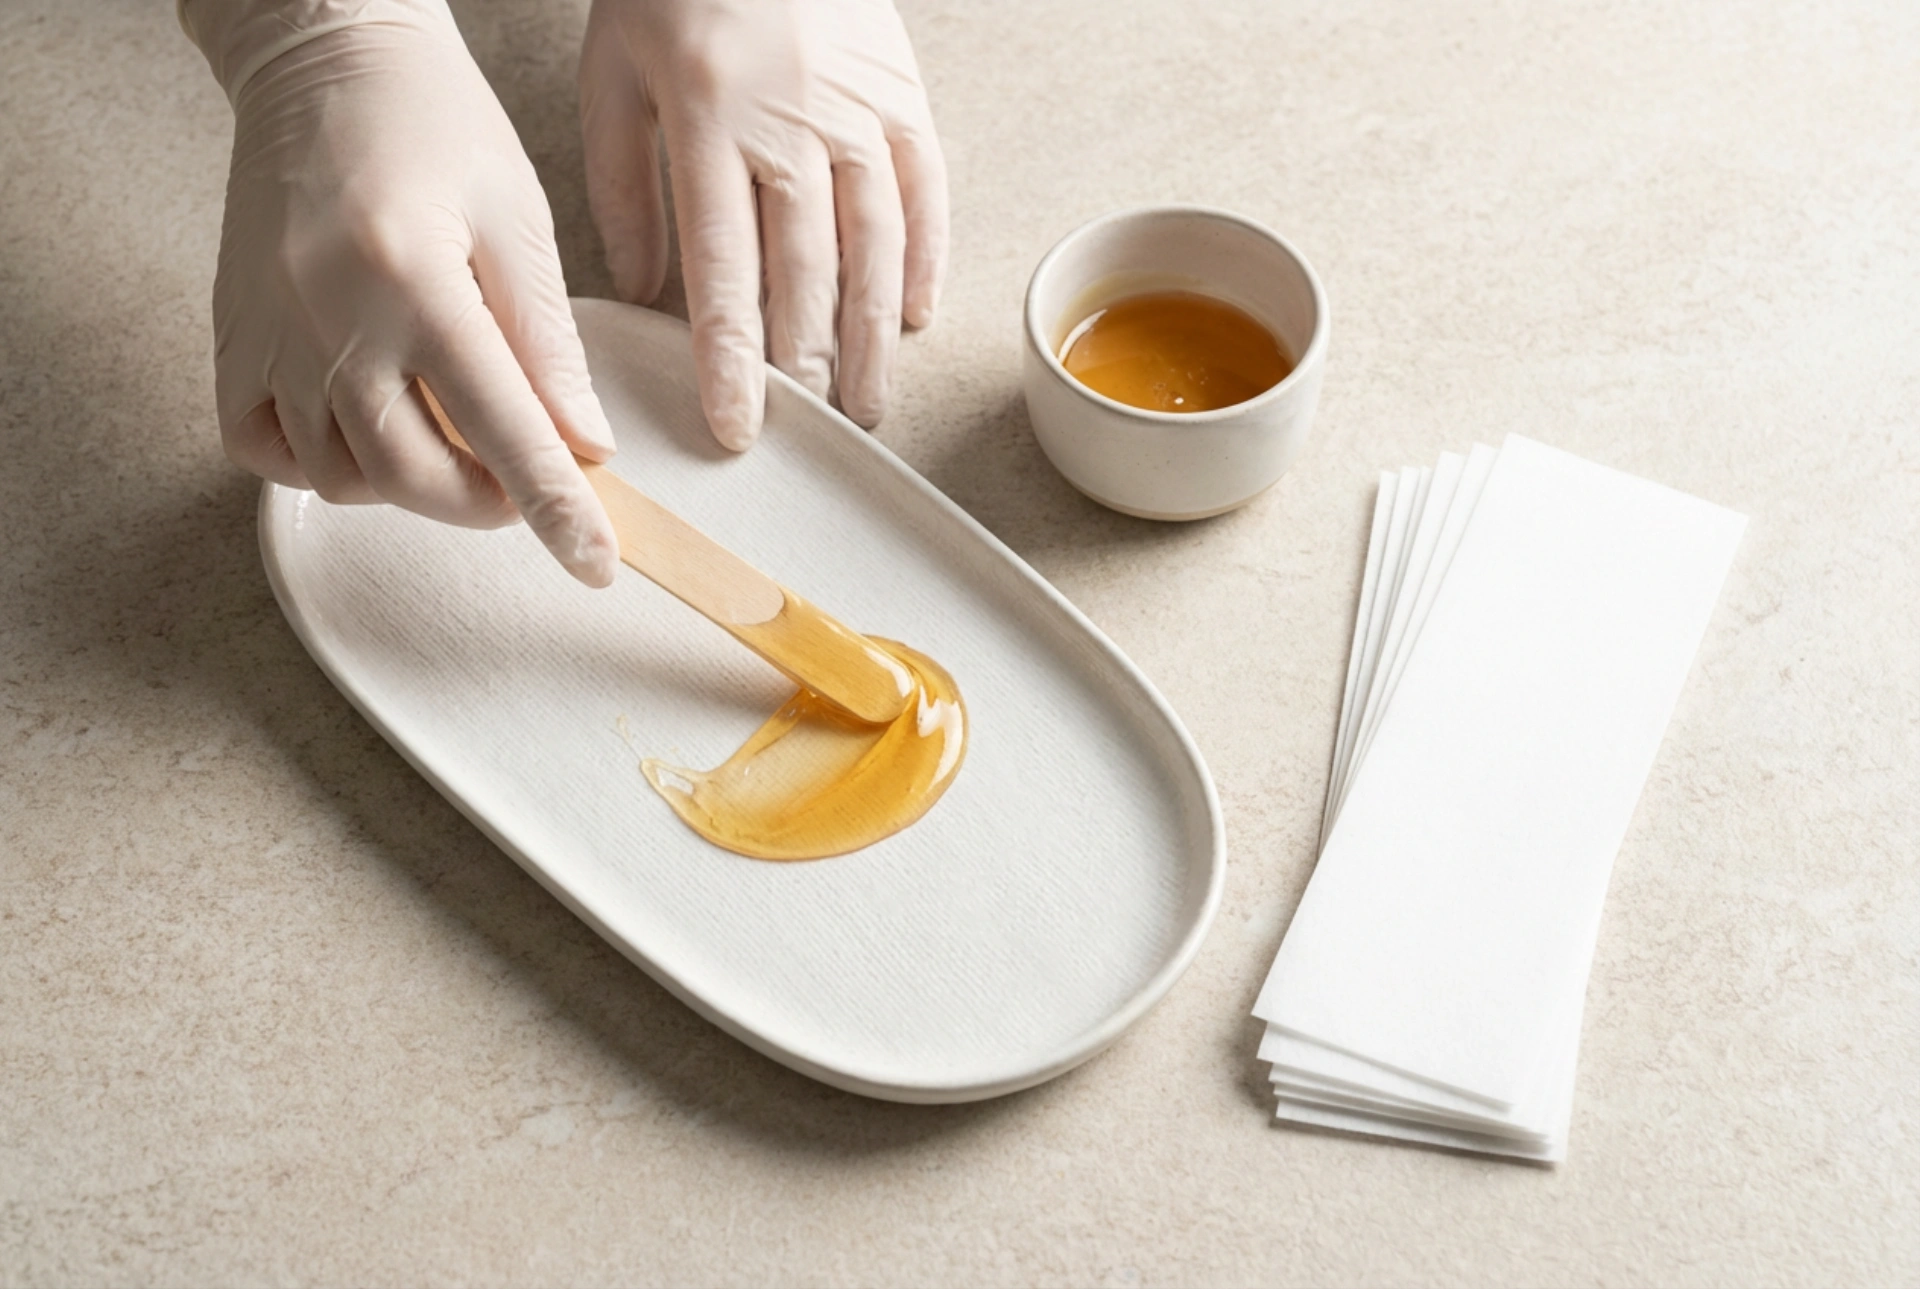
The temperature of your wax is critical for both safety and effectiveness. Wax that is too hot can burn the skin, while wax that is too cool will not spread properly or remove hair effectively. Always use a dedicated wax heater with an adjustable thermostat for consistent results. The ideal consistency should be similar to thick honey or treacle. Before applying it to the bikini area, ALWAYS perform a patch test on a small, less sensitive area of skin, like your inner wrist, to ensure it is comfortably warm, not hot.
The Application and Removal Process
Using a clean spatula, scoop up a small amount of wax. Apply it to a small, manageable section of skin, spreading it firmly in the direction of hair growth. If using hard wax, create a slightly thicker edge or 'lip' at the end of the patch to give you something to grip. Let it cool for a moment until it's firm but still pliable. Hold the skin taut with your free hand. Grip the lip of the wax (or the end of the fabric strip for soft wax) and, in one quick, fluid motion, pull it off in the opposite direction of hair growth. It's crucial to pull parallel to the skin, not straight up, to avoid bruising and hair breakage.
Aftercare: Soothing and Maintaining Your Skin
What you do after waxing is just as important as the preparation. Proper aftercare helps to calm the skin, prevent bumps, and maintain smoothness.
- Remove residue: Use a specially formulated post-wax oil or a simple natural oil (like jojoba or almond) on a cotton pad to gently remove any sticky wax residue. This also helps to soothe the skin.
- Soothe and calm: The skin will likely be red and sensitive immediately after. Apply a gentle, fragrance-free soothing lotion or aloe vera gel.
- Avoid irritants for 24-48 hours: For the first day or two, avoid hot baths, saunas, swimming pools, tight-fitting clothing, and perfumed products on the waxed area to prevent irritation and bumps.
- Prevent ingrown hairs: A few days after waxing, resume gentle exfoliation two to three times a week. This will help keep the skin clear and prevent new hairs from becoming trapped.
At-home bikini waxing requires patience and attention to detail. By selecting the appropriate wax, carefully preparing your skin, and mastering the application and aftercare, you can achieve the smooth, lasting results you desire.