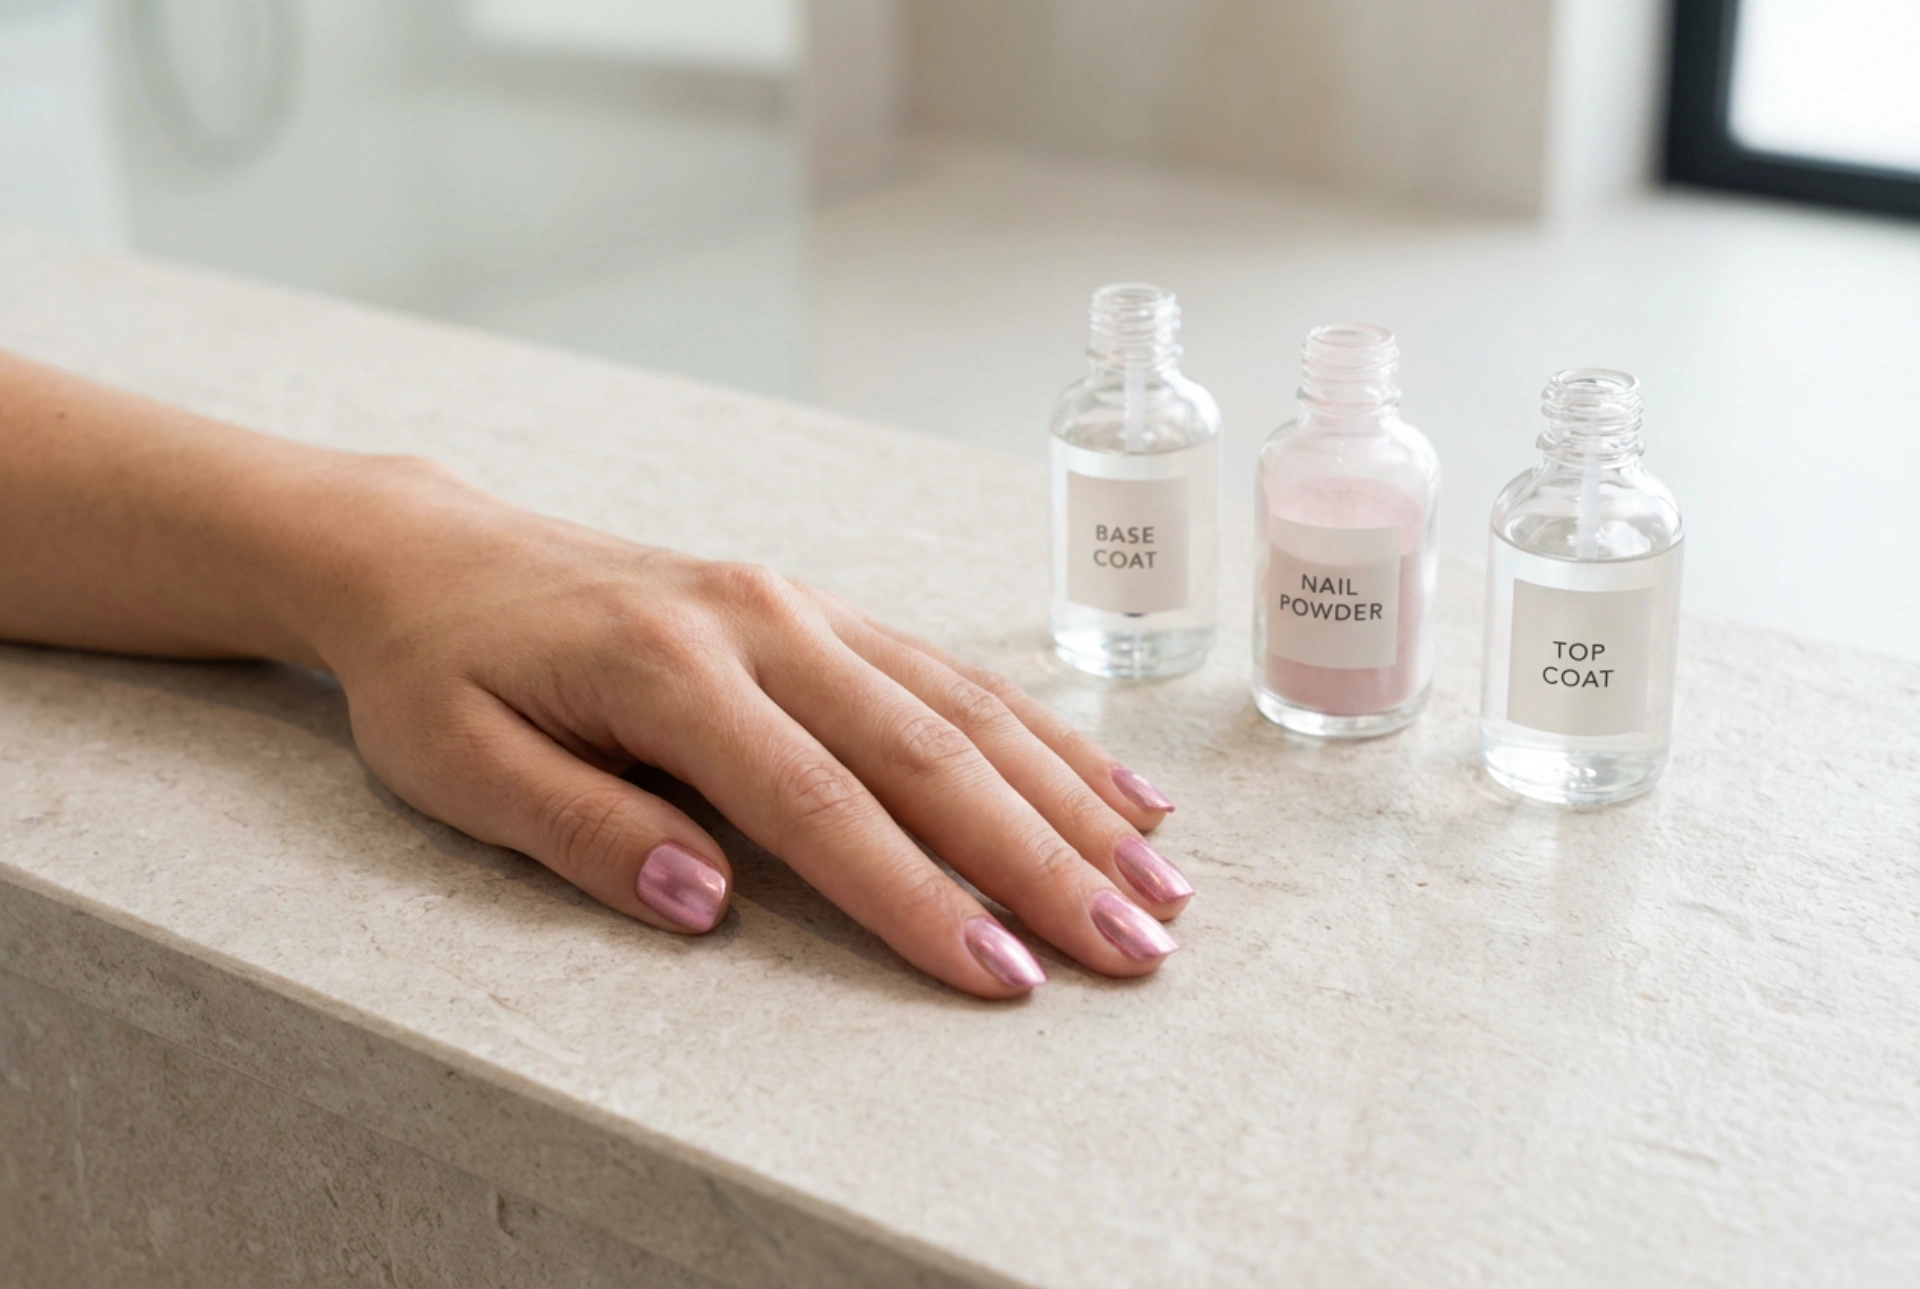


Metallic nails, particularly in shimmering shades of pink, offer a sophisticated and modern twist to any look. They catch the light beautifully, providing an elegant yet eye-catching finish that can elevate your style. Achieving this polished, salon-quality effect at home is entirely possible with the right techniques and products. This guide will walk you through the process, from preparing your nails to sealing in that perfect metallic shine, ensuring a flawless and durable manicure.
Preparing Your Nails for a Metallic Manicure
The foundation of any stunning manicure is proper nail preparation. A smooth, clean canvas is especially important for metallic finishes, as any imperfections can be highlighted by the reflective surface. Start by ensuring your nails are completely clean and free of any old polish.
- Shape and File: Gently file your nails into your desired shape. An oval or almond shape often complements a metallic look, but a classic square or squoval works just as well. Always file in one direction to prevent splitting.
- Cuticle Care: Soften your cuticles using a cuticle remover or by soaking your fingertips in warm, soapy water for a few minutes. Gently push them back with a cuticle pusher or an orange wood stick. Avoid cutting your cuticles, as this can lead to irritation and damage.
- Buff the Surface: Lightly buff the surface of your nails with a fine-grit buffer. This step is crucial for metallic powder application as it removes natural oils and creates a slightly textured surface for the products to adhere to, ensuring a longer-lasting manicure.
- Cleanse: Wipe each nail with a lint-free pad soaked in a nail cleanser or isopropyl alcohol. This removes any dust and residual oils, creating the perfect base for your manicure.
The Crucial Role of the Base Coat
Never skip the base coat. This initial layer serves multiple purposes that are vital for a successful metallic manicure. It not only protects your natural nails from potential staining but also provides a smooth and even foundation for the subsequent layers. For powder applications, the type of base system you use is particularly important. A quality base coat helps to anchor the colour and powder, preventing premature chipping and extending the life of your manicure. Apply a thin, even layer of your chosen base coat and allow it to cure completely according to the product's instructions, typically under a UV or LED lamp.
Applying Metallic Powder for a Chrome Effect
This is where the magic happens. The fine, reflective powder is what creates the signature metallic or chrome finish. The process is precise but rewarding, resulting in a mirror-like shine that is difficult to achieve with traditional polish alone.
The Correct Base for Powder
To get the powder to adhere correctly and create a chrome effect, you must apply it over a specific type of surface. This is usually a 'no-wipe' gel top coat. After applying your base colour (if you choose to use one) and curing it, apply a thin layer of the no-wipe top coat and cure it. It's important to cure it for the exact recommended time; under-curing can make it sticky and patchy, while over-curing may prevent the powder from sticking at all.
Application Technique
Using a small sponge-tip applicator, a silicone tool, or even your fingertip (covered with a glove), pick up a small amount of the pink metallic powder. Gently but firmly rub the powder onto the surface of the nail. Use circular or back-and-forth motions, applying firm pressure. You will see the surface transform from a glittery powder into a smooth, reflective, mirror-like finish. Continue buffing until the entire nail is covered and looks like polished metal. Be sure to cover the entire nail, right up to the cuticles and side walls. Once you are satisfied with the finish, use a soft, fluffy brush to gently dust away any excess powder from the nail and surrounding skin.
Sealing Your Design with a Top Coat
The final step is arguably the most important for durability. Sealing the metallic powder with a high-quality top coat protects the delicate finish from scratching, chipping, and dulling. Without it, the beautiful chrome effect can rub off within a day. Apply one or two thin layers of a durable gel top coat over the entire nail. Pay special attention to 'capping the free edge'—this means running the brush along the very tip of your nail. This creates a seal that prevents moisture and daily wear from causing the layers to lift. Cure the top coat under your lamp for the recommended time. Once cured, your stunning metallic pink nails are complete and ready to show off.




