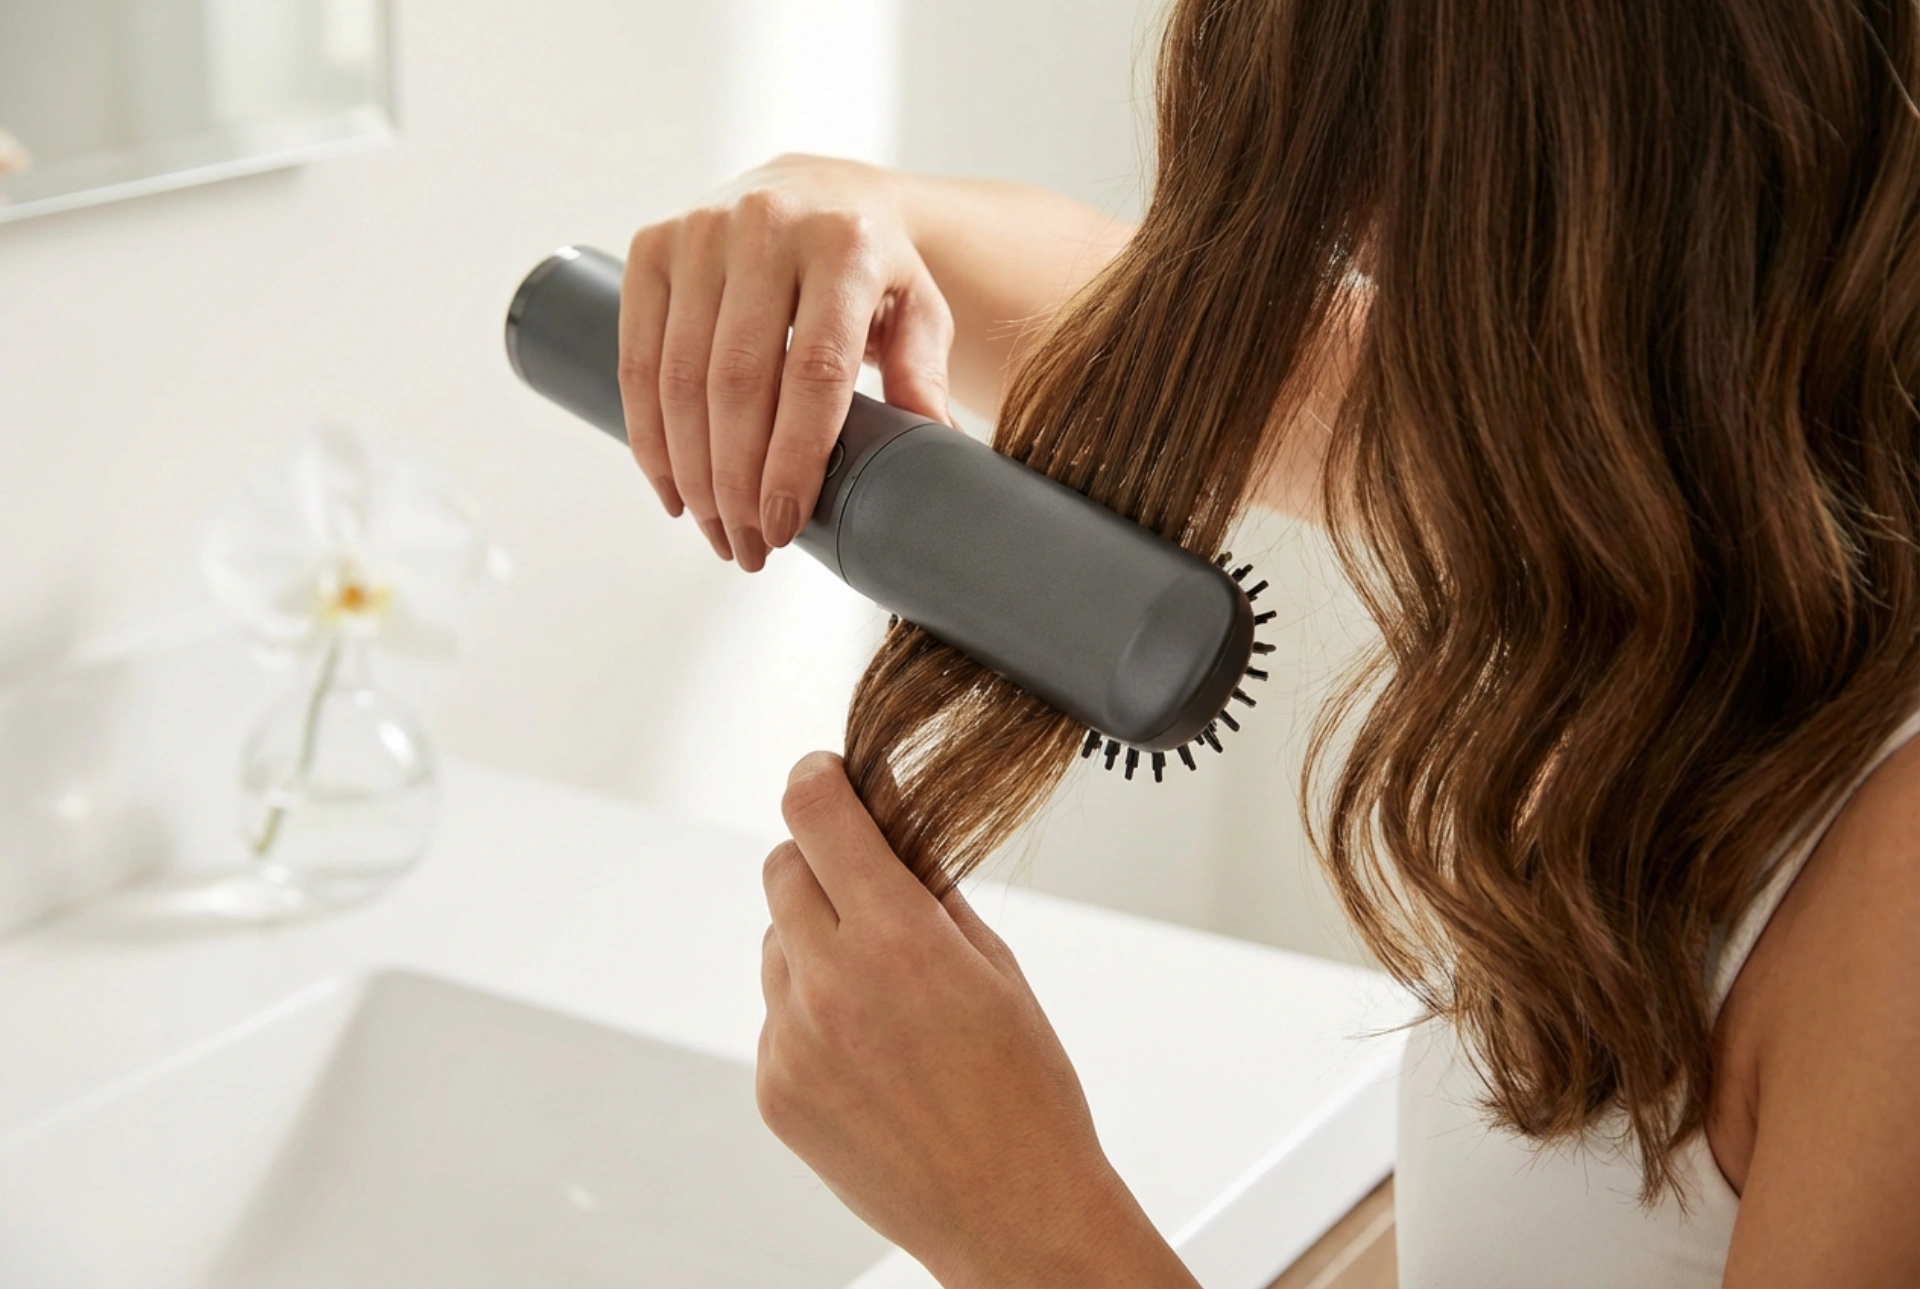


A hot air styler is an incredibly versatile tool that combines the power of a hairdryer with the finesse of a styling brush, allowing you to dry and style your hair simultaneously. Achieving that lustrous, smooth, and frizz-free finish seen in magazines is entirely possible at home with the right technique. Whether you're aiming for bouncy volume, gentle waves, or a sleek, straight look, understanding how to wield this device effectively is key. This guide will walk you through the essential steps, from preparation to finishing touches.
Preparing Your Hair for Styling
The foundation of any great hairstyle is proper preparation. Starting with the right base will not only make styling easier but also protect your hair's health. Before you even plug in your hot air styler, follow these preliminary steps.
First, wash and condition your hair as you normally would. Gently squeeze out excess water and pat your hair with a soft towel or a cotton t-shirt to minimise friction and potential frizz. It's crucial not to use a hot air styler on soaking wet hair. Aim for your hair to be about 70-80% dry. This reduces the amount of time your hair is exposed to heat and prevents it from being 'boiled' rather than styled. You can let it air-dry or use the pre-styling dryer attachment that comes with many models to quickly remove most of the moisture. Finally, and most importantly, apply a heat protectant spray or serum evenly throughout your hair. This creates a barrier between your strands and the heat, minimising damage and keeping your hair healthy.
Understanding the Attachments
Most hot air stylers come with a variety of interchangeable heads, each designed for a specific purpose. Knowing which one to use is fundamental to achieving your desired look. While designs vary, most sets include a few standard types.
Large Round Volumising Brush
This is your go-to for creating significant volume and soft, bouncy waves or a classic blowout look. The large barrel allows you to work with bigger sections of hair, creating gentle curves and lifting the roots. It's ideal for medium to long hair.
Small Round Brush
A smaller barrel is perfect for creating tighter curls, shaping layers, and styling fringes (bangs). It offers more precision and control, making it a great choice for shorter hair or for adding detailed texture to longer styles.
Paddle Brush
If your goal is a smooth, sleek, and straight finish, the paddle brush attachment is your best friend. Its flat shape glides through the hair, detangling and smoothing the cuticle as it dries. It works by gently pulling the hair taut, which helps to straighten it without the intense, direct heat of flat irons.
Pre-Styling Dryer Nozzle
This attachment functions like a traditional hairdryer nozzle. Its purpose is to take your hair from wet to damp quickly and efficiently before you begin styling with the brush attachments. It allows for rough drying without compromising the hair's condition.
Styling Techniques for Different Results
Once your hair is prepped and you've chosen your attachment, it's time to style. Working in manageable sections is non-negotiable for an even, professional-looking result. Use clips to separate the parts of your hair you aren't working on.
- For Maximum Volume: Using the large round brush, take a section of hair and place the brush at the roots. Lift the hair upwards and away from the scalp as you direct the airflow. Hold for a few seconds to heat the roots, then slowly guide the brush through to the ends. For extra lift, you can roll the ends around the brush and hold for a moment before releasing.
- For Sleek, Straight Hair: Attach the paddle brush. Take a medium-sized section of hair and simply brush from root to tip. Keep a gentle tension on the hair as you glide the styler downwards. Move slowly to allow the heat to smooth the hair cuticle effectively. Repeat until the section is dry and smooth.
- For Curls and Waves: Select the round brush appropriate for your desired curl size. Take a small section of hair and wrap it around the barrel, starting from the ends and rolling up towards the root. Hold the styler in place for 10-15 seconds, allowing the heat to set the curl. Many stylers have a 'cool shot' button; a blast of cool air will help to lock the curl in place. Gently unwind the hair from the brush.
Common Mistakes and How to Avoid Them
Even with the best tools, a few common errors can stand between you and a perfect hairstyle. Being aware of them is the first step to avoiding them.
- Styling Soaking Wet Hair: This is the most common mistake. It drastically increases styling time and can cause significant heat damage. Always ensure your hair is mostly dry before you begin.
- Using the Highest Heat Setting: It's tempting to use the highest temperature for faster results, but this can damage fine or colour-treated hair. Start with a medium setting and only increase it if necessary.
- Not Sectioning Your Hair: Styling your hair all at once leads to an uneven finish, with some parts over-dried and others still damp. Take the time to section your hair properly.
- Moving Too Quickly: Rushing through each section won't give the heat enough time to shape and set the hair. A slow, deliberate pace yields much better, longer-lasting results.
Mastering the hot air styler is a matter of practice. By preparing your hair correctly, selecting the right attachment, and using a steady technique, you can easily achieve a variety of beautiful, salon-quality hairstyles from the comfort of your own home.





