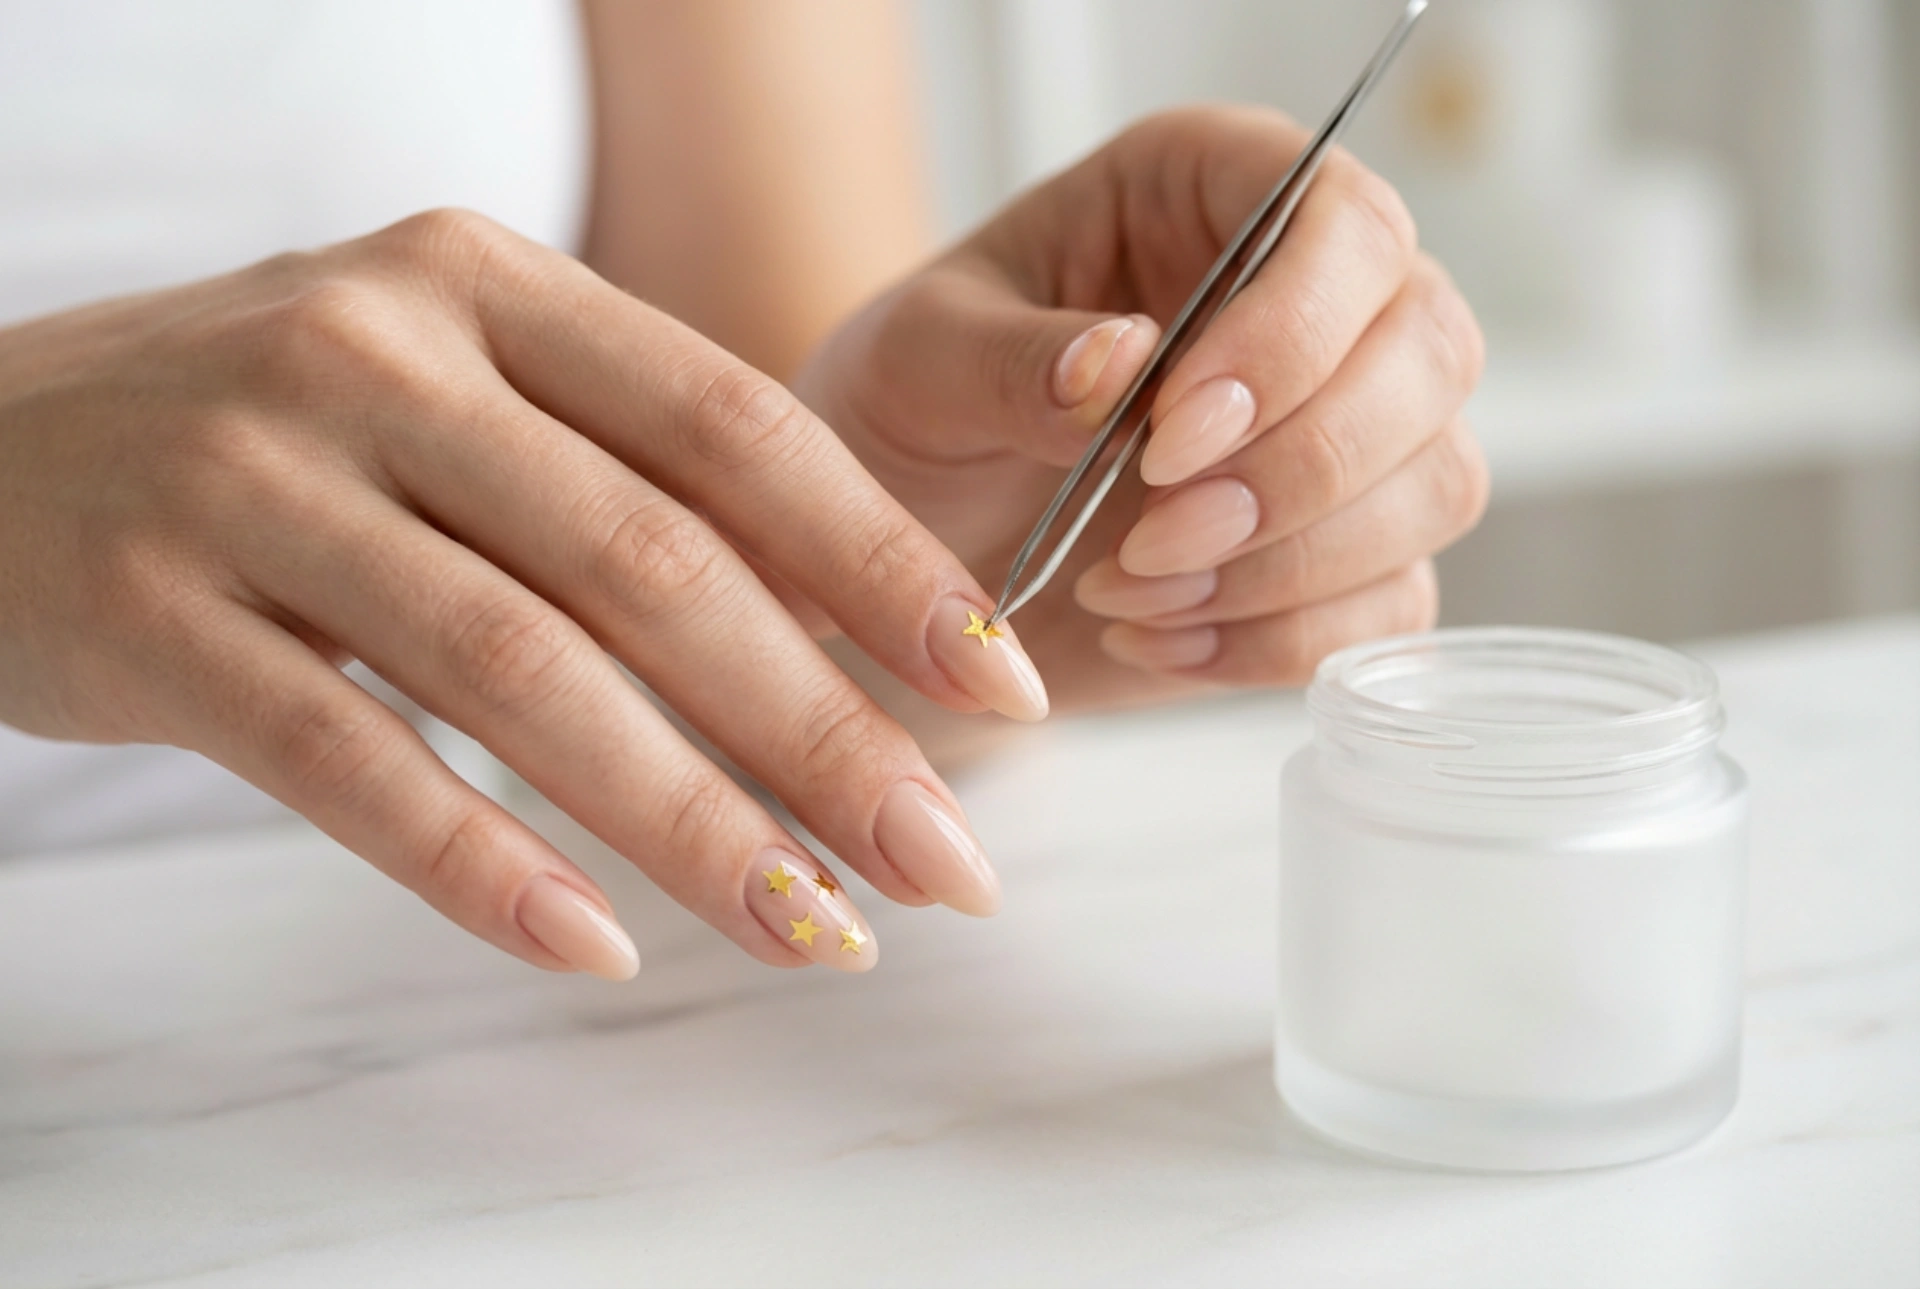


Nail art is a wonderful way to express your personal style, and you don't need to be a professional to create beautiful, intricate designs. Nail stickers, especially charming motifs like stars, offer an accessible and creative path to achieving an elegant manicure at home. With a little preparation and the right technique, you can transform your nails into a miniature celestial canvas, achieving a clean, polished look that looks like it came straight from a salon.
Preparing Your Nails for Sticker Application
The secret to a long-lasting and smooth manicure lies in the preparation. Before you even think about placing those delicate stars, it’s essential to create the perfect base. A well-prepared nail ensures that the sticker adheres properly and the final look is flawless.
- Clean and Shape: Start by thoroughly cleaning your nails to remove any oils or residue. Gently push back your cuticles and file your nails into your desired shape. A smooth nail surface is key.
- Apply a Base Coat: A quality base coat not only protects your natural nails from staining but also provides a grippy surface for the polish to adhere to, extending the life of your manicure.
- Choose Your Colour: Apply one or two coats of your chosen nail polish. Nude, pastel, or deep navy shades can create a stunning backdrop for star stickers, making them pop. Ensure each coat is thin and even.
- Be Patient: This is the most crucial step. You must allow your nail polish to dry completely. Applying stickers to tacky, semi-dry polish can cause smudges, dents, and prevent the sticker from adhering correctly. Give it ample time to cure.
Planning Your Starry Design Layout
The beauty of nail stickers is the endless creative possibility. Before you start peeling and sticking, take a moment to plan your design. This thoughtful approach can elevate a simple manicure into a cohesive piece of art. Consider the size, colour, and finish of your star stickers—whether you prefer subtle metallic glints, bold white stars, or holographic shimmers.
Design Ideas to Inspire You:
- The Accent Nail: A classic and chic choice. Apply your star stickers to just one nail on each hand (typically the ring finger) for a subtle, elegant statement.
- Constellation Scatter: Create a whimsical 'night sky' effect by randomly scattering stars of various sizes across all of your nails. This look is playful yet sophisticated.
- Ordered Patterns: For a more structured look, plan a specific pattern. You could place a single star at the base of each nail, create a vertical line of tiny stars, or arrange them along the tip in a French manicure style.
- Galaxy Gradient: Use a mix of large and small stars, concentrating more at the base or the tip of the nail and fading them out. This creates a sense of depth and movement.
To help visualise, you can lay out the stickers on a piece of paper or even use a nail art practice wheel. Deciding on the placement beforehand prevents hesitation and ensures a confident application.
The Art of Applying Nail Stickers
Once your nails are dry and your design is planned, it's time for the application. Precision is key, so it’s best to work in a well-lit area and have your tools ready. A pair of fine-tipped tweezers will be your best friend during this process, allowing for much greater accuracy than using your fingers.
Step-by-Step Application:
- Gently Lift: Use your tweezers to carefully peel the chosen star sticker from its backing sheet. Try to handle it by the very edge to avoid touching the adhesive.
- Position and Place: Hover the sticker over your nail to confirm the placement. Once you are happy, gently lay it down onto the nail surface.
- Press and Smooth: Start by pressing down in the centre of the sticker and then smooth outwards towards the edges. This helps push out any trapped air bubbles that could cause lifting later. You can use the pad of your finger, a soft cloth, or a silicone nail art tool for this. Ensure all edges are firmly sealed against the nail.
Sealing the Deal: The Perfect Finishing Touch
Your beautiful star design is in place, but the work isn't quite done. The final step—applying a top coat—is non-negotiable. It is what protects your design, gives it a professional-looking glossy sheen, and ensures your celestial manicure lasts for days without peeling or chipping.
Apply one to two thin layers of a good quality, clear top coat over the entire nail, making sure to cover the stickers completely. Don't press too hard with the brush, as this could shift the sticker. A gentle floating motion is best. For extra durability, 'cap' the free edge of your nail by running the top coat brush along the very tip. This creates a seal that helps prevent chips and protects the sticker's edges. Once the top coat is dry, you can admire your flawless, durable, and truly stellar nail art.




