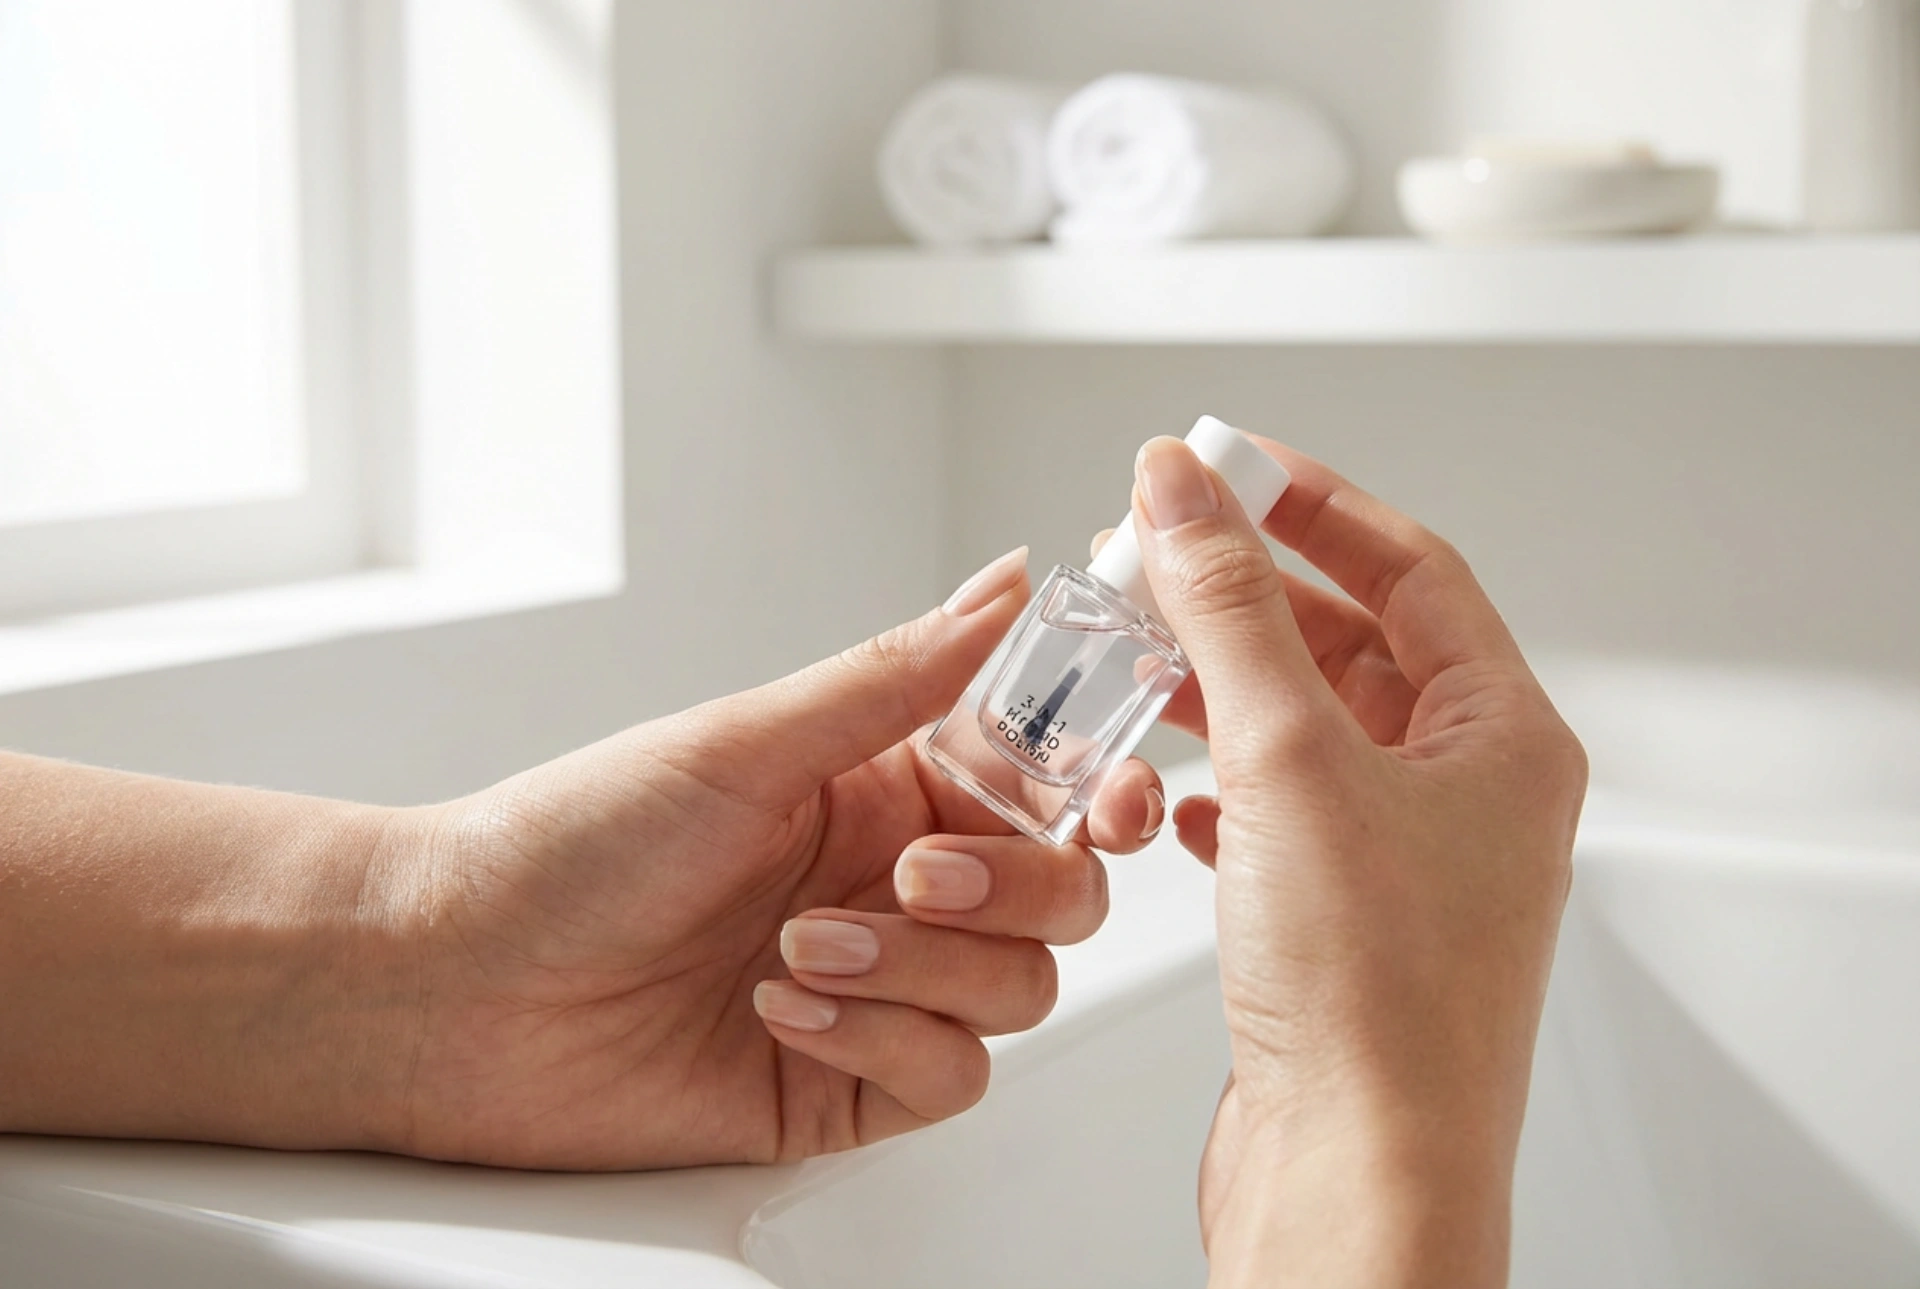


Modern lifestyles often leave little time for elaborate beauty rituals, yet the desire for beautifully manicured hands remains unchanged. Elegant, well-groomed hands holding a sleek bottle of hybrid polish represent the ideal balance of efficiency and style. For those who juggle a demanding schedule but still want flawless nails, the 3-in-1 hybrid nail polish offers a revolutionary solution. By combining the base coat, colour, and top coat into a single bottle, this innovative product streamlines the traditional multi-step manicure into a fast, effortless at-home routine.
Understanding the 3-in-1 Hybrid Polish Innovation
Traditional gel or hybrid manicures require multiple products, including a dehydrating primer, a base coat, the coloured polish itself, and a protective top coat. Each layer must be cured individually under a UV or LED lamp, followed by wiping away a sticky dispersion layer with a cleanser. The 3-in-1 hybrid system simplifies this sequence dramatically. It integrates the bonding properties of a base, the rich pigment of a polish, and the high-shine protection of a top coat into one formulation.
This means you only need to apply and cure a single type of polish to achieve a long-lasting, glossy finish. It reduces the time spent on your nails by more than half, making it the perfect choice for busy individuals, frequent travellers, or anyone looking to simplify their beauty shelf. While traditional hybrids can take up to forty-five minutes, the 3-in-1 alternative can be completed in under fifteen minutes.
Preparing Your Nails for Maximum Longevity
Even though the application process is shortened, skipping nail preparation is the most common reason for premature peeling or chipping. To ensure your 3-in-1 manicure lasts for up to two weeks, follow these essential preparation steps:
- Shape and file: Use a gentle glass or fine-grit nail file to shape your nails to your desired length. Always file in one direction to prevent splitting.
- Gently push back cuticles: Use a wooden orange stick or a cuticle pusher to gently push back the cuticles. Avoid cutting them unless absolutely necessary, as they protect the nail bed.
- Buff the nail plate: Use a buffer block to lightly remove the natural shine from the surface of your nails. This creates a slightly textured surface that helps the 3-in-1 polish adhere securely.
- Cleanse and dehydrate: Wipe each nail thoroughly with a lint-free wipe soaked in a nail cleanser or rubbing alcohol. This removes dust, oils, and moisture, which are the main culprits behind lifting.
Step-by-Step Guide to the Perfect Quick Manicure
Once your nails are clean, dry, and free of oils, you are ready to apply the polish. Working in a well-lit area with soft natural light will help you apply the layers evenly.
Step 1: Apply the First Thin Layer
Open your 3-in-1 hybrid bottle and wipe excess product from the brush against the neck of the bottle. The key to a successful hybrid manicure is applying very thin layers. Place the brush near the cuticle (but not touching it) and glide it smoothly to the free edge of the nail. Be sure to cap the free edge—painting the very tip of the nail—to seal the polish and prevent chipping.
Step 2: Cure Under the Lamp
Place your hand under an LED or UV lamp. The curing time depends on the power of your lamp, but typically, sixty seconds under an LED lamp or two minutes under a UV lamp is sufficient. Refer to the manufacturer's instructions for the optimal duration.
Step 3: Apply the Second Layer
To achieve a rich, opaque colour, apply a second thin layer of the 3-in-1 polish. Repeat the same careful application, ensuring you do not paint onto the skin or cuticles. If any polish gets on your skin, wipe it off with a wooden stick before curing.
Step 4: Final Cure and Finish
Cure the second layer under the lamp for the recommended time. Unlike traditional hybrids, most 3-in-1 formulas do not leave a sticky dispersion layer after the final cure. Once the lamp turns off, your manicure is dry, fully hardened, and ready. There is no need to wipe the nails with cleanser.
Post-Manicure Care for Lasting Shine
To keep your nails looking freshly painted for days, a small amount of daily maintenance goes a long way. After completing your manicure, wash your hands to remove any remaining dust and apply a nourishing cuticle oil around the nail beds. Massage it in gently to hydrate the skin and promote healthy nail growth.
Although 3-in-1 manicures are highly durable, it is wise to protect your hands when doing household chores. Wear gloves when washing dishes or using cleaning agents, as harsh chemicals can dull the high-shine finish. Additionally, avoid using your nails as tools to open cans or peel off labels, which can cause physical chips.




