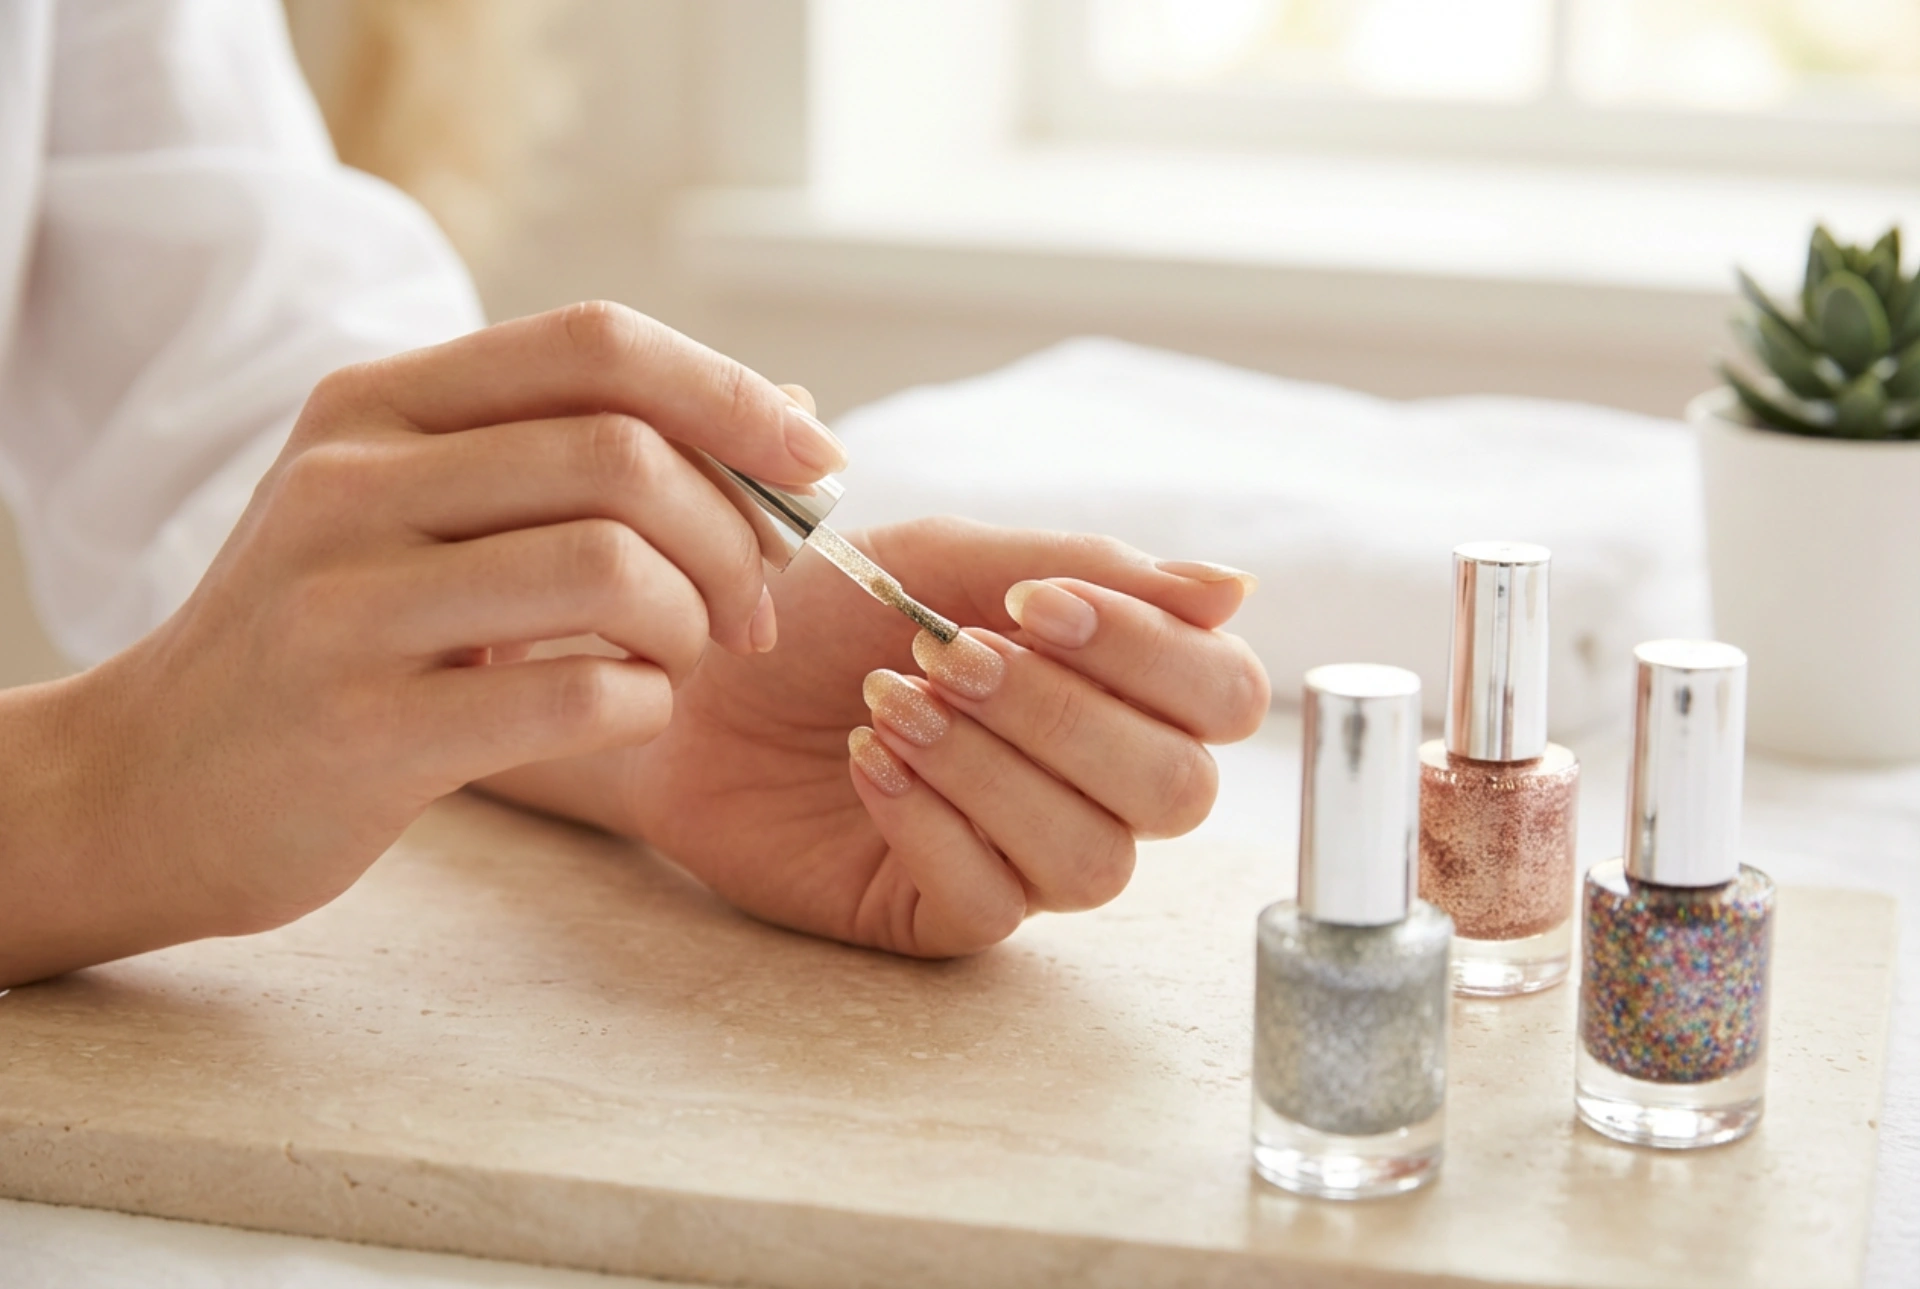


A beautifully manicured hand with a touch of sparkle can instantly elevate your daily look or add the perfect finishing touch to an elegant evening style. Working with glitter nail polish, however, can sometimes be a challenge. Many beauty enthusiasts struggle with uneven distribution, thick layers that refuse to dry, or a rough, bumpy texture. Achieving a smooth, light-reflective, and salon-quality finish at home is entirely possible when you understand the formulation of these polishes and master the proper application techniques.
Understanding Glitter Polish Formulations
Before diving into the application process, it is essential to understand that not all glitter polishes are created equal. They generally fall into two categories: dense glitter polishes and suspension glitter polishes. Knowing which type you are working with determines your application strategy and the final look of your manicure.
Dense Glitter Polishes
These polishes are packed with high concentrations of sparkling particles suspended in a minimal amount of clear or tinted base. They are designed to provide full coverage in just one or two coats. When choosing a dense glitter, look for formulas that feature varying sizes of glitter particles, as this creates a multi-dimensional effect that catches the light from every angle.
Suspension Glitter Polishes
Suspension polishes feature sparse glitter shapes, such as stars, hexagons, or fine shimmer, floating in a sheer colored or clear base. These are ideal for layering over a solid base colour to add a subtle, delicate sparkle. Because the particles are spread out, standard brush strokes are often insufficient to distribute the glitter evenly across the nail plate.
The Secret Sponge Application Technique
If you want to achieve a highly pigmented, clump-free glitter look without building up thick, heavy layers of wet polish, the sponge method is the ultimate technique. This approach filters out excess liquid base, leaving only the sparkling particles on your nail.
- Apply a Base Coat: Always start with a high-quality base coat to protect your natural nails from staining and to create a smooth surface for adhesion.
- Protect the Surrounding Skin: Since sponging can be slightly messy, apply a liquid barrier or a rich moisturiser around your cuticles and the sides of your fingers.
- Prepare the Sponge: Take a small piece of a clean, latex-free cosmetic sponge. Paint a generous layer of your chosen glitter polish directly onto the edge of the sponge. The makeup sponge will naturally absorb the excess liquid solvent while keeping the glitter on the surface.
- Dab Gently: Lightly press and dab the sponge onto your nail. Build up the coverage gradually in thin layers rather than pressing hard all at once. This ensures a flat, even distribution without any thick clumps.
- Clean Up: Peel away your skin barrier or wipe away any stray glitter from your skin using a small brush dipped in polish remover.
How to Apply Glitter with a Brush Successfully
If you prefer using the bottle brush, a traditional painting motion is often the main cause of clumping and bare patches. Instead of long, sweeping strokes, try the patting method. Start by wiping excess polish off one side of the brush. Place a bead of glitter near the centre of the nail and gently pat or push the particles into place with the flat side of the brush. This ensures that you control where the glitter settles, rather than dragging it off the nail tip with each stroke.
Achieving a Flawless, Smooth Finish
One of the most common complaints about glitter manicures is the rough, scratchy texture that remains after the polish dries. This uneven texture not only looks less polished but also makes the manicure prone to chipping and catching on fabrics. To lock in your sparkling design and achieve a glossy, glass-like surface, a dedicated top coat strategy is required. Apply a thicker, plumbing top coat designed to fill in the microscopic gaps between the glitter pieces, followed by a quick-dry top coat to seal the entire manicure safely.




