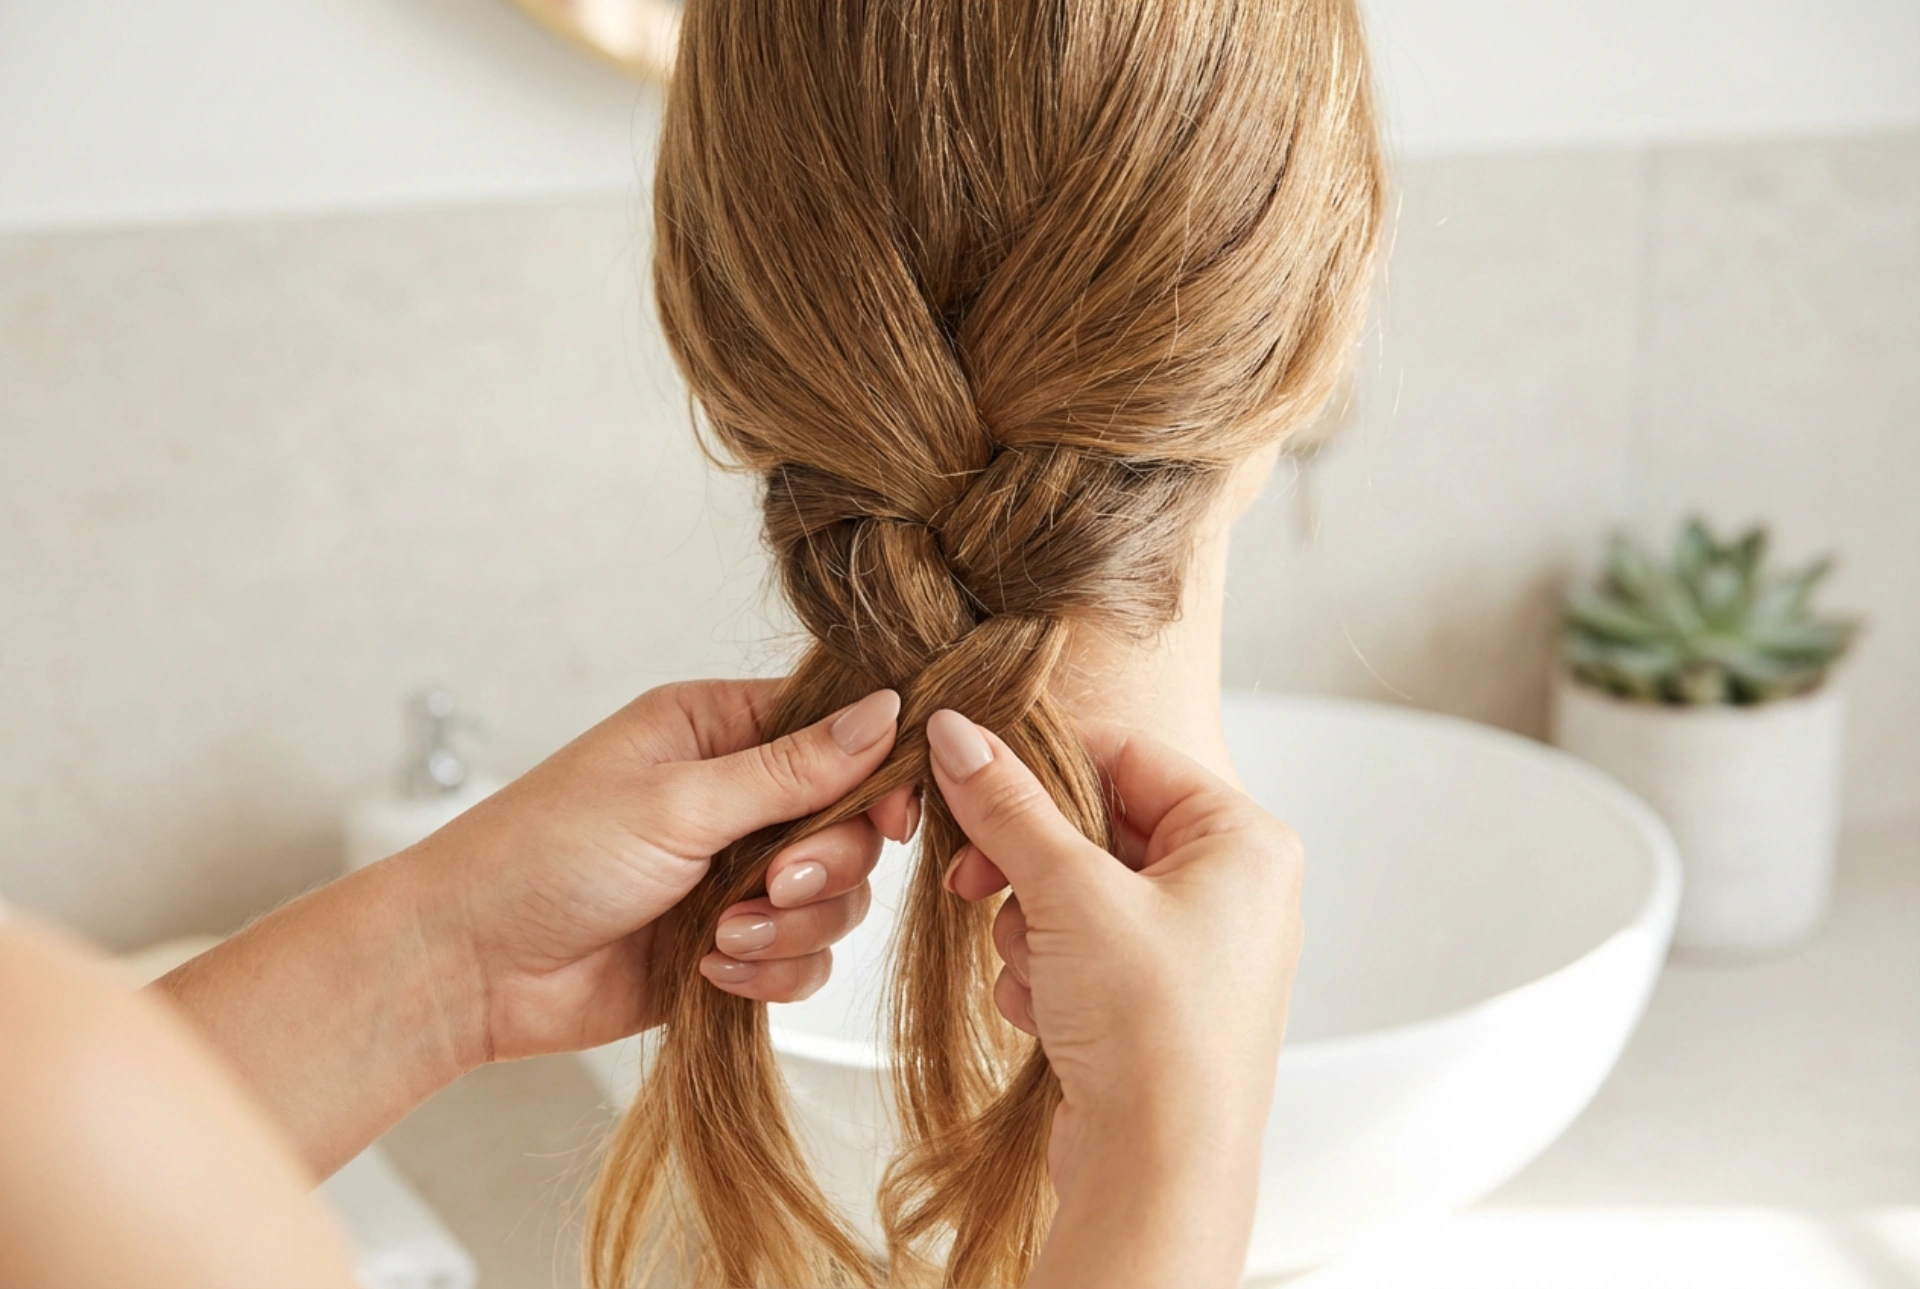


There is an undeniable charm in the delicate art of hair styling, especially when it involves weaving soft strands into elegant, romantic braids. The sight of healthy, flowing hair catching the natural light as it is gently gathered into an updo evokes a timeless sense of grace. For beginners, the prospect of creating a braided updo might seem intimidating, but with the right guidance, anyone can master these beautiful styles at home. Romantic updos with braids are perfect for various occasions, combining ease with an effortlessly polished appearance.
Preparing Your Hair for Styling
The foundation of any successful updo lies in the preparation of your hair. Freshly washed hair can often be too slippery, making it difficult for braids and pins to stay securely in place. For the best results, it is highly recommended to work with hair that was washed the previous day. This allows the natural oils to provide a subtle grip, making the strands much easier to manage and style.
If your hair is particularly fine or smooth, you can introduce some texture to help hold the structure. Applying a small amount of texturising spray or a lightweight volumising mist to the lengths of your hair can make a significant difference. Gently brushing through your hair to remove any tangles is essential before you begin. Having a few basic tools on hand—such as hair ties, hairpins, and a comb—will ensure a seamless styling experience.
The Romantic Low Bun with Side Braids
This classic style is incredibly versatile, offering a soft, framed look around the face while keeping the hair neatly gathered at the nape of the neck. It is an excellent choice for beginners as it relies on simple techniques that yield a highly sophisticated result.
Step 1: Sectioning the Hair
Begin by parting your hair down the middle or slightly to one side, depending on your preference. Separate a section of hair on each side of your face, from the parting down to just behind your ears. Secure the back section of your hair temporarily with a clip to keep it out of the way while you work on the front sections.
Step 2: Weaving the Side Braids
Take the left section of hair and divide it into three equal strands. Begin weaving a classic three-strand braid, aiming it back towards the crown of your head. Secure the end of the braid with a small, clear elastic band. Repeat this exact process on the right side. You should now have two neat braids framing your face.
Step 3: Creating the Low Bun
Release the back section of your hair and combine it with the ends of the two side braids. Gather all the hair together at the nape of your neck and secure it into a low ponytail. Twist the length of the ponytail gently and wrap it around the base to form a soft bun. Secure the bun firmly with hairpins, tucking the ends underneath for a clean finish.
Step 4: Softening the Look
To achieve that signature romantic, effortless feel, gently tug at the outer loops of your side braids to loosen them slightly. This technique adds instant volume and texture. You can also pull out a few wispy strands of hair around your temples and ears to softly frame your face.
The Delicate Braided Crown
The braided crown, often referred to as a halo braid, is a stunning updo that wraps beautifully around the head. While it looks complex, a simplified version using two braids is very accessible for beginners and offers a beautiful, regal aesthetic.
Step 1: Braiding Two Sections
Divide all of your hair down the middle into two equal halves. Starting on the left side, begin braiding the hair from the nape of your neck downwards, creating a standard three-strand braid. Secure the end with an elastic. Repeat this on the right side so you have two symmetrical braids hanging down.
Step 2: Positioning the Crown
Take the left braid and lift it up over the top of your head, positioning it like a headband. Secure the end of the braid firmly on the opposite side of your head using hairpins. Next, take the right braid, lift it up in the opposite direction, and position it just behind the first braid. Tuck the ends of both braids neatly beneath one another to hide the hair ties, and secure them with extra pins.
Practical Tips for All-Day Hold
To ensure your romantic updo remains intact throughout the day without losing its soft charm, consider these simple styling tips:
- Use the correct pins: Choose hairpins that match your hair colour to make them virtually invisible. When inserting bobby pins, ensure the wavy side faces downwards against your scalp for a much stronger grip.
- Avoid heavy products: Heavy gels or strong-hold sprays can make the braids look stiff. Opt for a light-hold hairspray that allows for natural movement while keeping stray hairs in place.
- Embrace imperfection: The beauty of a romantic updo lies in its soft, natural appearance. Do not worry if a few strands slip out; a slightly undone look only adds to the charm of the style.





