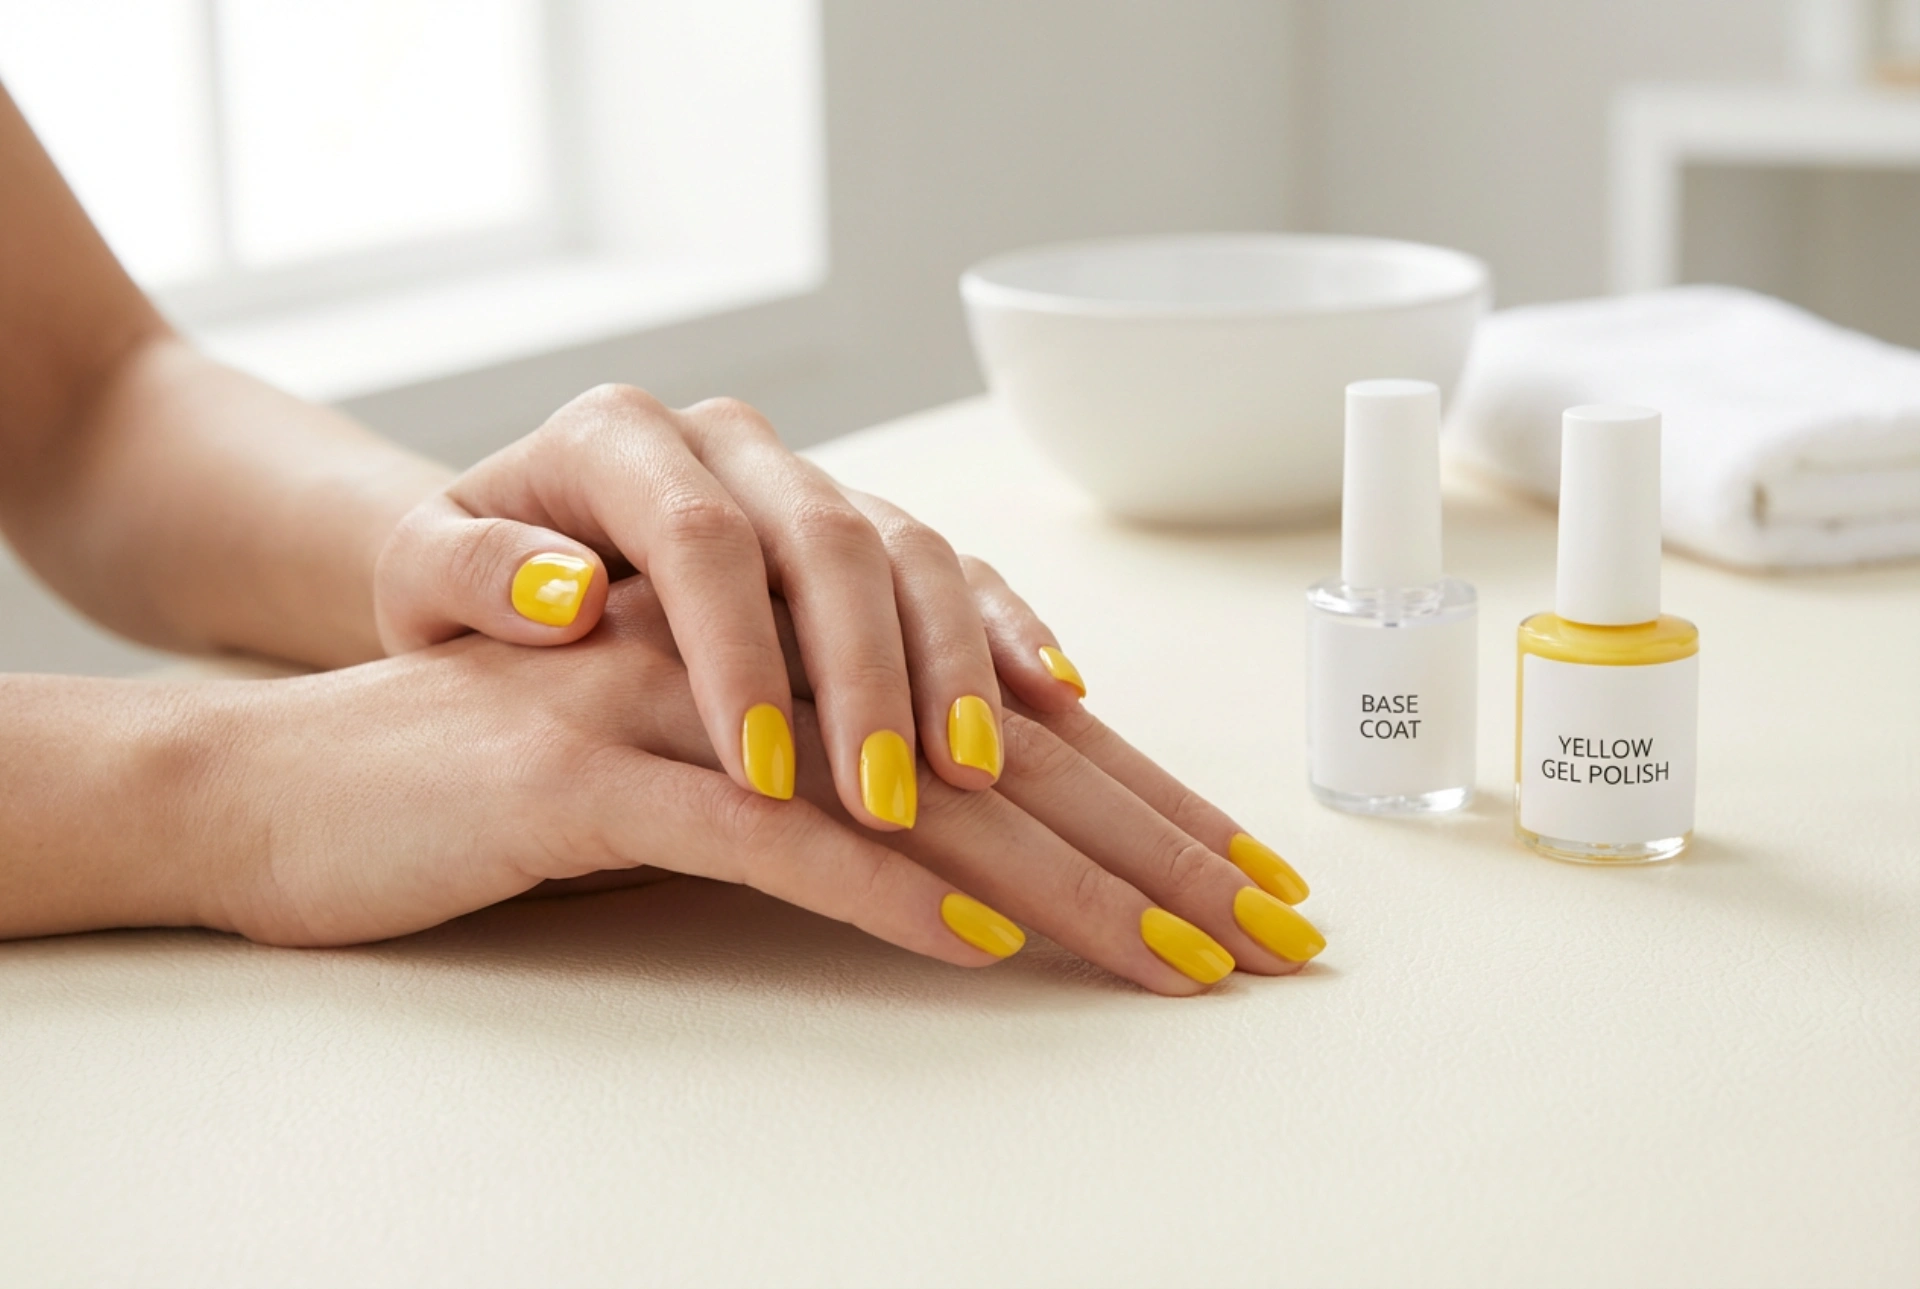


Vibrant yellow gel nail polish is a beautiful choice for anyone looking to add a cheerful, modern touch of elegance to their style. When applied flawlessly, yellow nails gleam beautifully under natural light, showcasing a smooth, professional-looking manicure. However, yellow is notorious for being one of the most challenging shades to apply without leaving visible streaks. Achieving that perfect, streak-free finish requires a combination of proper nail preparation, a suitable base coat, and the patient application of thin, even layers.
Why Yellow Gel Polish Tends to Streak
The primary reason yellow gel polish is prone to streaking lies in its pigment formulation. Yellow pigments are often less opaque than darker shades, meaning they require a delicate balance to achieve full coverage. When you try to apply a thick layer to cover the natural nail quickly, the polish does not cure evenly. The outer layer cures first, trapping wet polish underneath, leading to wrinkling, bubbles, and uneven patches. Understanding the nature of this pigment is the first step toward mastering its application at home.
The Critical Role of the Base Coat
A flawless manicure always begins with a solid foundation. For streak-prone shades like yellow, the choice of base coat is particularly important. A standard clear base coat provides excellent adhesion, but using a self-levelling base coat can help smooth out any natural ridges on the nail plate. Ridges are a major contributor to streaking, as polish tends to pool in the grooves and thin out on the raised areas.
An excellent tip for making yellow gel polish pop without requiring multiple thick layers is to use a milky or slightly white-tinted base coat. This pastel background acts as a canvas, neutralizing the natural pink or beige tones of your nail bed. As a result, the yellow pigment appears more vibrant and even from the very first coat, reducing the number of layers needed to achieve full opacity.
The Magic of Applying Thin Layers
If there is one golden rule for applying yellow gel nail polish, it is to work in incredibly thin layers. It is always better to apply three paper-thin layers than two thick ones. When you load too much product onto the brush, the polish slides toward the side walls of the nail, creating an uneven thickness that shows up as streaks under light.
Before applying the polish, wipe the brush thoroughly against the neck of the bottle so that only a minimal amount remains. Start application in the centre of the nail, slightly away from the cuticle, and gently push the polish upward before pulling it down to the free edge. This technique prevents pooling near the cuticles and ensures a uniform, thin distribution across the entire surface.
Step-by-Step Guide to a Flawless Yellow Manicure
Achieving a professional-grade finish at home is entirely possible when you follow a structured approach. Here is how to apply yellow gel polish perfectly:
1. Prepare the Nail Plate
Ensure your nails are shaped, cuticles are gently pushed back, and the surface is lightly buffed to remove any shine. Dehydrate the nail plate with a gentle prep solution to remove natural oils, which ensures optimal adhesion of your base coat.
2. Apply and Cure the Base Coat
Apply a thin, even layer of your chosen base coat, ensuring you seal the free edge of the nail. Cure it completely under your nail lamp according to the standard curing time.
3. Work in Ultra-Thin Yellow Coats
Apply the first layer of yellow gel polish using minimal product. Do not worry if this first layer looks sheer or slightly patchy—this is completely normal. Cure this layer fully. Repeat the process for the second and, if necessary, a third ultra-thin layer. Curing each layer thoroughly ensures the polish sets flat and smooth.
4. Seal with a High-Quality Top Coat
Finish your manicure with a self-levelling top coat to seal in the colour and add a beautiful glossy shine. The top coat will help smooth out any microscopic inconsistencies, leaving a glossy, streak-free surface that catches the light elegantly.
Essential Tips for a Perfect Finish
- Keep your hand flat: When curing your nails under the lamp, keep your hand perfectly flat. Tilting your fingers can cause the wet gel to pool on one side, creating an uneven surface.
- Do not rush the curing process: Always adhere to the recommended curing times. Highly pigmented colours like yellow need sufficient time under the light to set properly.
- Cap the free edge: Always swipe the tip of your nail with the brush during each step. This prevents the polish from shrinking away from the edges and ensures durability.
- Avoid heat sources immediately after: Let your nails cool down for a minute after the final cure before applying cuticle oil or washing your hands.
By mastering the art of the base coat and committing to patient, thin layer applications, you can enjoy a stunning, sun-drenched yellow manicure that looks professional, elegant, and entirely free of streaks.




