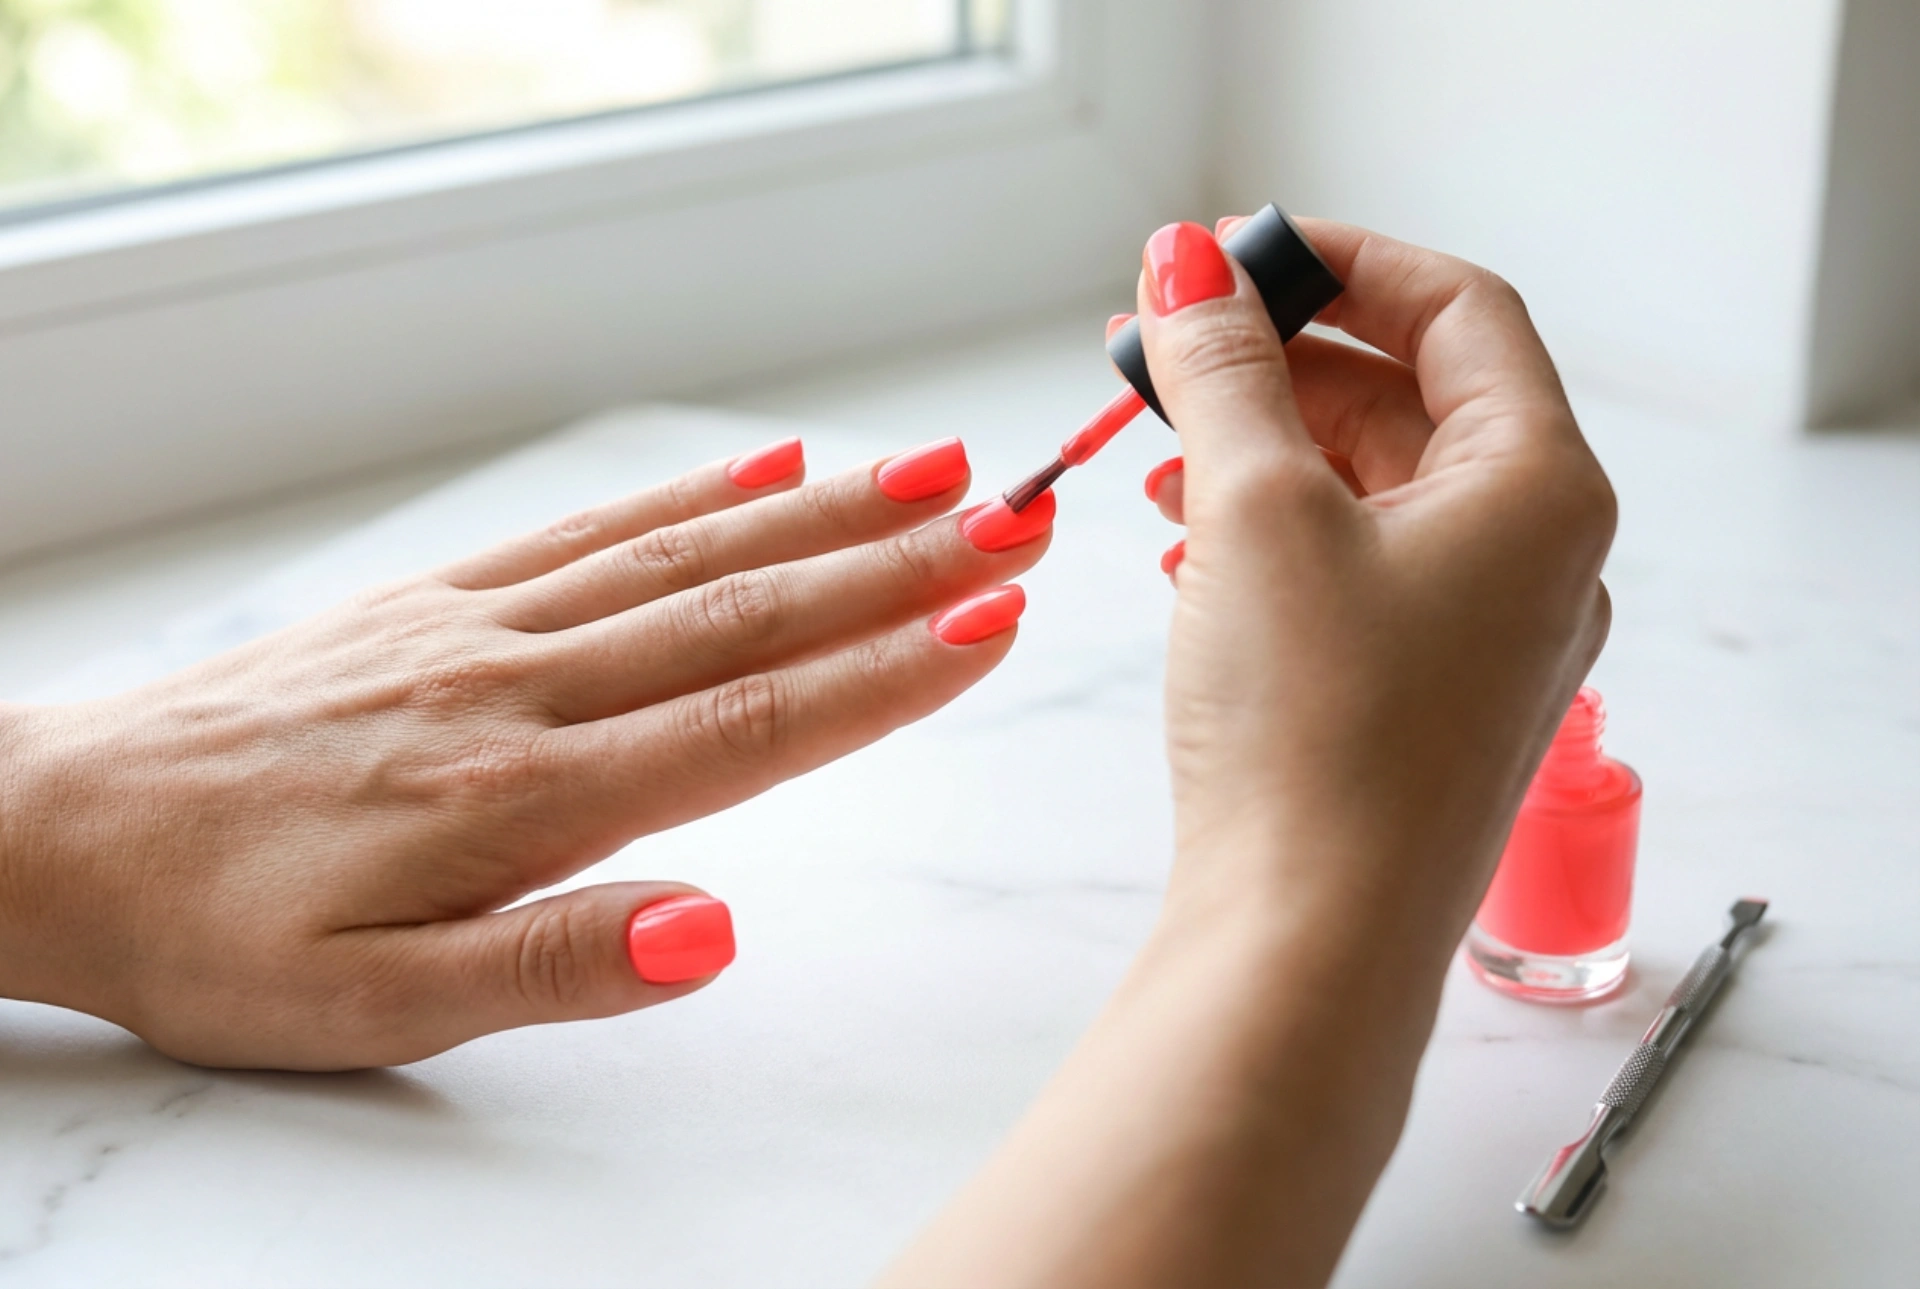


Bright, vibrant neon manicures are a timeless summer classic, bringing an instant boost of energy and style to any look. However, working with highly pigmented neon nail polishes can sometimes present unique challenges, such as visible streaks, patchiness, or sheer coverage that fails to do justice to the bold bottle colour. Achieving a perfectly opaque, professional-looking finish at home starts long before the colour bottle is opened. By focusing on meticulous preparation and smart application techniques, you can enjoy a flawless neon manicure that stands out for all the right reasons.
The Importance of Nail Plate Preparation
The foundation of any long-lasting and even manicure is a perfectly prepped nail plate. Because neon pigments are incredibly bright, they naturally draw attention to the texture of the nail, meaning any ridges, bumps, or dry cuticles will become highly visible. To prevent this, start by gently pushing back the cuticles using a wooden stick. Shape the free edge of your nails with a high-quality glass or fine-grit file, ensuring there are no jagged edges that could catch and cause lifting.
Next, use a soft buffer block to gently smooth the surface of the nail plate. This step removes natural oils and flattens minor ridges, creating a perfectly even canvas for your base coat. Once buffered, it is essential to thoroughly dehydrate the nail plate. Wipe each nail with a lint-free pad soaked in a gentle nail dehydrator or isopropyl alcohol. This ensures that no dust, moisture, or oil remains, which significantly improves the adhesion of subsequent layers.
The Secret Weapon: A Solid Base and White Undercoat
One of the most common issues with neon formulas is their tendency to look sheer or watery upon application. To combat this and make the neon colour truly pop, the secret lies in your base layers. Always start with a high-quality, strengthening base coat. This protective layer prevents the bright pigments from staining your natural nail while providing a smooth surface for the colour to cling to.
Once the base coat is dry, apply a single, thin layer of opaque white nail polish. This is the ultimate insider trick for neon manicures. Because neon pigments are semi-translucent, applying them directly onto a natural pink nail bed can dull their vibrancy. A solid white background acts as a clean canvas, reflecting light back through the neon polish and making the neon colour appear incredibly bright, solid, and completely streak-free with fewer colour coats.
Mastering the Application Technique
When applying the neon polish, patience and control are your best tools. It is always better to apply three very thin layers rather than one or two thick ones. Thick layers of polish are highly prone to bubbling, uneven drying, and premature chipping. Before starting, wipe one side of the brush against the neck of the bottle to ensure you have just the right amount of product.
Use the three-stroke method for an even distribution: place a drop of polish near the cuticle line, push it gently towards the cuticle without touching the skin, and then sweep down the centre of the nail. Follow this with one stroke down each side. Keep the brush almost parallel to the nail plate to avoid scraping off the wet polish. Allow each layer to dry completely before applying the next to prevent dragging the previous coat.
Sealing the Vibrancy with the Perfect Top Coat
To preserve your vibrant creation and ensure it remains chip-free, a high-quality top coat is essential. Neon pigments can be particularly sensitive to environmental factors, which can sometimes cause the bright colours to fade over time. A generous layer of a glossy, quick-drying top coat not only seals in the colour but also adds a professional, glass-like shine that enhances the depth of the neon shade.
When applying your top coat, be sure to gently run the brush along the free edge of each nail. This technique, known as capping the edge, seals the polish layers together and prevents moisture from getting underneath, drastically reducing the risk of chipping. Keep your manicure looking fresh by applying a thin layer of top coat every few days and nourishing your cuticles daily with a lightweight, hydrating oil.




