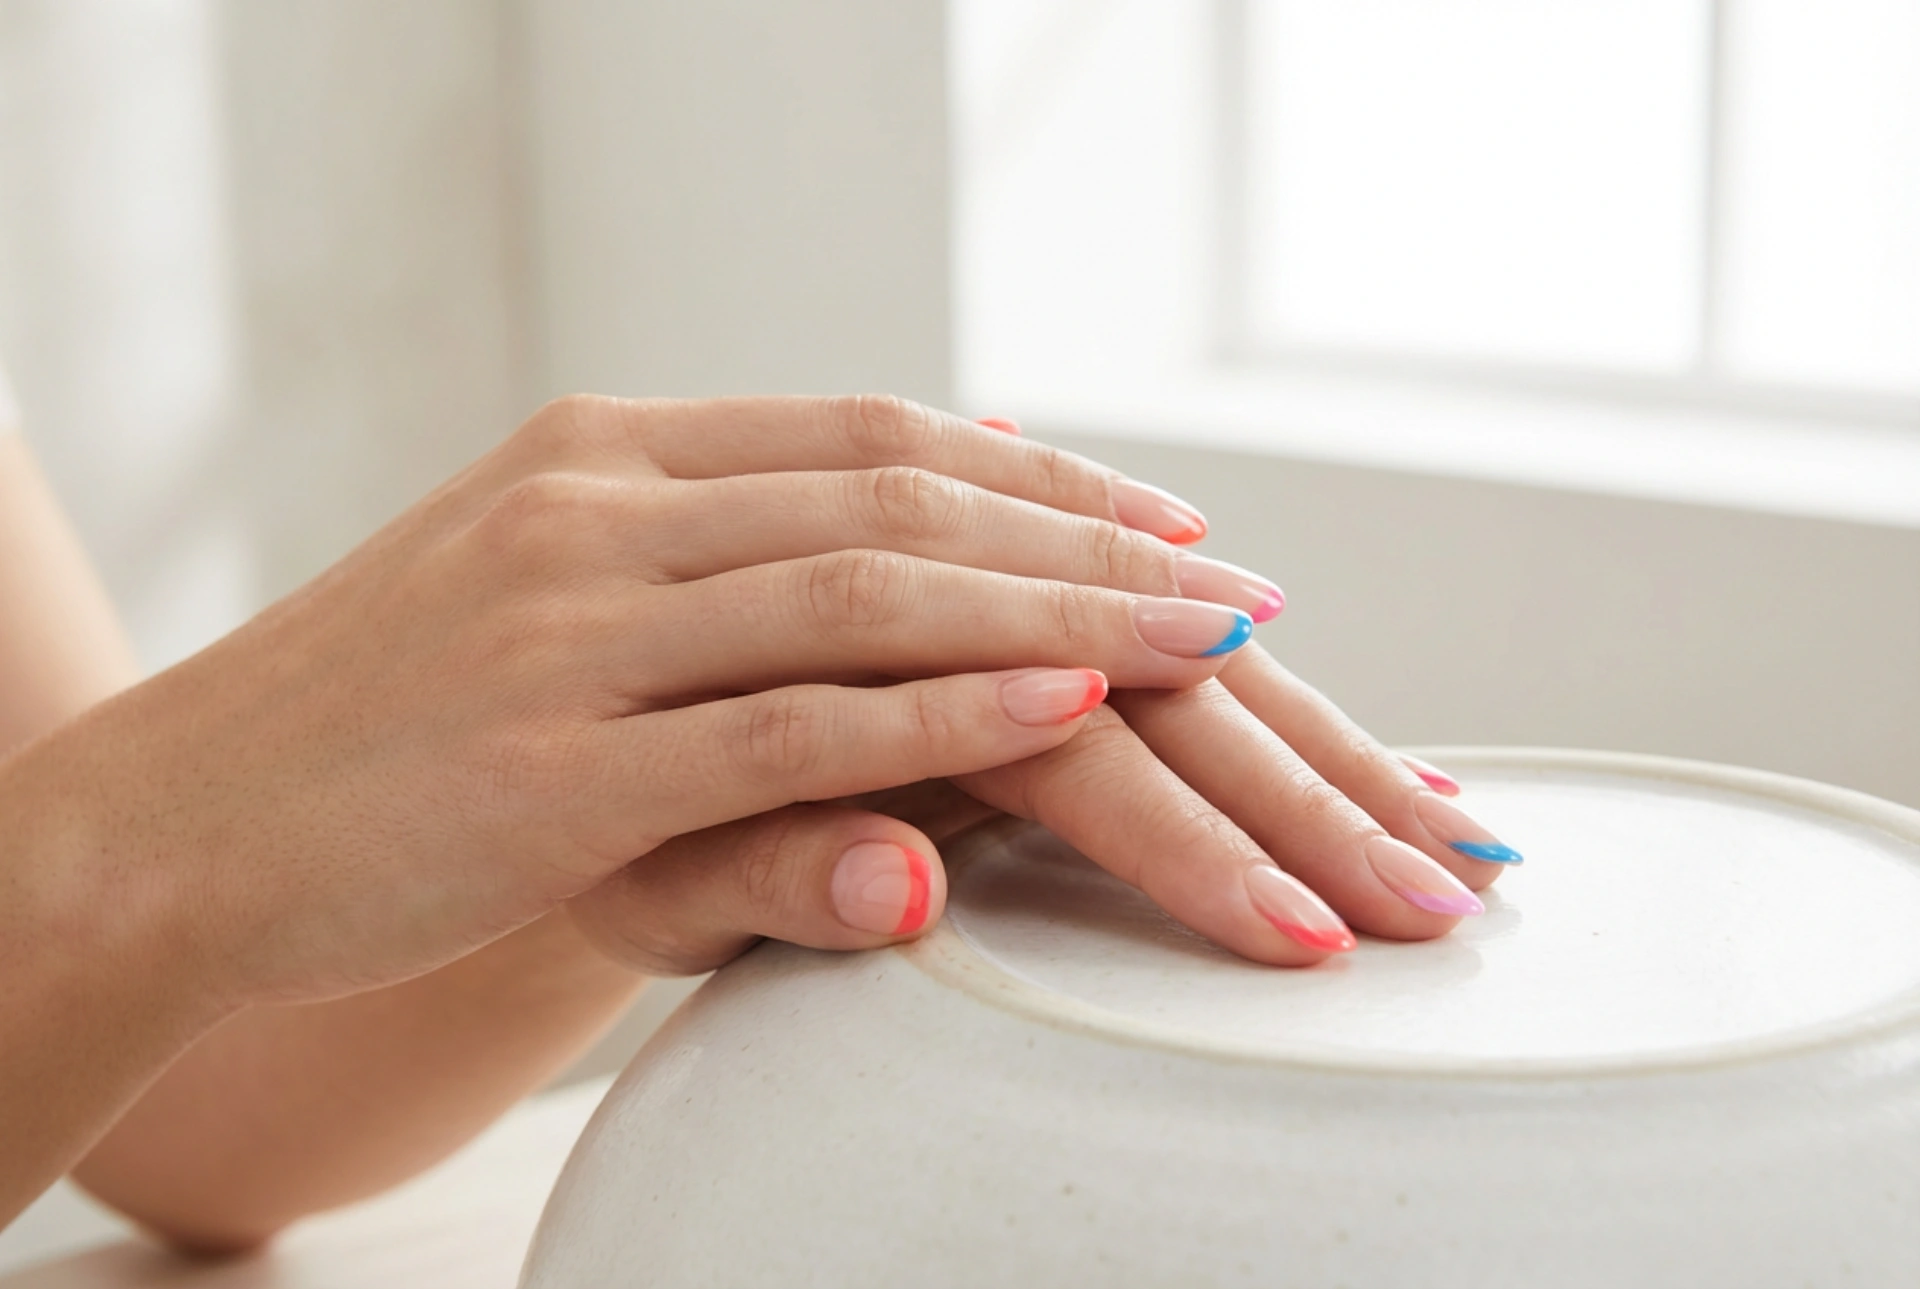


The classic French manicure has long been a symbol of elegance and simplicity. However, the modern beauty world has embraced a vibrant twist on this traditional look: the colourful French manicure. By swapping the classic white tip for vivid hues, pastel shades, or even metallic tones, you can express your personal style while maintaining a sophisticated and clean aesthetic. Achieving those crisp, precise lines at home requires the right technique, patience, and high-quality preparation, ensuring your colourful tips remain flawless and glossy for days.
The Importance of Nail Preparation
Before applying any colour, preparing the nail plate is essential for longevity. Any oils, dust, or moisture left on the nail will prevent the polish from adhering properly, leading to premature chipping. Start by shaping your nails to your preferred silhouette; a classic oval, almond, or square shape works beautifully with colourful tips. Gently push back your cuticles using a wooden stick, and lightly buff the nail surface to remove any natural shine. Finally, wipe each nail thoroughly with a lint-free pad soaked in a dehydrating prep solution or simple rubbing alcohol.
How to Paint Perfect Tips: Step-by-Step Techniques
Creating a flawless arch can seem daunting, but several reliable methods can help you achieve salon-quality precision at home. Choose the approach that best suits your comfort level:
The Classic Freehand Method
For those with a steady hand, the freehand method offers the most flexibility. Start by applying a high-quality base coat, followed by one or two coats of a sheer, neutral base colour that complements your skin tone. Once dry, load a fine, long-haired nail art brush with your chosen colourful polish. Instead of drawing a straight line, paint two curved lines from the outer corners of the nail tip meeting in the centre, forming a perfect smile line. Keep your hand anchored on a flat surface to minimise shaking.
The Guide Strip Technique
If you prefer guaranteed symmetry, stencils or guide strips are excellent tools. Ensure your base polish is completely dry before applying the guides, as any residual moisture will cause the sticky tape to lift the paint. Position the stencil just below the free edge of your nail, following its natural curve. Press the guide down firmly, especially at the edges. Apply your chosen colourful polish above the line, and carefully peel the stencil off while the polish is still wet to prevent the edge from lifting.
The Silicone Stamper Hack
A modern and highly popular method involves using a soft silicone nail stamper. Apply a thin layer of your colourful polish directly onto the stamper pad. Gently press the tip of your nail into the silicone at a 45-degree angle. The soft surface wraps around the edge of your nail, automatically creating an even, curved tip. Wipe away any excess polish from the surrounding skin using a clean brush dipped in remover.
Securing a Long-Lasting, Glossy Finish
The secret to a long-lasting colourful French manicure lies in the final sealing steps. Once your tips are painted and slightly dry, apply a generous layer of a high-shine top coat. Be sure to swipe the top coat brush along the very edge of the nail tip to cap the free edge; this seals the polish and prevents lifting. To maintain the fresh-from-the-salon gloss, reapply a thin layer of top coat every two to three days, and nourish your cuticles daily with a lightweight, hydrating nail oil.




