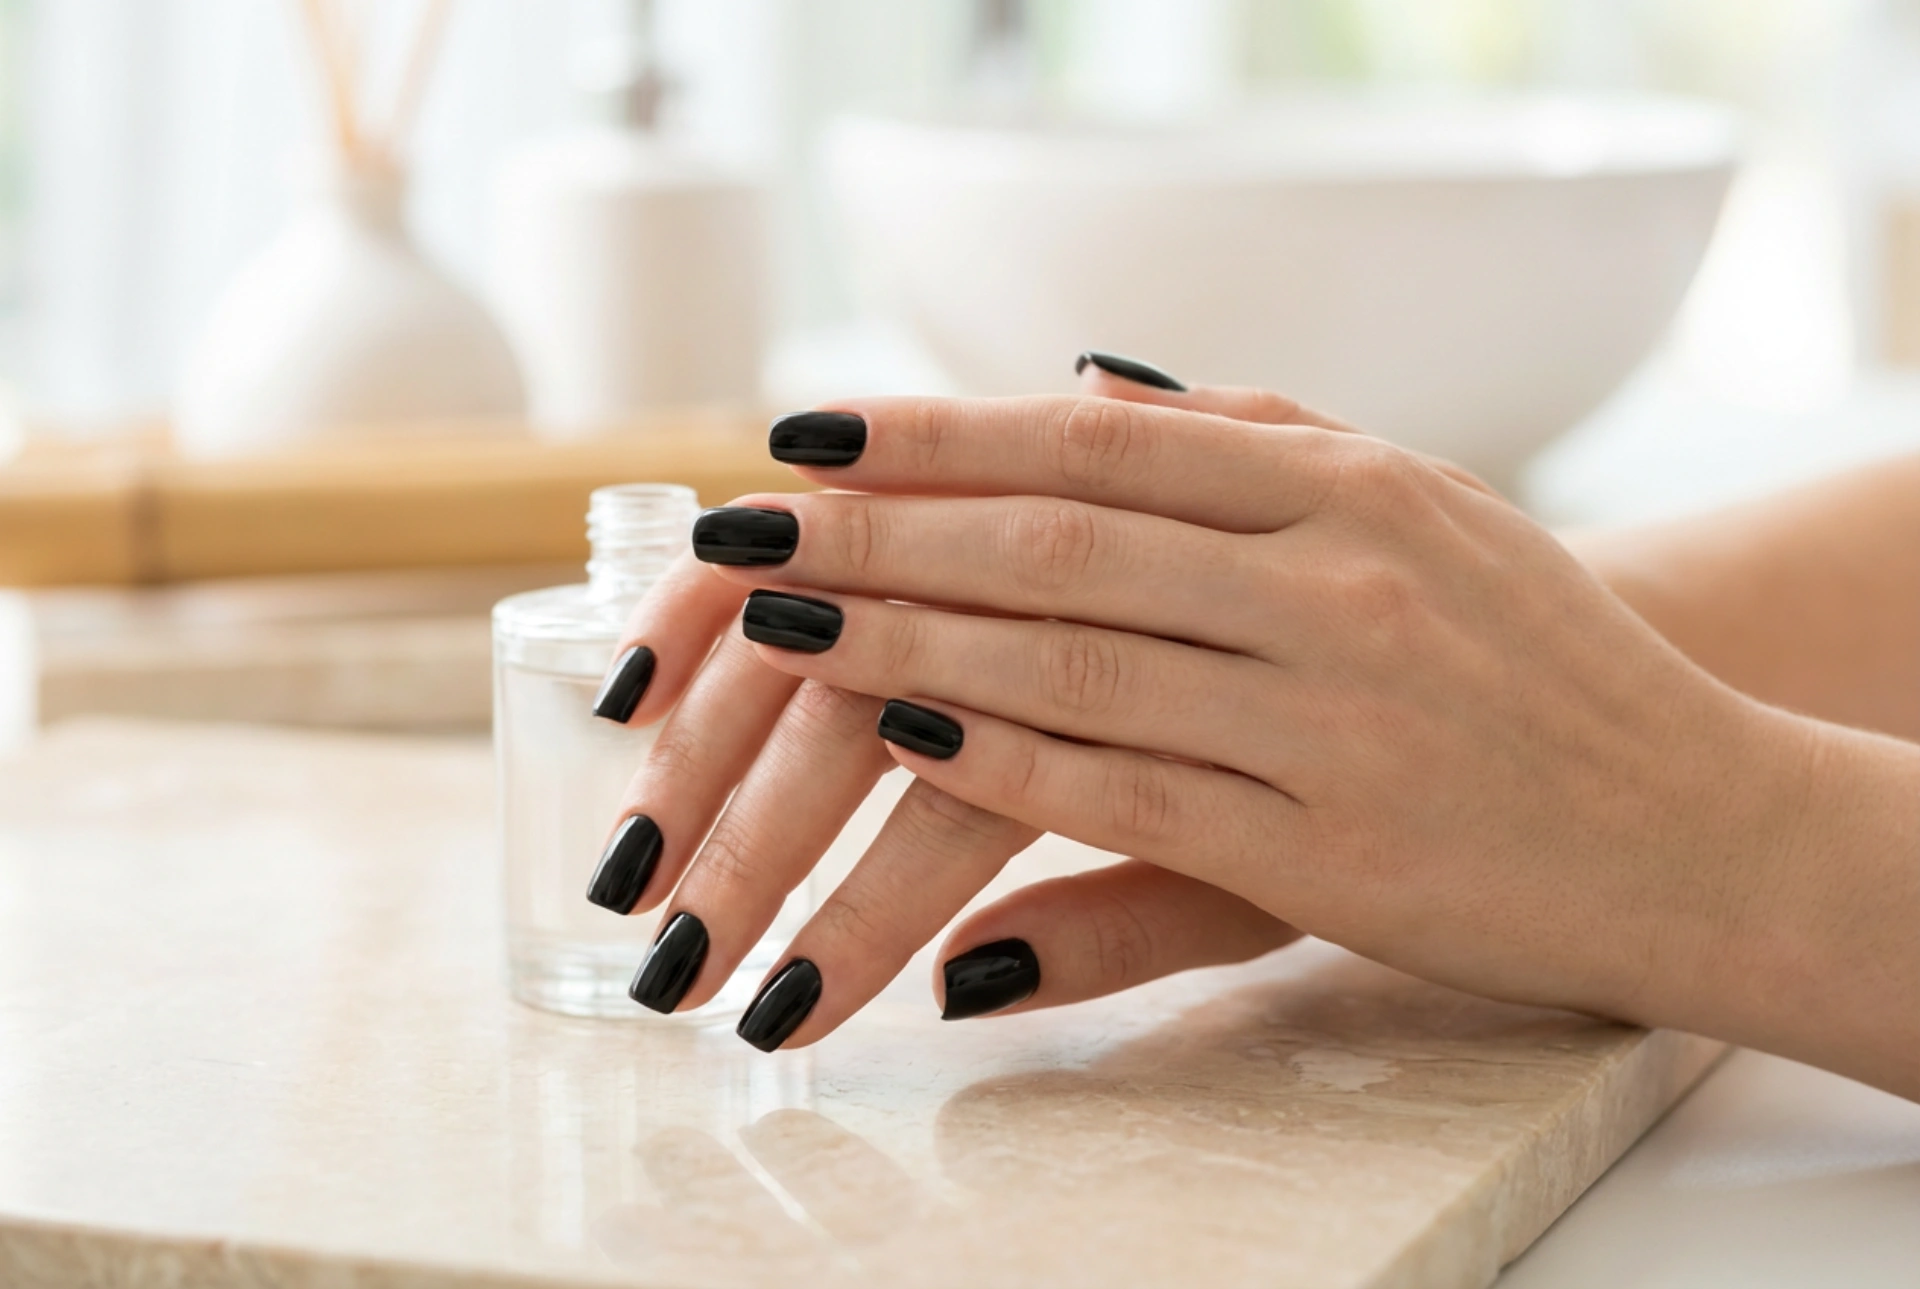


Elegant black gel nails have remained a timeless classic in manicure styling. A glossy, deep black finish on the nails exudes sophistication and complements any outfit, from everyday casual wear to elegant evening attire. Achieving this perfect, mirror-like effect requires precision, correct nail plate preparation, and the right application technique to ensure full coverage and a long-lasting shine that beautifully reflects natural light.
The foundation of a perfect manicure: Preparing the nail plate
The secret to a long-lasting gel manicure lies in the preparation of the natural nail plate. Because dark gel polish highlights every minor imperfection, meticulous care must be taken during the initial steps. Any unevenness or leftover cuticle on the nail will affect how the color adheres and how the light reflects off the surface.
- Shaping and cuticle care: Start by filing the nails into your desired shape. Gently push back the cuticles using a wooden stick or a pusher. Removing the invisible cuticle layer from the nail plate is crucial to prevent the gel polish from lifting.
- Buffing: Use a fine-grit buffer to gently remove the natural shine from the nail surface. This creates a micro-rough texture that helps the base coat bond securely to the keratin layer.
- Dehydrating and cleansing: Wipe the nails thoroughly with a professional nail prep cleanser to remove dust, natural oils, and moisture. This step is essential for maximum adhesion.
Achieving flawless, streak-free black coverage
Black is one of the most highly pigmented colors in the nail palette. Because of this high density of pigment, applying the color requires a specific technique to ensure it cures properly under the lamp without wrinkling or shrinking.
The key to perfect black coverage is applying extremely thin layers. It is far better to apply two or three ultra-thin coats than one thick coat. A thick layer of black gel may not allow the light from the lamp to penetrate fully, leaving the center of the gel uncured and prone to peeling. When applying each layer, make sure to seal the free edge of the nail to protect the manicure from chipping.
The secret to a brilliant mirror-like shine
A flawless black manicure is truly defined by its finish. To achieve a brilliant, glass-like reflection, the choice and application of the top coat are paramount. A high-quality, non-wipe top coat is highly recommended for dark colors as it provides an incredibly smooth, reflective surface.
When applying the top coat, ensure even distribution across the entire nail without touching the cuticles. Let the top coat self-level for a few seconds before placing your hand under the lamp. Once cured, allow the nails to cool for a minute before applying any nourishing cuticle oils, as touching the warm top coat immediately after curing can dull its brilliant lustre.
Daily care to maintain the glossy black effect
To preserve the pristine look of your glossy black gel nails, a simple daily care routine is highly beneficial. Dark, shiny surfaces can show minor scratches and dust more easily than lighter shades. Wearing protective gloves during household cleaning protects the top coat from dulling chemicals and abrasive surfaces. Additionally, regularly applying a lightweight, hydrating oil to the cuticles keeps the skin around the nails soft, further enhancing the overall sophisticated appearance of your manicure.




