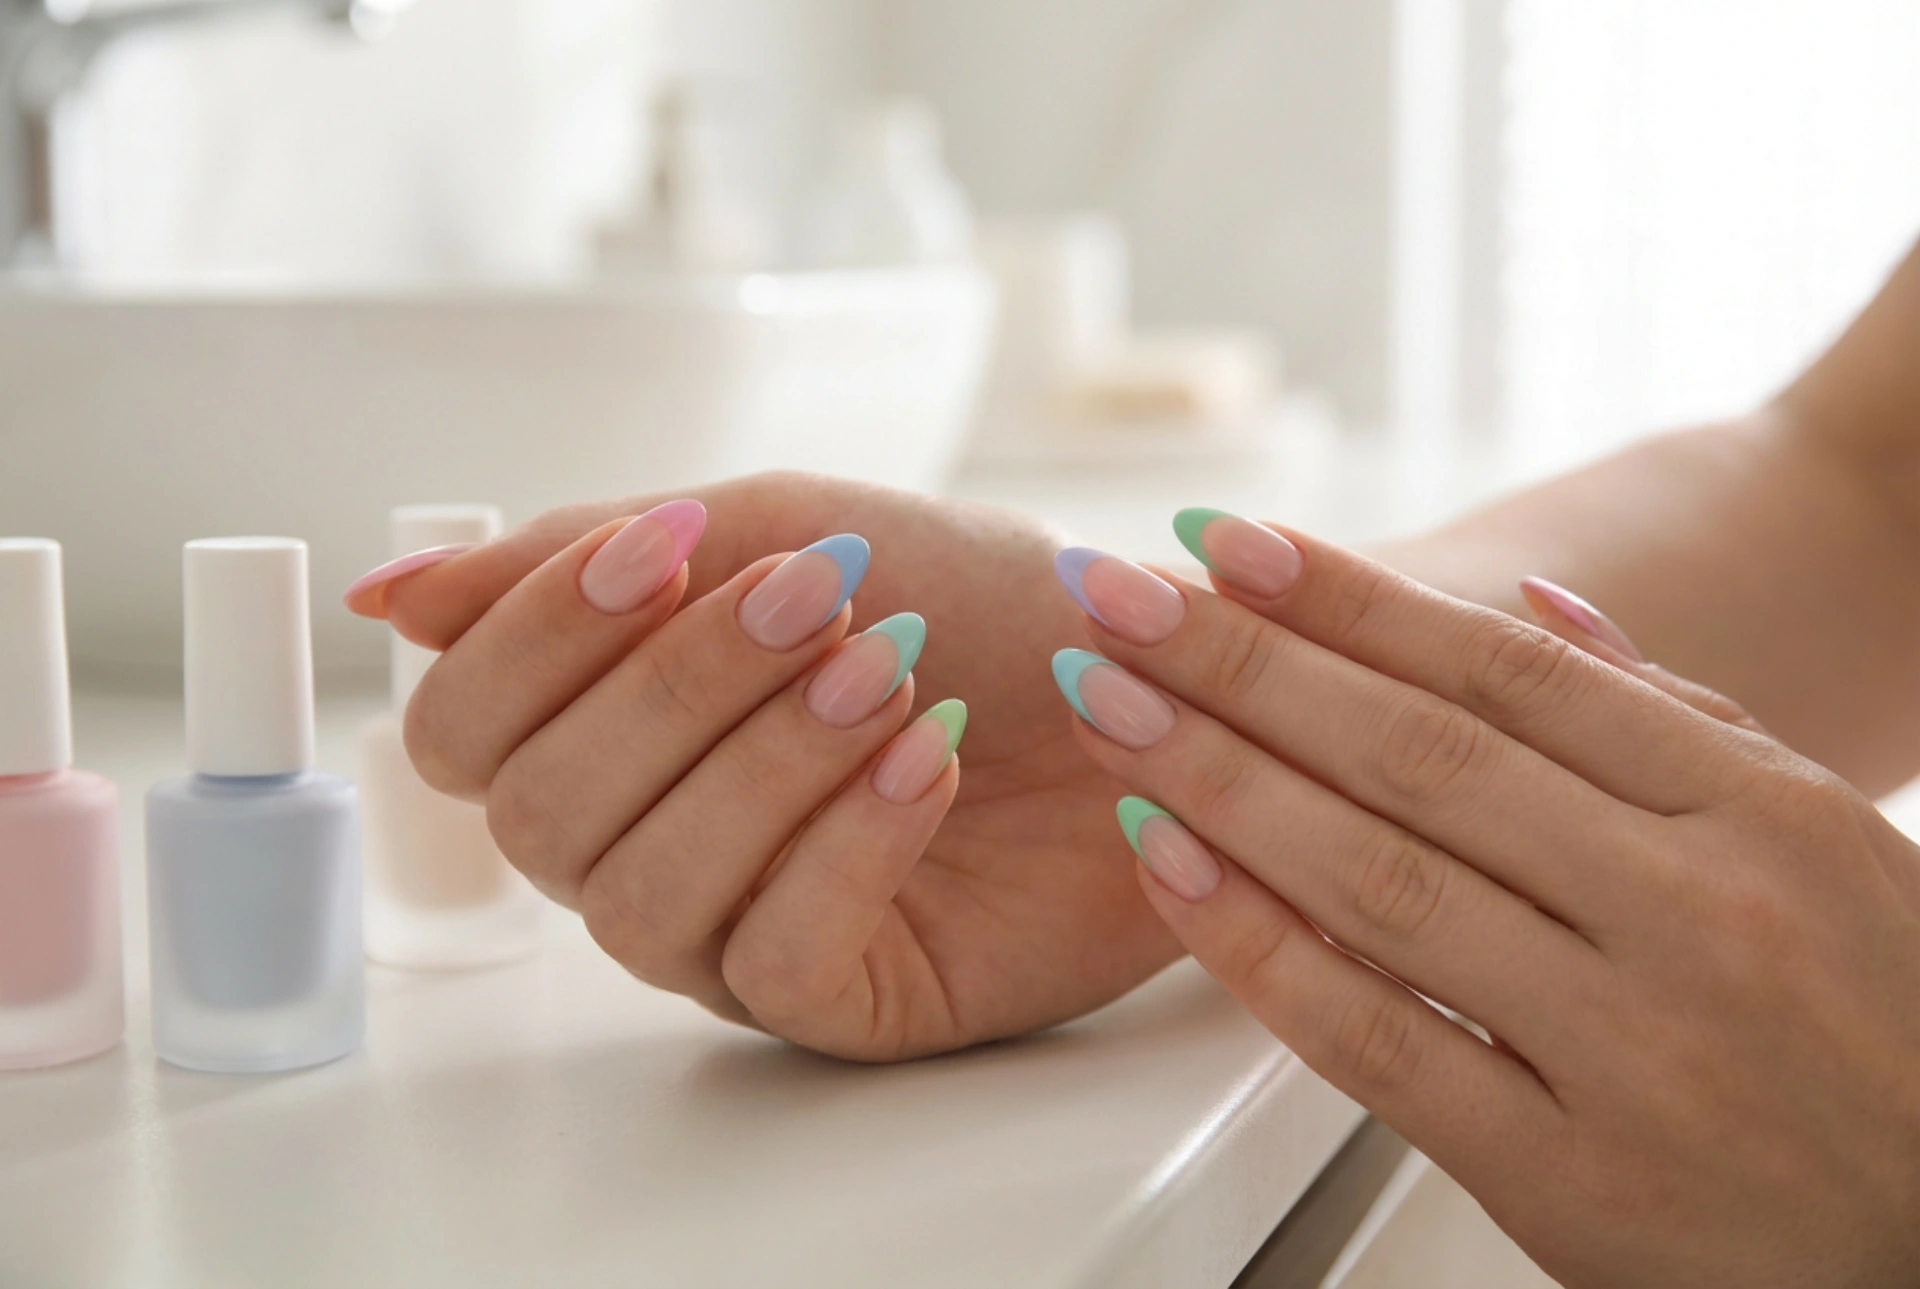


The almond nail shape remains one of the most popular choices in modern manicure. Its elegant, slightly tapered silhouette beautifully elongates the fingers and offers a perfect canvas for creative nail art. Among the various styles, the colourful French manicure has emerged as a delightful modern twist on a classic design, replacing the traditional white tips with vibrant hues, pastel shades, and playful colour combinations that reflect personal style.
Choosing the perfect colour palette for your almond French manicure
Selecting the right colours for a colourful French manicure is key to achieving a harmonious and polished look. Unlike the classic white, which is universal, coloured tips require a bit more thought regarding skin undertones and seasonal trends. For a subtle and elegant daily look, soft pastel shades such as lavender, mint, powder pink, or butter yellow work beautifully on almond-shaped nails, offering a gentle pop of colour without being too overpowering.
If you prefer a bold and expressive style, you can opt for contrasting combinations or a gradient effect. A different colour on each fingernail, known as the skittles French, is a fantastic way to experiment with multiple shades. When choosing this style, try to keep the tones consistent, for instance, by using all pastels or all neon shades. For a more sophisticated finish, earthy tones like olive green, terracotta, and warm beige create a beautifully balanced, modern aesthetic.
The role of the base shade
To make the colourful tips truly stand out, the base colour of the nail plate must be selected carefully. A sheer pink, milky white, or a neutral nude base acts as the perfect background. It helps to even out the natural nail plate colour while ensuring that the colourful tips remain the main focus of the manicure.
How to prepare almond nails for precise painting
Achieving clean lines on almond nails begins with proper preparation of the nail shape. The almond shape must be symmetrical, with the tip perfectly centred. When filing, work in one direction to prevent splitting, gently rounding the sides towards the middle to create that characteristic, elegant curve.
Once the shape is perfect, ensure the nail surface is completely smooth and free of dust or oils. Any residue can cause the polish to pool or create uneven texture, making it incredibly difficult to draw a clean, sharp line. Applying a thin, even layer of base coat is essential, as it creates a smooth surface for the subsequent layers of colour.
Step-by-step guide to painting flawless colourful French lines
Drawing perfect smile lines on an almond shape requires patience and the right technique. Because the almond nail has a curved tip, the French line should mimic this curve, hugging the edge of the nail gracefully.
- Use a detail brush: The brush that comes inside the polish bottle is usually too thick for precise work. Invest in a long, thin nail art liner brush, which allows for much greater control.
- Find your centre: Start by marking a tiny dot at the very tip of the nail to identify the centre point. This ensures your French tip will be symmetrical.
- Draw the guidelines: From the outer corners of the nail, draw a thin, curved line towards the centre point. Do this on both sides to create a symmetrical frame.
- Fill in the tip: Once the outline is established, gently fill in the tip with your chosen colour, ensuring the layer is thin and even to avoid bubbling.
- Clean up the edges: If you make a mistake, use a flat brush dipped in a small amount of polish remover to gently clean and sharpen the smile line before the polish dries.
Securing and maintaining your colourful French manicure
To ensure your meticulous work lasts as long as possible, always finish with a high-quality top coat. A glossy top coat will seal the design, smooth out any minor ridges between the base and the colourful tip, and add a beautiful glass-like shine. If you prefer a modern, velvety look, a matte top coat can also look incredibly chic with colourful tips.
Apply the top coat over the entire nail, paying special attention to capping the free edge of the nail. This prevents premature chipping, keeping your colorful French manicure looking fresh and vibrant for days to come.




