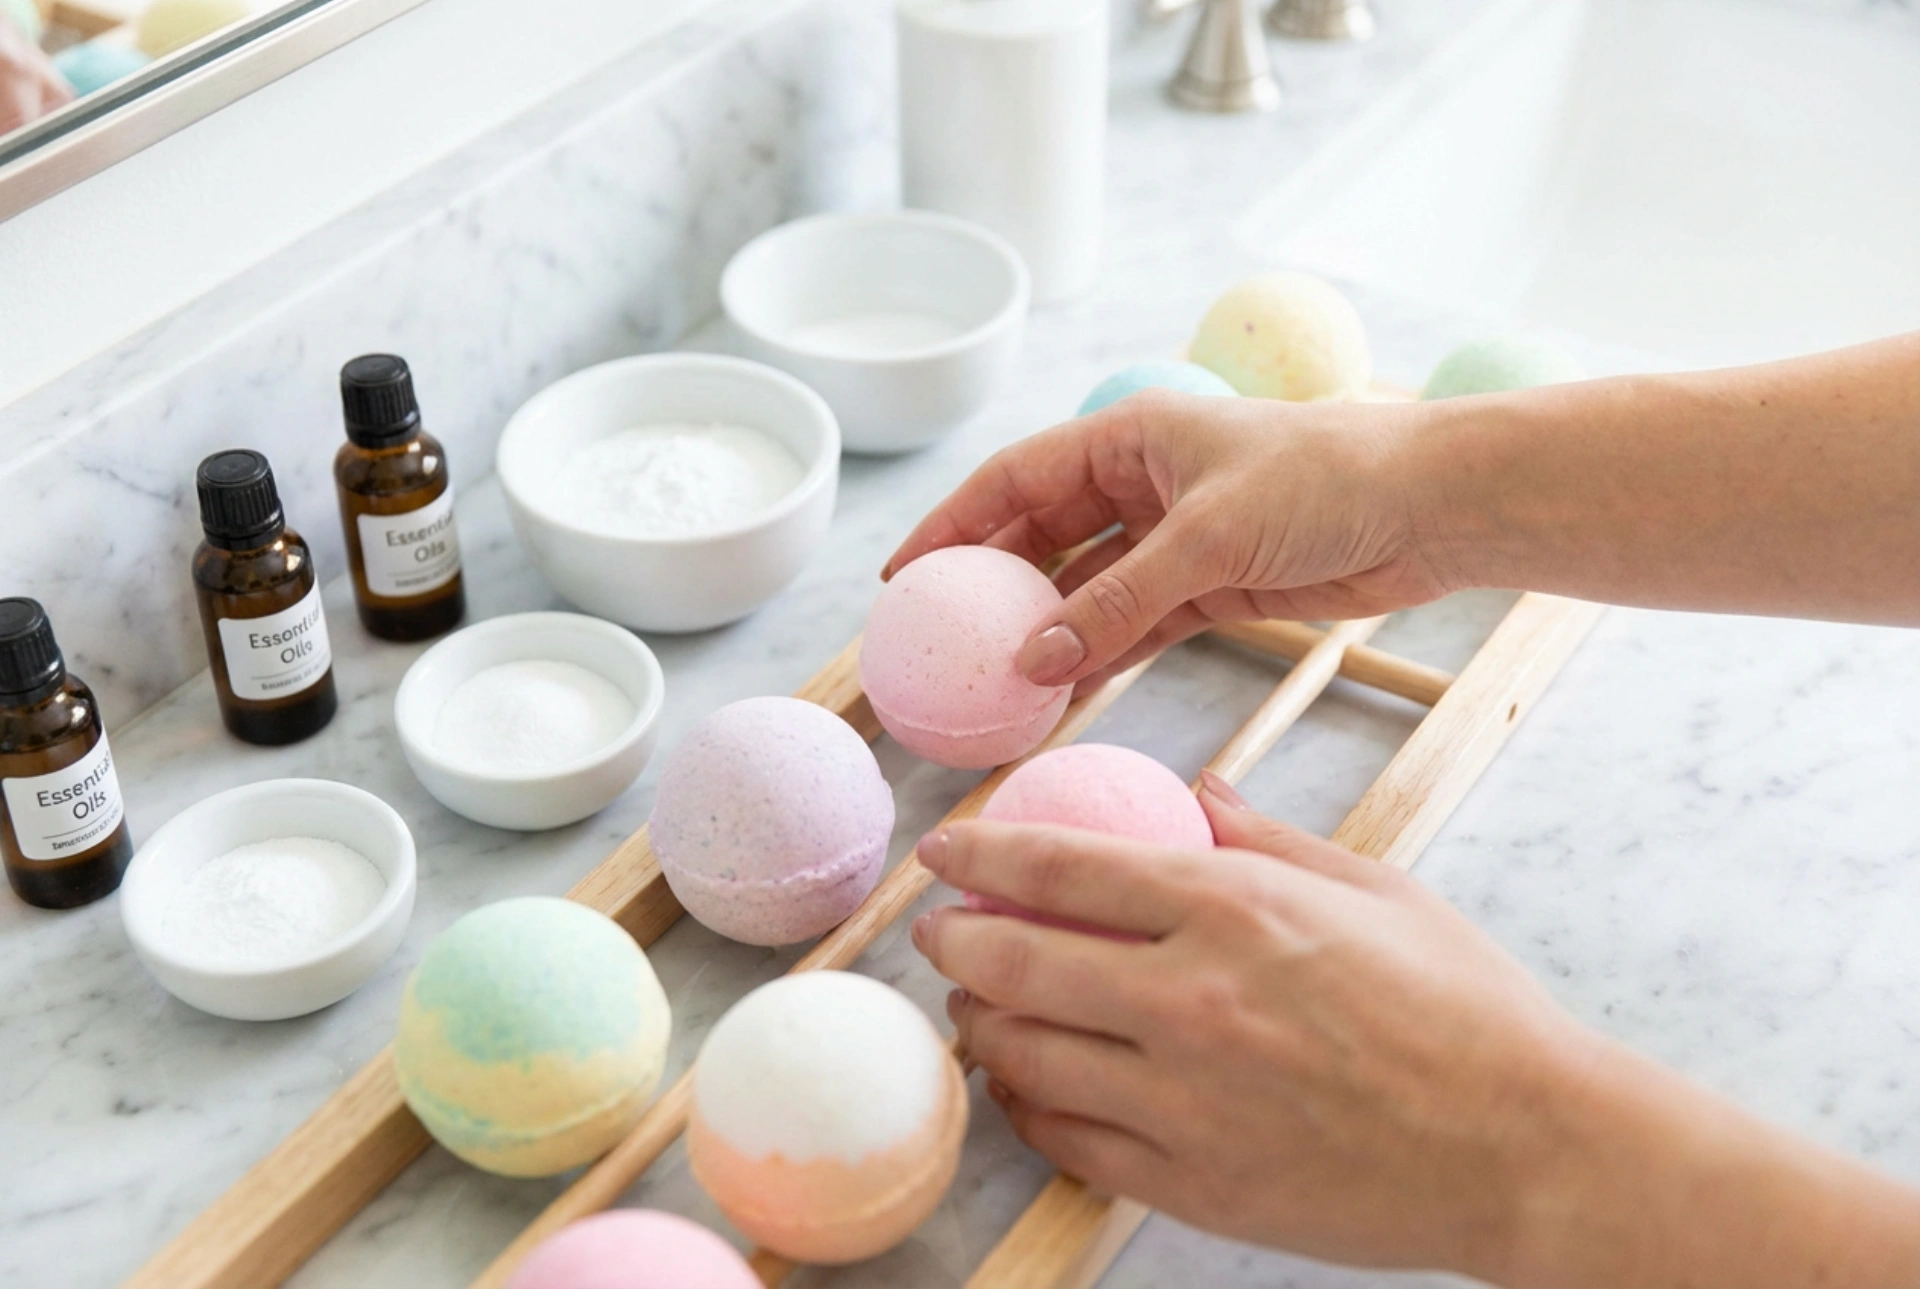


Creating your own bath products at home is a delightful way to personalise your self-care routine while ensuring that only gentle, skin-loving ingredients are used. The process of making homemade bath bombs is not only a creative outlet but also a wonderful sensory experience, reminiscent of a peaceful afternoon spent crafting with natural elements. By combining simple, household ingredients under soft, natural light, you can transform your bathroom into a personal sanctuary of relaxation. This step-by-step guide walks you through the entire process of crafting beautiful, fizzy bath bombs, from the initial ingredient selection to the final drying stage.
The Core Ingredients for a Perfect Fizz
The magic of a bath bomb lies in its fizzing action, which is a simple chemical reaction between an acid and a base. To achieve this, you will need a few standard pantry ingredients that are gentle on the skin. The foundation of any bath bomb consists of baking soda (sodium bicarbonate) and citric acid. The typical ratio is two parts baking soda to one part citric acid, which ensures an effervescent release when the bomb touches water.
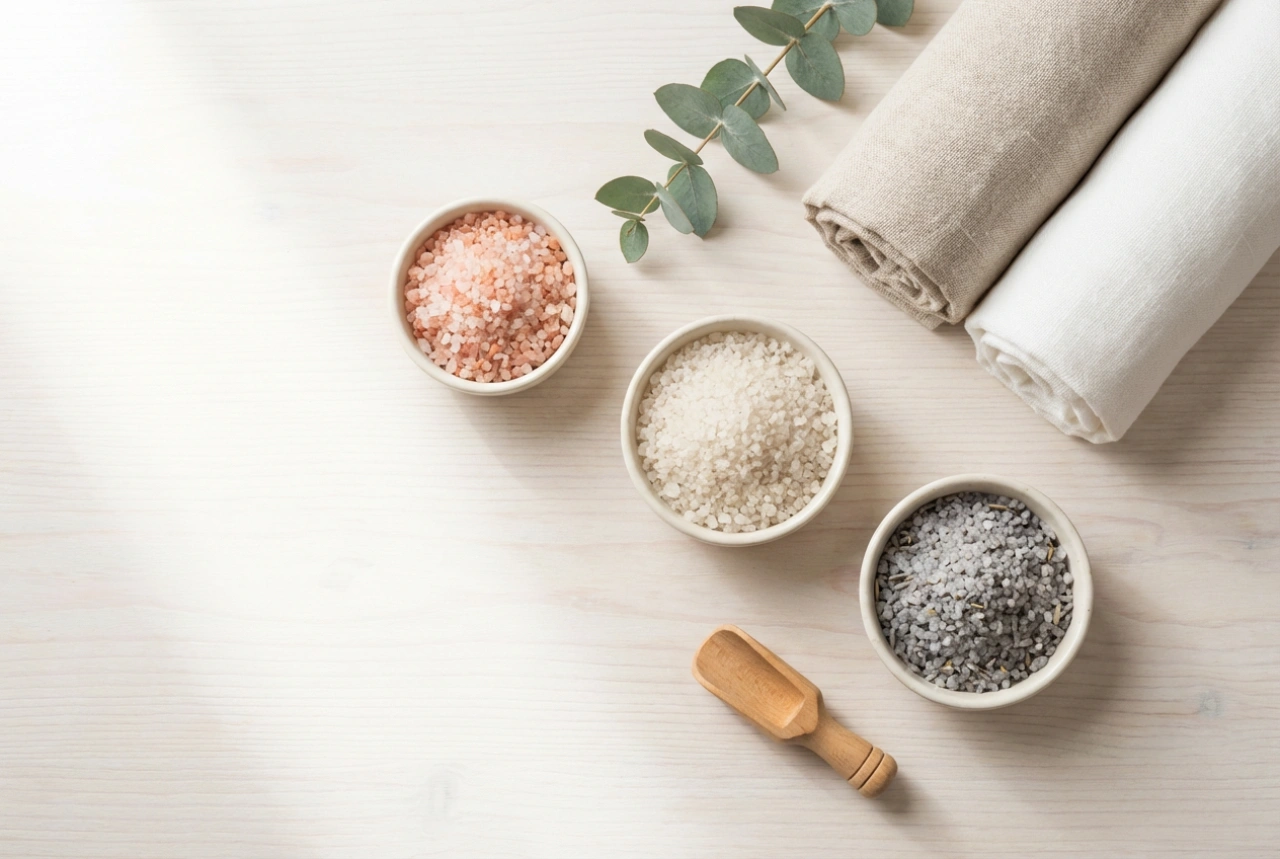
To enrich the mixture and provide a soothing texture, you can add dry starch, such as cornstarch or arrowroot powder, which helps to slow down the reaction and makes the water feel silky. Additionally, light plant-based oils like sweet almond oil, jojoba oil, or melted coconut oil are excellent for adding moisture to the bath. A few drops of your favourite pure essential oils can be introduced to create a calming atmosphere, while natural colorants like clay or plant powders add a subtle, aesthetic touch.
Step 1: Mixing the Dry Ingredients
Begin by selecting a clean, dry glass or ceramic bowl. Sifting your dry ingredients is a crucial step to prevent any lumps, which can cause the bath bombs to crack during the drying process. Combine the baking soda, citric acid, and starch in the bowl, using a balloon whisk to blend them thoroughly. If you are adding dry ingredients like finely ground oats or cosmetic-grade clay for extra skin nourishment, incorporate them at this stage. Ensure the mixture is completely uniform before moving on to the wet phase.
Step 2: Combining the Wet Ingredients
In a separate small container, measure out your liquid ingredients. This includes your chosen nourishing oil, essential oils, and a tiny amount of water or witch hazel. Witch hazel is highly recommended as it evaporates quickly and is less likely to trigger the fizzing reaction prematurely. Stir the liquids together until they are partially emulsified. If you wish to use a liquid colourant, mix it directly into this wet phase to ensure even distribution.
Step 3: The Art of Slow Blending
This is the most critical stage of the process. You must introduce the wet mixture to the dry ingredients very slowly. Add the liquid drop by drop, or use a spray bottle to mist the surface of the powder while whisking constantly. If you add the liquid too fast, the mixture will start to fizz, which ruins the final reaction in the bath.
Use your hands to rub the mixture together, breaking up any clumps. The ideal consistency is achieved when the mixture feels like damp sand. It should hold its shape when squeezed firmly in your palm, without crumbling apart immediately. If it feels too dry, mist it with a tiny bit more witch hazel; if it is too wet, add a tablespoon of baking soda to balance the texture.
Step 4: Moulding and Shaping
Once your mixture has reached the perfect damp sand consistency, it is time to shape your bath bombs. Traditional spherical moulds made of stainless steel or plastic work beautifully, but you can also use silicone baking moulds or even clean ice cube trays. Pack each half of the mould loosely, mounding a little extra mixture on top of each side. Do not pack the halves tightly before joining them, as they need the excess powder to stick together.
Press the two halves together firmly for about ten seconds. Do not twist the mould, as this can shear the bond between the halves. Gently tap the outside of the mould with a spoon to help release the compact bath bomb, then carefully remove one half of the mould to reveal your creation.
Step 5: The Drying and Curing Process
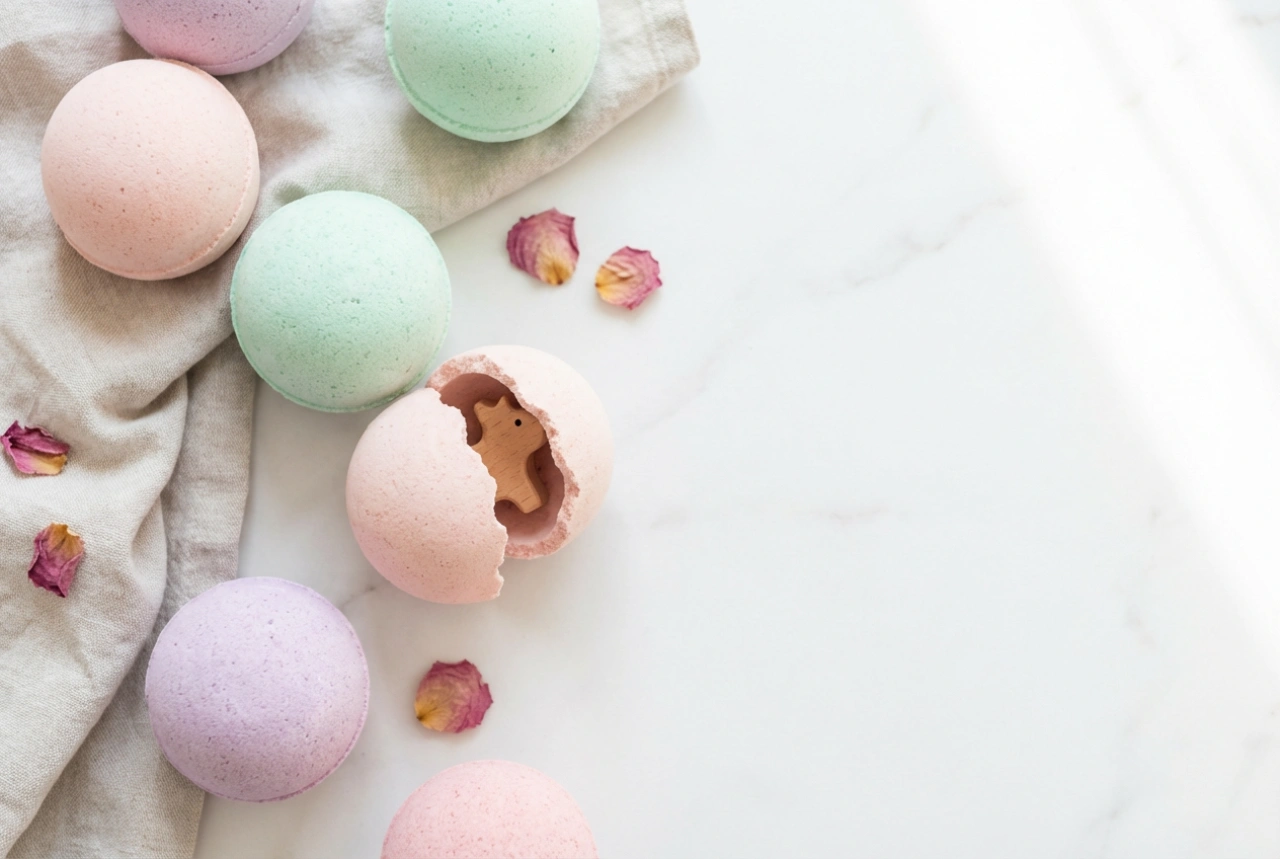
After gently demoulding, place your freshly shaped bath bombs onto a soft, dry surface. A drying rack lined with a clean towel or a piece of parchment paper on a flat marble surface works perfectly. Leave the bath bombs to dry in a cool, dry room with good air circulation for at least 24 to 48 hours. Avoid damp areas like the bathroom, as any humidity in the air can activate the ingredients prematurely.
Once completely hard and dry, store your homemade bath bombs in an airtight container, such as a glass jar, to protect them from moisture and preserve their gentle scent until your next relaxing bath.