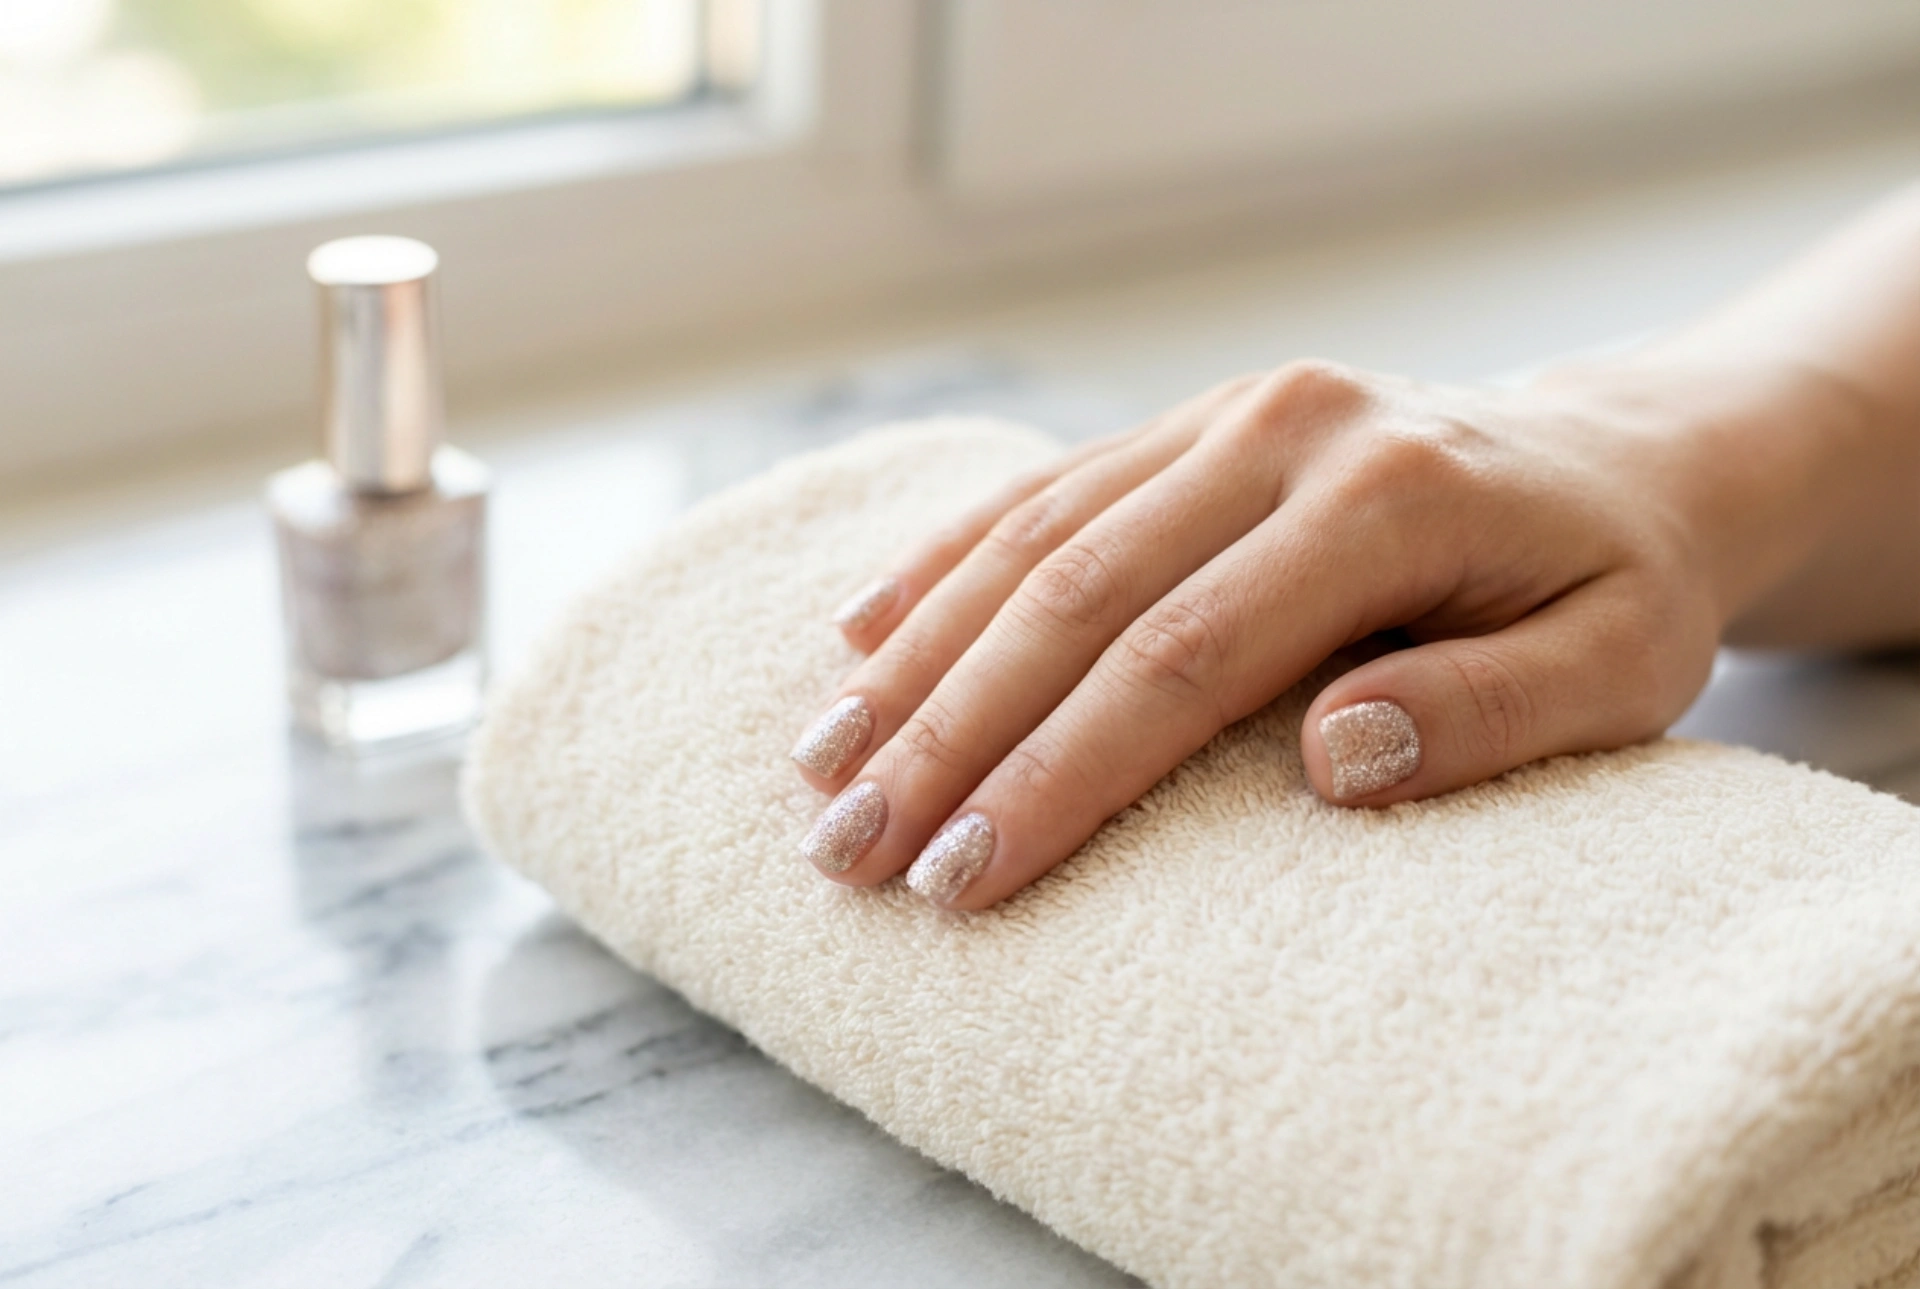


A dazzling glitter manicure has remained a timeless trend in nail styling for years. It adds a touch of sophistication and sparkle to your daily look, while also serving as the perfect choice for special occasions. The subtle play of light captured on a beautifully manicured hand can elevate any style, making precision and technique essential. Achieving that flawless, salon-like finish at home requires a bit of patience and the right knowledge. From choosing the perfect texture to avoiding common pitfalls, mastering the art of glitter application is a rewarding skill for any beauty enthusiast.
How to prepare your nails for a glitter manicure
The foundation of any long-lasting manicure lies in the preparation of the natural nail plate. When working with glitter, this step is even more critical because the textured particles can highlight any imperfections or unevenness on the nail surface. To begin, follow these essential preparation steps:
- Nail shaping: Use a high-quality file to shape your nails into your preferred silhouette, ensuring all edges are smooth.
- Cuticle care: Gently push back your cuticles using a wooden stick. Clean cuticles create a neat frame for the glitter application.
- Matting the surface: Use a gentle buffing block to remove the natural shine from the nail plate. This improves adhesion significantly.
- Degreasing: Wipe the nails thoroughly with a professional nail prep solution to remove any dust and oils.
Once your nails are perfectly prepped, apply a thin layer of base coat. The base coat acts as a protective shield for your natural nail and provides a smooth surface for the subsequent glitter layers to cling to.
Step-by-step guide to applying glitter polish
Depending on the type of glitter product you choose, the application method may vary slightly. Whether you are using a pre-mixed glitter polish or loose cosmetic glitter powder, here is the standard, foolproof method to achieve an even and radiant coverage:
Method 1: Working with classic glitter polish
If you are using a standard bottle of glitter polish, simply applying it like regular nail polish might leave you with sparse patches of sparkle. To avoid this, use a makeup sponge technique. Apply a small amount of the glitter polish onto the edge of a clean, dense sponge, then gently tap it onto your nail. The sponge absorbs the excess liquid base, leaving a highly concentrated, dense layer of glitter on your nail plate.
Method 2: Incorporating loose cosmetic glitter
For a more textured and customised look, loose glitter is an excellent choice. Apply a wet layer of clear top coat or clear polish, and while it is still wet, gently sprinkle the loose glitter over the nail using a small brush or a fan brush. Lightly press the particles down with a clean, dry finger or silicone tool to ensure they lie flat. Shake off any excess powder before allowing the layer to dry completely.
The importance of the sealing coat
One of the most crucial steps in a glitter manicure is the final sealing process. Glitter particles have a naturally rough texture that can feel scratchy and snag on clothing. To prevent this, apply a generous layer of a high-gloss top coat. For extremely chunky glitter, you might even need to apply two coats of top coat, allowing the first layer to dry completely before applying the second. This creates a smooth, glass-like barrier that protects the manicure from chipping and enhances the multidimensional sparkle of the glitter.
Most common mistakes when doing glitter nails
Even with the best intentions, certain mistakes can compromise the durability and aesthetic appeal of your glitter manicure. Knowing what to avoid will save you time and ensure a professional finish:
- Applying layers that are too thick: Thick coats of glitter polish take an incredibly long time to dry and are highly prone to peeling off in sheets. It is always better to build opacity with multiple thin layers.
- Neglecting the free edge: Forgetting to cap the free edge of your nail with the top coat leads to premature lifting and chipping at the tips.
- Using low-quality top coats: A poor top coat will not level out the rough texture of the glitter, leaving your nails feeling bumpy and looking dull.
- Rushing the drying time: Glitter particles trap moisture and solvents. Rushing between layers can lead to air bubbles and a soft, easily damaged manicure.
By taking your time and practicing precise application techniques, you can enjoy a stunning, durable glitter manicure that looks professionally done. Beautiful hands are a true reflection of self-care and attention to detail, and a touch of sparkle is the perfect way to celebrate your personal style.




