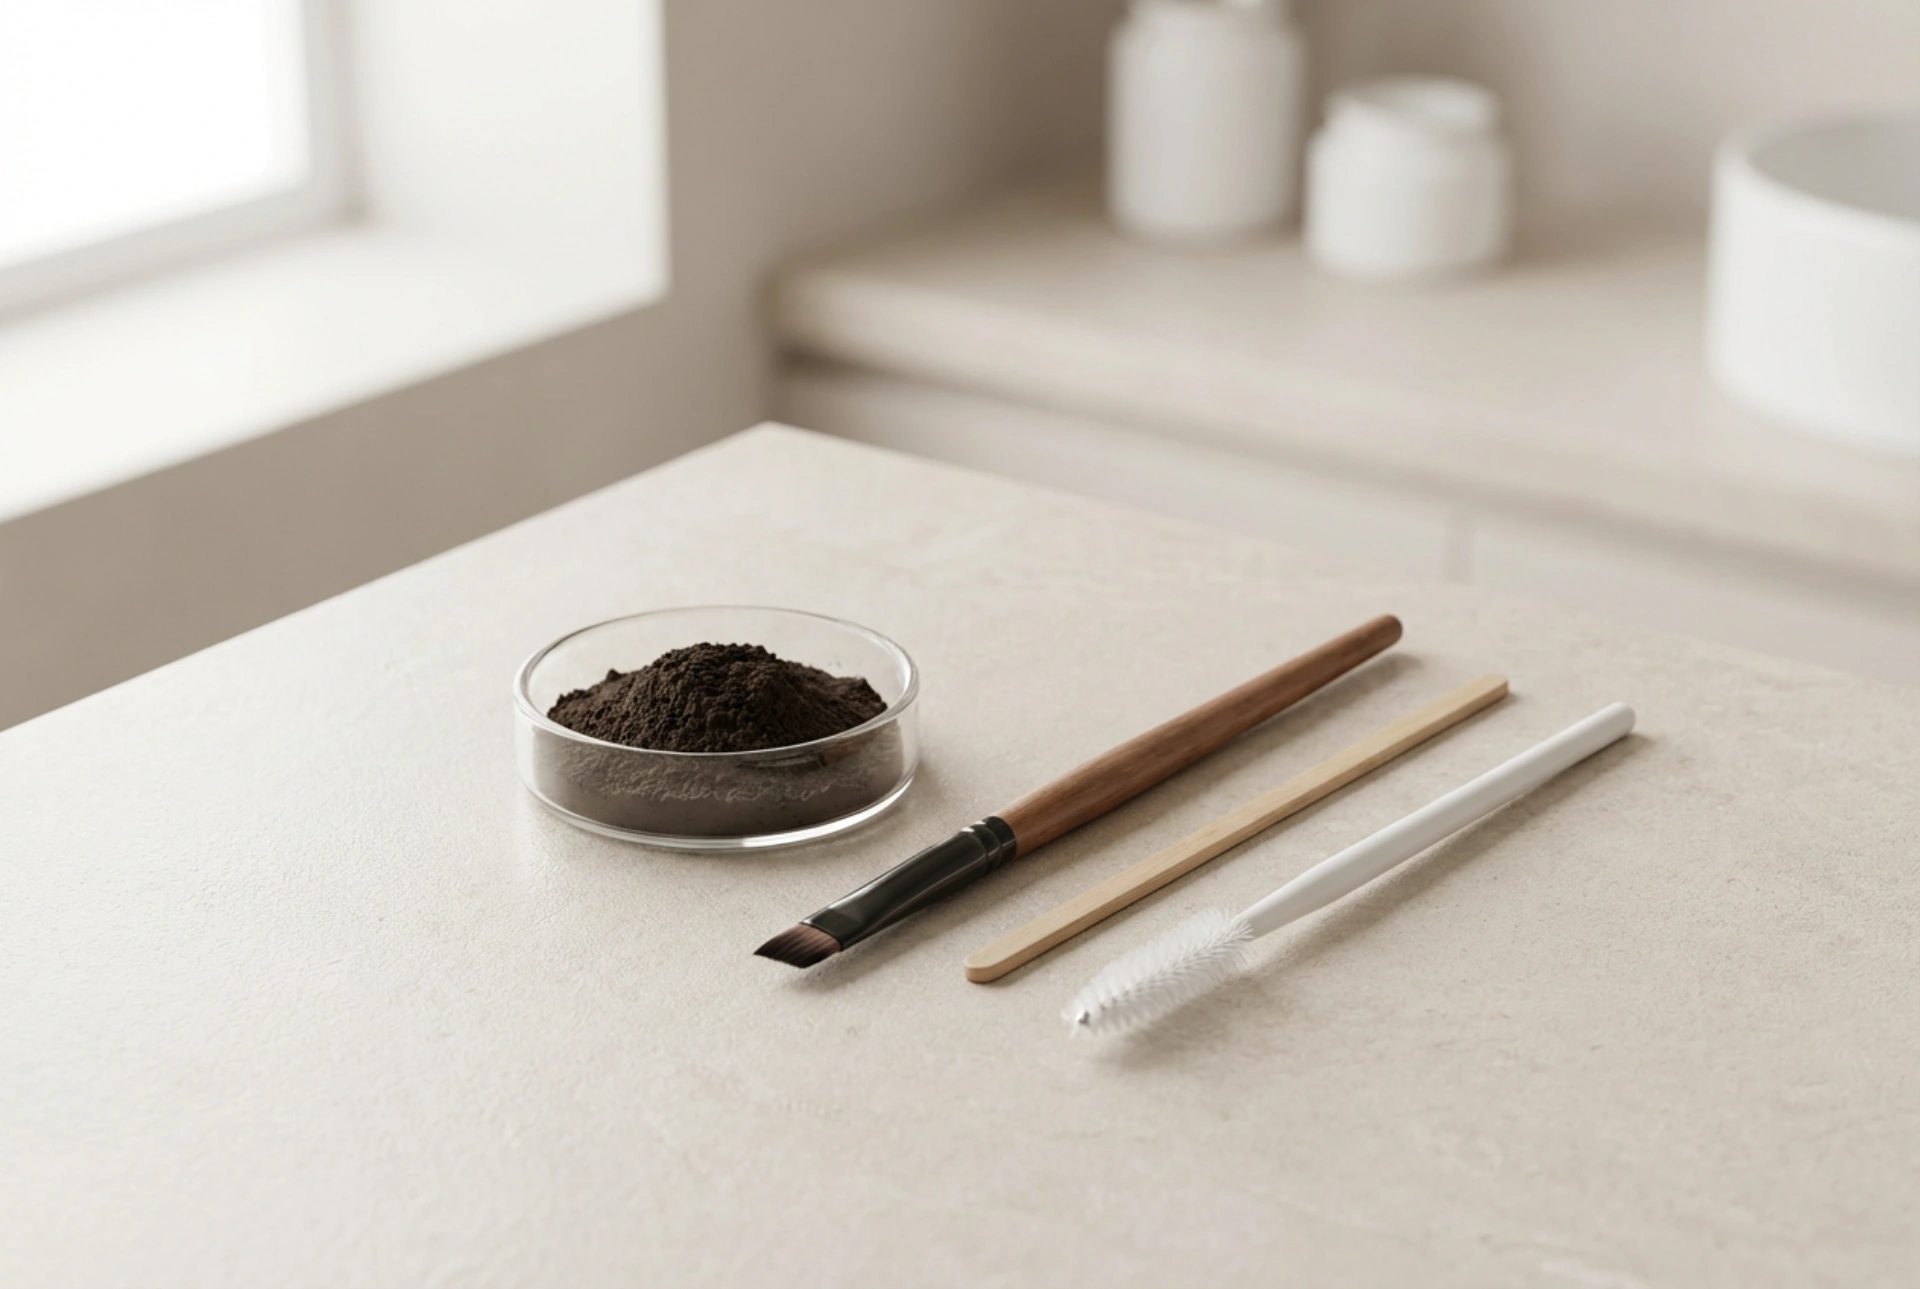


Achieving perfectly defined eyebrows no longer requires a trip to a high-end salon. With the right tools and a careful approach, you can create a long-lasting, beautifully shaded brow look in the comfort of your own home. A flatlay of minimal aesthetic styling, featuring fine powders, precise angled brushes, and clean spoolies, highlights the serene and precise ritual that home brow tinting has become. This guide explores how to master the art of brow henna safely and effectively.
Essential tools for home brow styling
Before beginning the application process, gathering the correct equipment is vital for a precise and clean result. Unlike standard chemical dyes, henna requires specific tools to ensure the mixture is consistent and applied with absolute accuracy.
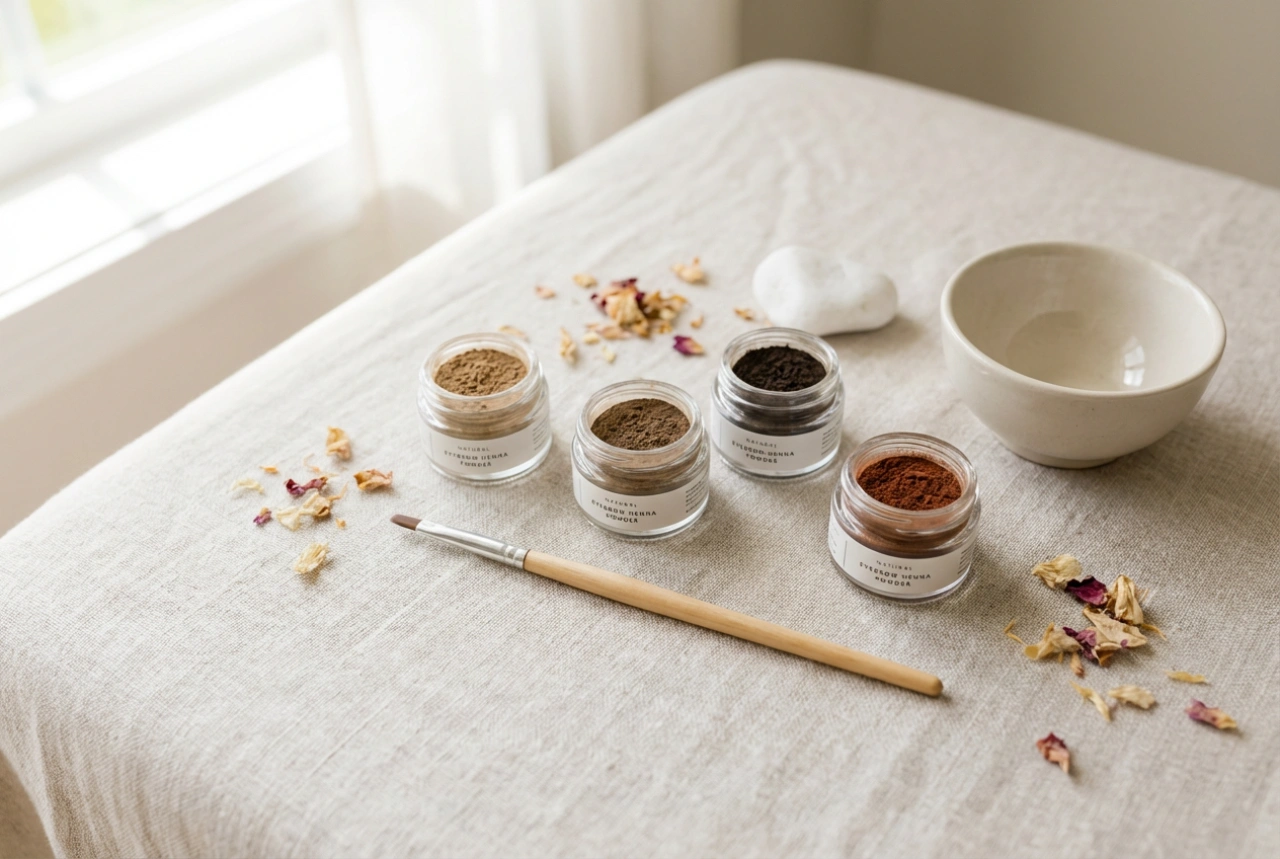
- Henna powder and mixing dish: A small glass or ceramic dish is ideal for mixing the powder with water, preventing any unwanted chemical reactions.
- Angled brush: A high-quality, firm, angled brush with synthetic bristles is crucial for mapping the brow and applying the product in sharp, clean lines.
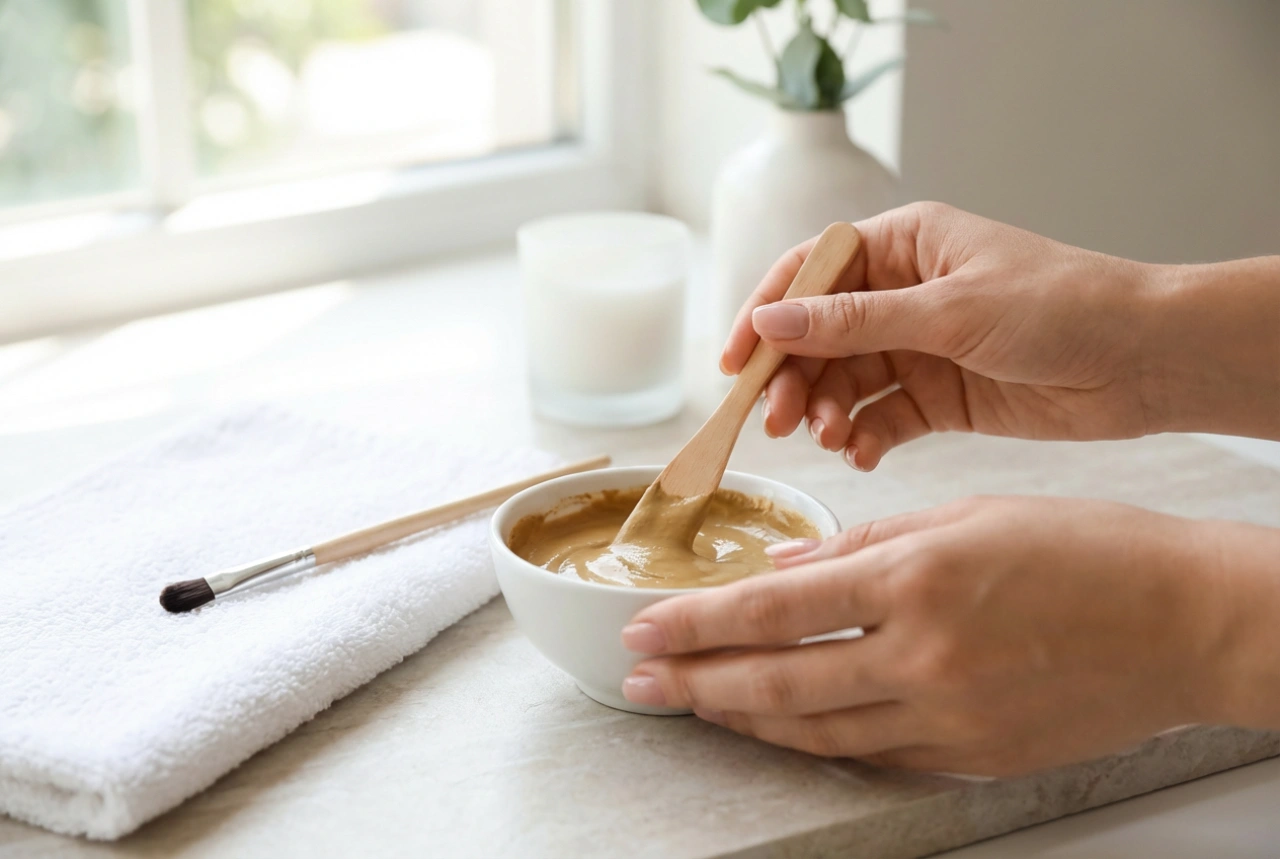
- Mixing stick or spatula: A small tool to blend the powder and liquid into a smooth, paste-like consistency.
- Spoolie brush: Perfect for brushing the hairs into place before application and blending out harsh lines.
- Cotton buds and pads: Essential for quickly cleaning up any mistakes and removing the product at the end of the process.
The preparation and mapping phase
The secret to a professional-looking finish lies in the preparation. The skin beneath and around the eyebrows must be thoroughly cleansed. Use a gentle, oil-free cleanser to remove any traces of makeup, sebum, or skincare products, as oils can create a barrier that prevents the henna from adhering properly to the skin and hair.
Once the area is clean and dry, brush your brow hairs upward and outward using a clean spoolie. To ensure symmetry, you can use a brow mapping technique. Identify the starting point, the arch, and the tail of your brows by holding a thin brush against the side of your nose. Gently mark these points with a light brow pencil to act as a guide during the application.
Mixing and precise application technique
Mix the henna powder according to the instructions, usually combining a small amount of powder with a few drops of purified water until it reaches the consistency of thick soy sauce or melted chocolate. If the mixture is too runny, it will bleed outside your mapped lines; if it is too thick, it will be difficult to apply evenly.
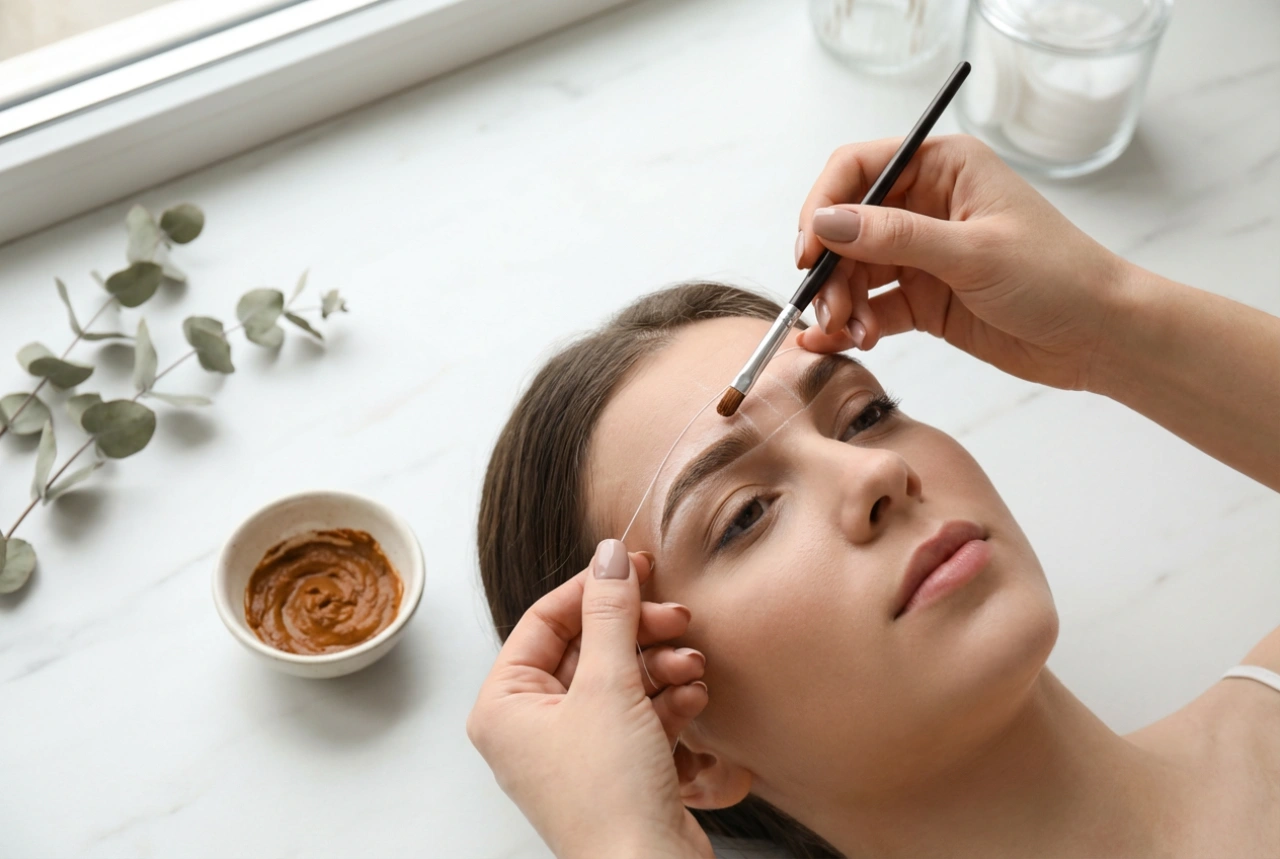
Using your angled brush, press the product firmly into the skin beneath the brow hairs, starting from the tail and working towards the centre. The tail of the eyebrow should always be the darkest and most defined part. Apply the henna in press-and-tap motions rather than sweeping strokes, ensuring the skin underneath is completely covered. Use the remaining product on the brush to gently shade the inner corner of the brow, keeping it soft and gradient to avoid a harsh, blocked-in look.
Timing and safe removal
Timing is critical when working with henna. Generally, the product is left on the skin for 10 to 20 minutes, depending on the desired intensity of the shade. If you are new to the process, it is always best to leave the product on for a shorter duration during your first attempt.
Once the development time is complete, do not scrub the area. Dampen a cotton pad with lukewarm water and gently press it against the brow to soften the dried henna. Wipe the product away smoothly in the direction of hair growth. Avoid using oil-based cleansers or exfoliating products on the brow area for at least 24 hours after application to prolong the life of the tint.