

A classic French pedicure is the epitome of elegance, offering a clean, sophisticated look that complements any style. Achieving this timeless aesthetic requires a combination of meticulous nail plate preparation and a steady hand for the iconic white tips. When done correctly, this style not only enhances the natural beauty of the feet but also provides a long-lasting, neat appearance. In this guide, we explore the essential steps to prepare the nails and master the art of the perfect French finish at home.
Preparation is key: cleaning and shaping
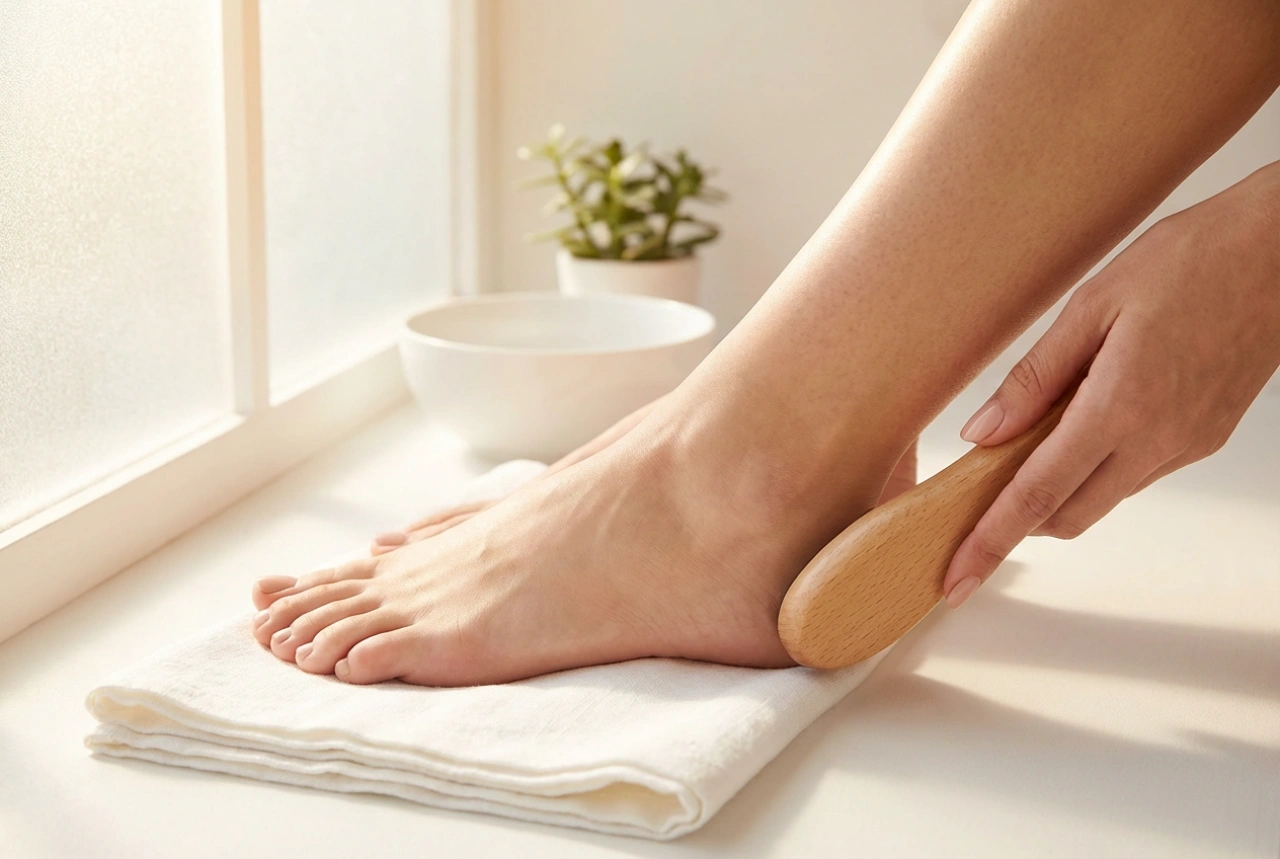
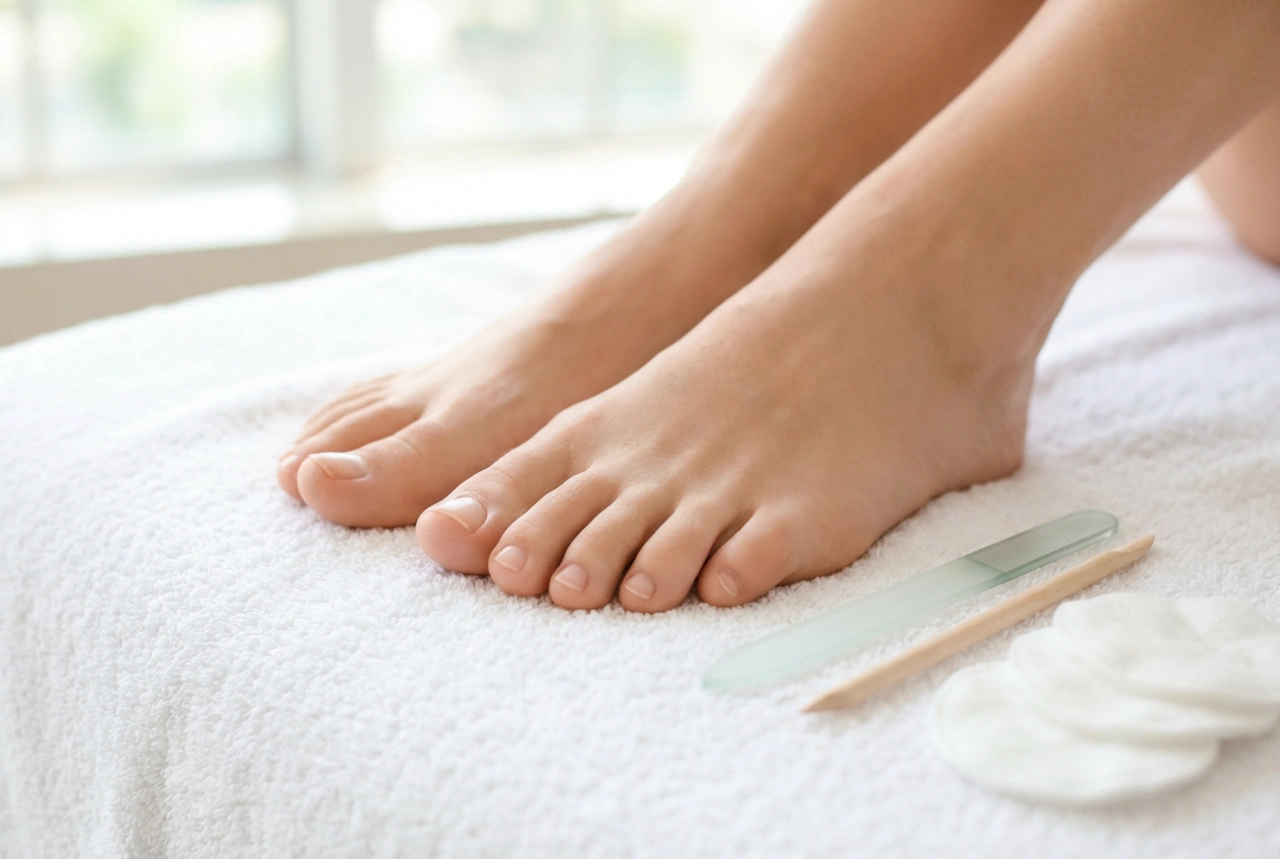
Before applying any product, the foundation of the nail must be flawlessly prepared. Any residue, oil, or unevenness on the nail plate can affect the adhesion and longevity of the gel. Start by soaking the feet in warm water with a gentle, nourishing bath salt to soften the skin. Once dried, gently push back the cuticles using a wooden stick or a precise pusher. It is important to avoid aggressive cutting, as the cuticles protect the nail matrix from external impurities.
Next, shape the toenails. For a French pedicure, a straight shape with slightly rounded corners is highly recommended. This classic square-oval shape not only looks modern but also helps prevent ingrown toenails. Use a fine-grit file, working in one direction to avoid splitting the natural nail layers. Finally, gently buff the surface of each nail with a soft buffer block to remove the natural shine. This creates a microscopic texture that ensures the base coat adheres perfectly.
Dehydrating and applying the base
Once the nails are shaped and buffed, remove all dust with a clean, lint-free wipe soaked in a professional dehydrator or prep solution. This step is crucial for removing residual oils and moisture from the nail plate, which are the primary causes of premature lifting. Avoid touching the nails with bare fingers after this step to prevent transferring natural skin oils back onto the clean surface.
Apply a thin, even layer of a high-quality base coat. When working with the toes, it is vital to apply the product sparingly to prevent it from flooding the cuticles or the lateral nail folds. Seal the free edge of each nail with the brush to lock in the product. Cure the base coat under a suitable LED or UV lamp according to the manufacturer's recommended time, ensuring a solid foundation for the subsequent layers.
Choosing the perfect natural base colour
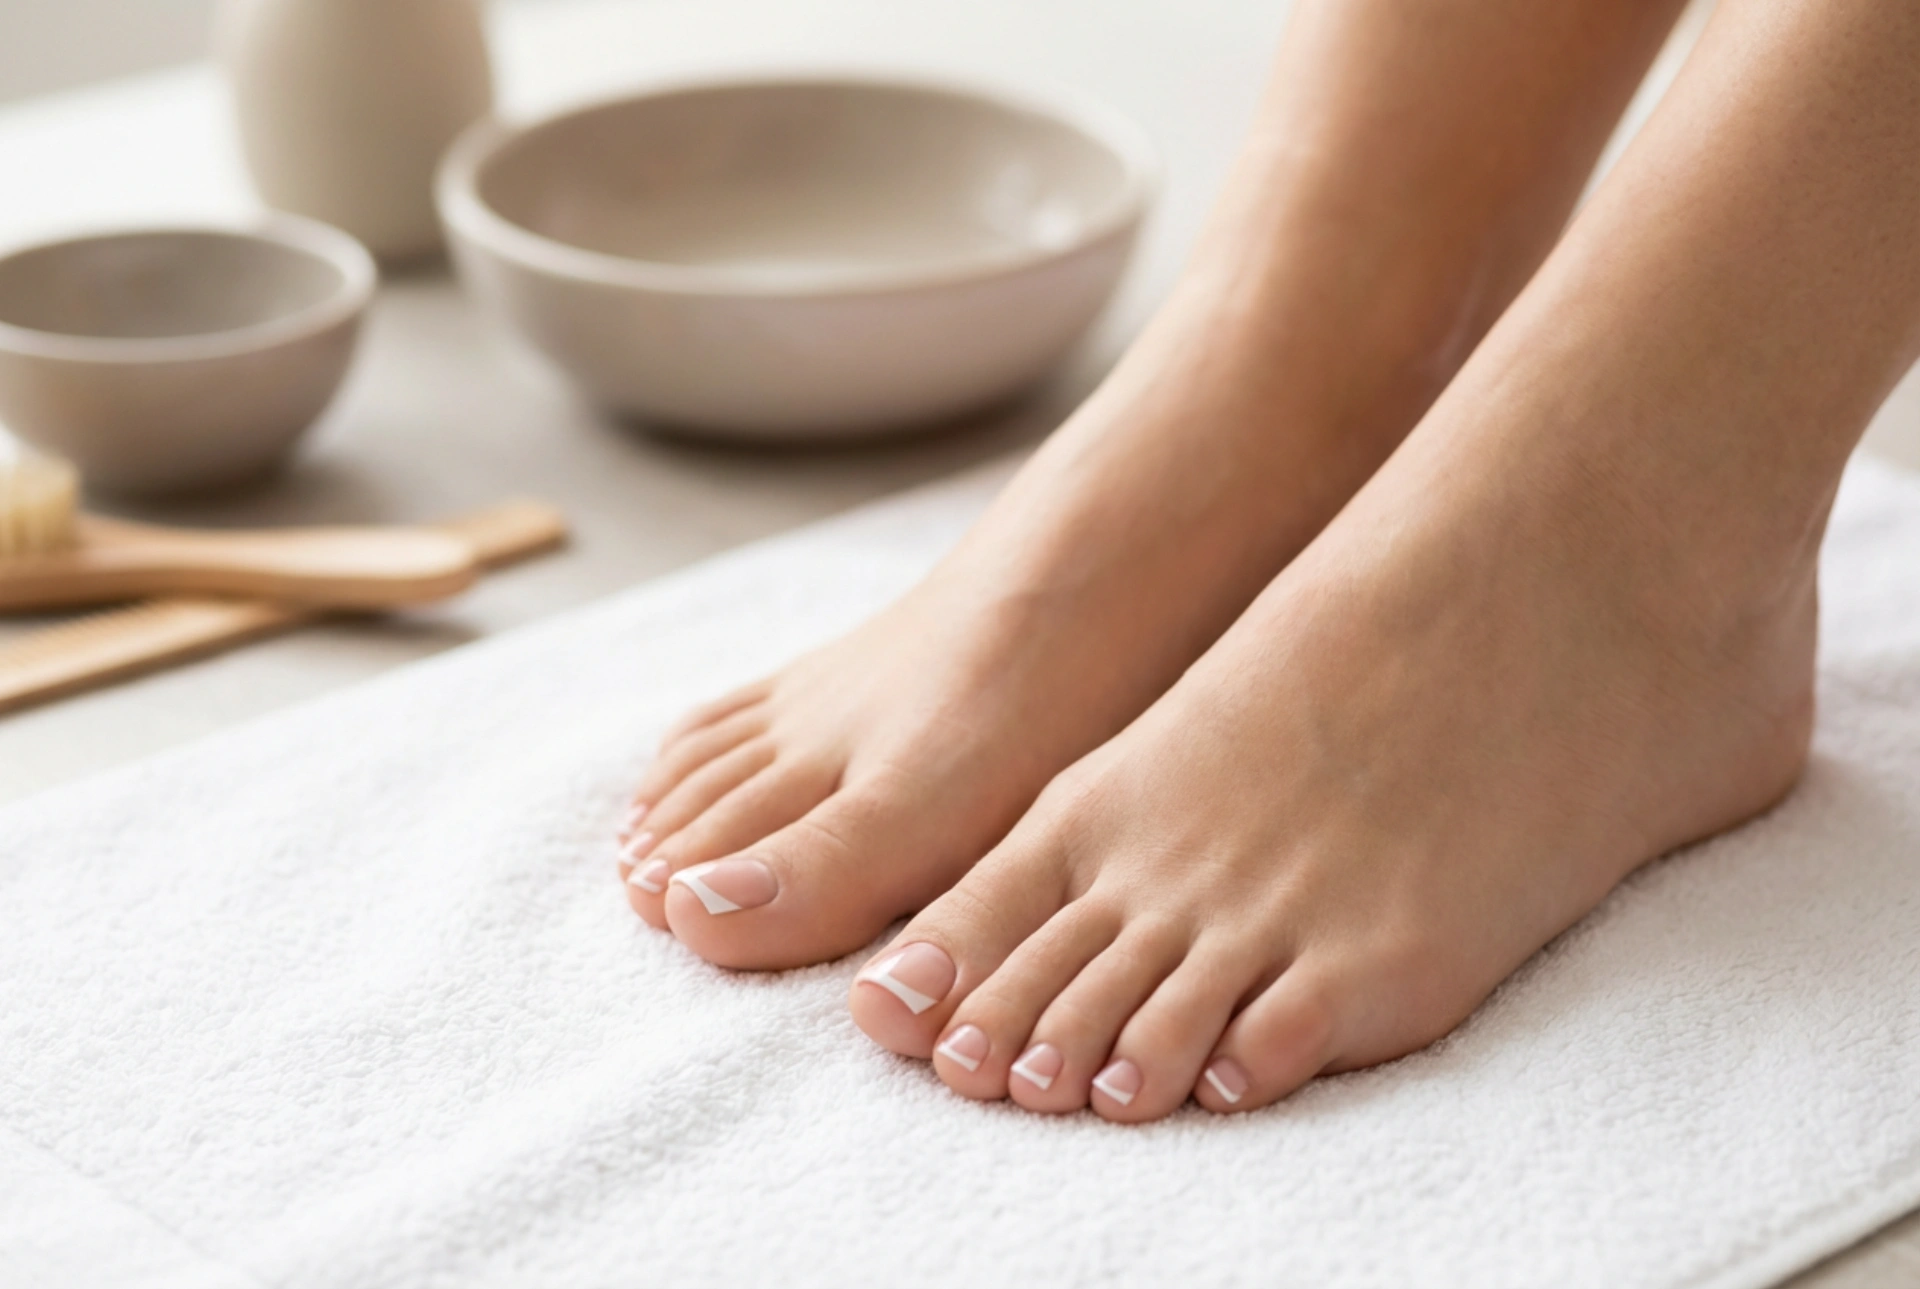
The beauty of a French pedicure lies in the harmonious contrast between the natural-looking base and the crisp white tip. Choose a semi-sheer shade that complements your skin tone. Classic options include delicate milky pinks, soft peaches, or semi-translucent beige tones. Apply one or two thin layers of your chosen colour, curing each layer thoroughly. The goal is to achieve an even, semi-sheer coverage that masks minor imperfections on the nail plate while maintaining a natural, healthy appearance.
Mastering the precise white tip
The defining element of the French pedicure is the white line at the free edge. For toes, a thinner line is generally preferred to keep the proportions balanced and elegant. To achieve maximum precision, use a very fine detailing brush rather than the brush from the bottle. Dip the tip of the brush into a highly pigmented white gel polish, taking only a small amount of product to avoid smudging.
- Find a stable anchor point for your hand, resting your elbow or wrist on a flat surface to minimise shaking.
- Start from one corner of the nail, drawing a thin line towards the centre, then repeat from the opposite corner to join the lines.
- Keep the line thin on the smaller toes, slightly wider on the big toe, maintaining a consistent curved or straight shape across all nails.
- Use a clean brush lightly moistened with a cleanser to clean up any minor imperfections before curing.
Once you are satisfied with the symmetry of the lines, cure the white gel completely in the lamp to lock the design in place.
Sealing the look for long-lasting shine
To protect your hard work and ensure a high-gloss finish, apply a generous but controlled layer of top coat. The top coat seals the white tips, prevents chipping, and adds a beautiful, smooth shine. Make sure to cap the free edges carefully, as this area is subjected to friction from footwear. After curing the top coat, remove any sticky residue with a gentle cleanser if using a traditional formula, and finish by massaging a drop of nourishing oil into the cuticles to keep the skin hydrated and glowing.