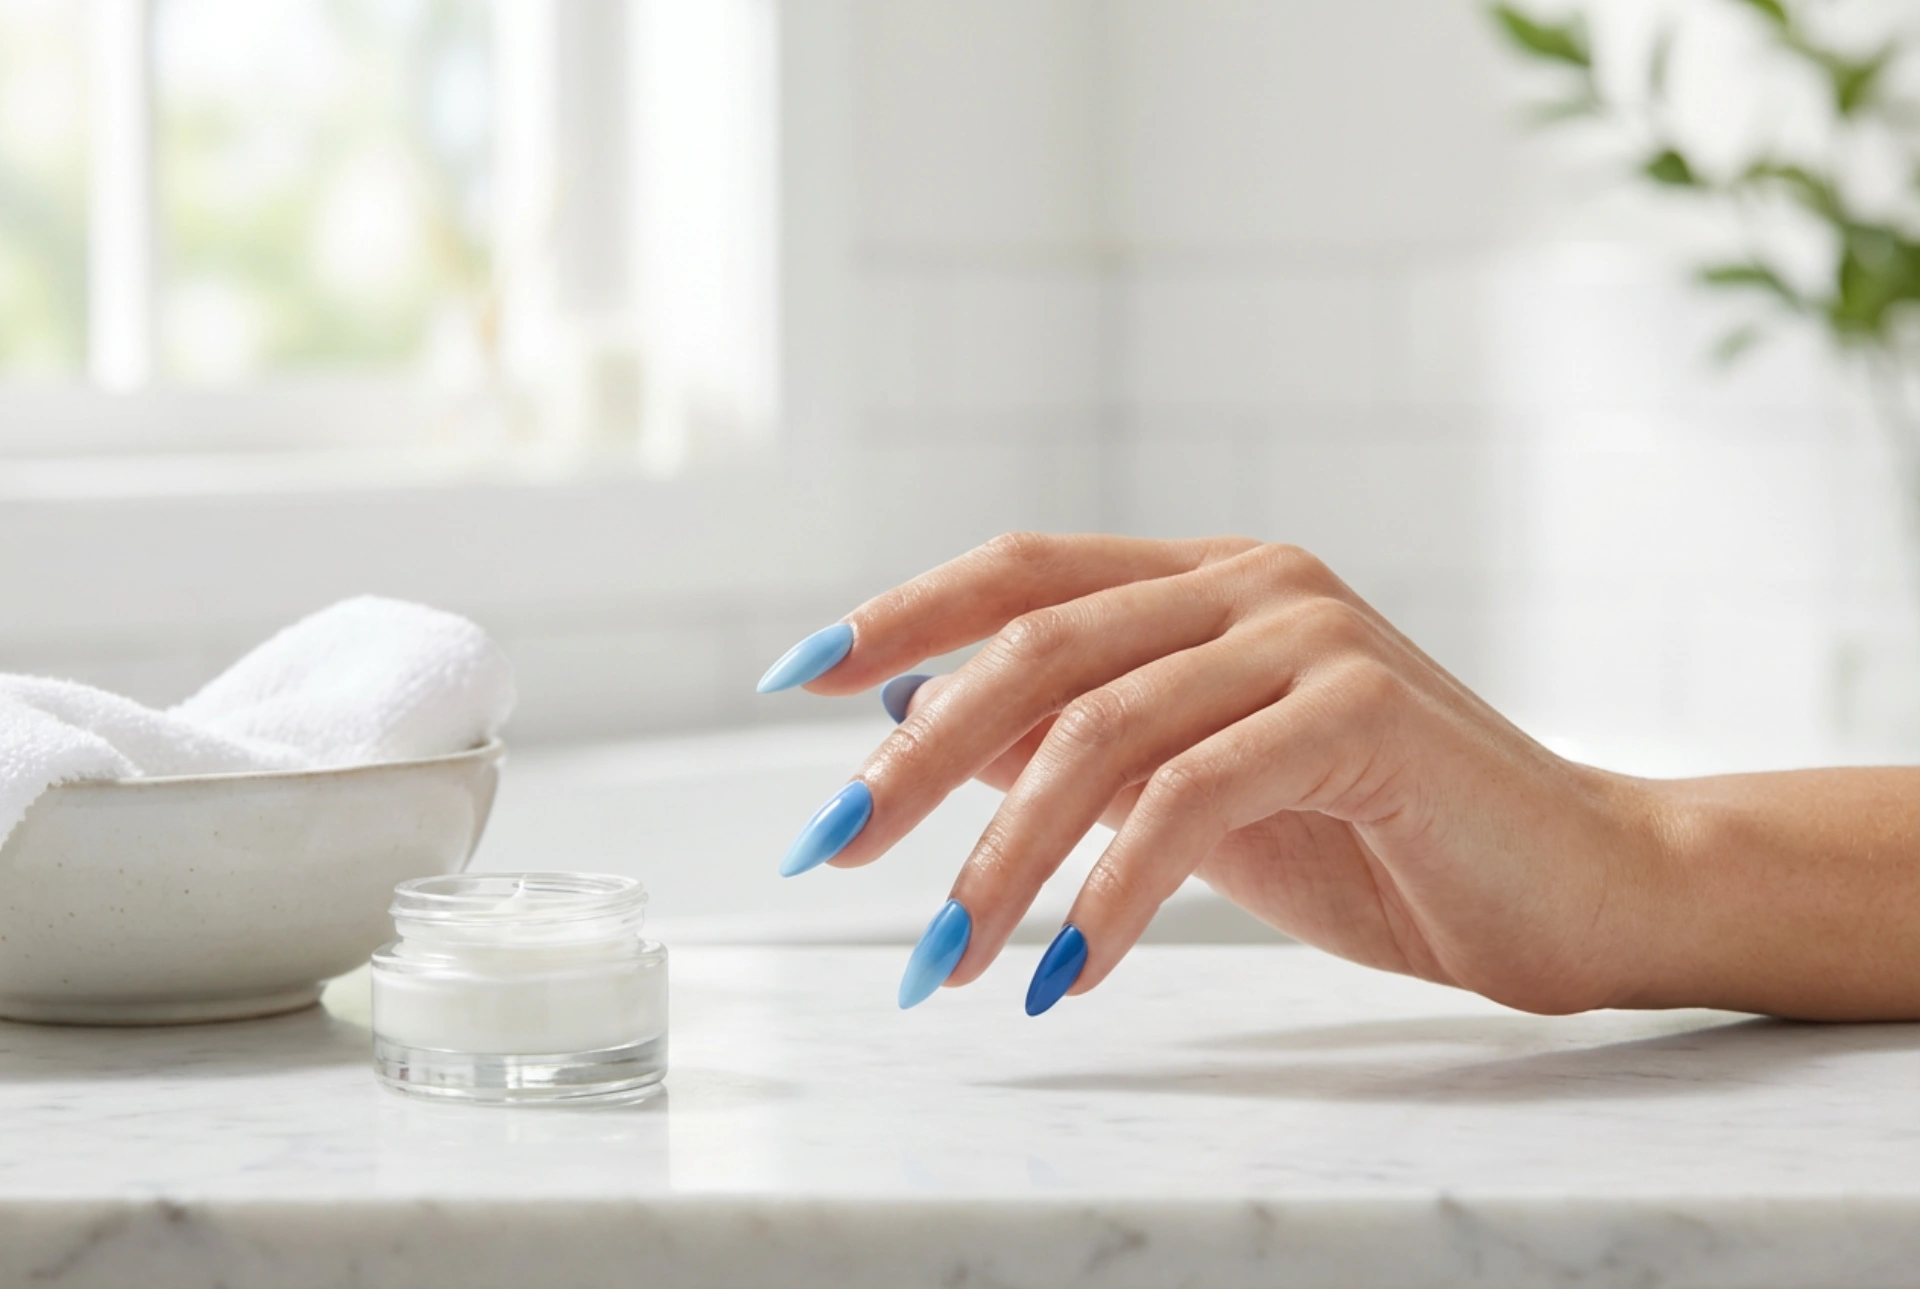


A beautifully styled hand with seamless, gradient nails always commands attention. Among the absolute favourites of modern nail art, the blue ombre design stands out as a timeless and versatile choice. Reminiscent of clear skies and gentle ocean waves, blue gradients bring a clean, modern aesthetic to your fingertips. Performing this elegant technique at home is surprisingly simple, allowing you to achieve a professional-looking finish with just a few basic tools and a bit of patience.
Understanding the Ombre Nail Technique
The ombre effect relies on a smooth transition from one colour to another. In nail styling, this usually involves blending a lighter shade at the base of the nail into a deeper hue at the tip, or vice versa. The secret to a flawless transition lies in the blending process, which softens the boundary between the chosen colours to prevent any harsh lines.
For a classic blue theme, you can pair a soft sky blue with a rich royal blue, or even blend a delicate pastel blue into a crisp white. Choosing shades within the same colour family ensures a harmonious flow, while contrasting a pale blue with a deep navy can create a dramatic, eye-catching contrast.
Essential Tools for Your Home Manicure
Before beginning your styling session, it is helpful to gather all your materials. Having everything within reach prevents smudges and ensures a smooth application process. To create the perfect blue ombre effect, you will need:
- A protective base coat to shield the natural nail plate.
- A neutral or light pastel base polish to make the blue colours pop.
- Two or three shades of blue polish (ranging from light to dark).
- A small, dense makeup sponge or a dedicated nail art sponge.
- A high-quality top coat to seal the design and blend the gradient.
- Nail polish remover and a small brush for quick clean-up around the cuticles.
Step-by-Step Guide to Blue Ombre Nails
Creating a beautiful gradient at home requires a methodical approach. Follow these clear steps to achieve a smooth, professional finish on your nails:
Step 1: Preparation and Base Application
Begin by shaping your nails and gently pushing back the cuticles. Apply a thin layer of protective base coat and let it dry completely. Once dry, apply one or two thin coats of your lightest shade. Often, a simple white or very pale blue serves as the perfect canvas, making the subsequent blue gradient look vibrant and saturated.
Step 2: Preparing the Sponge
Take your makeup sponge and lightly dampen it with water, squeezing out any excess. A slightly damp sponge prevents the nail polish from soaking too deeply into the material, allowing more product to transfer onto your nails. Paint parallel, overlapping horizontal stripes of your chosen blue shades directly onto the edge of the sponge, starting with the lightest shade and moving to the darkest.
Step 3: Creating the Gradient
Gently press the painted sponge onto your nail in a light, dabbing motion. Move the sponge slightly up and down to blend the borders between the colours. Do not press too hard, as this can create air bubbles or lift the base polish. It is better to build the intensity slowly in two or three thin layers, allowing each layer to dry for a minute before repeating the dabbing process.
Step 4: Cleanup and Protection
Once you are satisfied with the colour intensity, use a small brush dipped in nail polish remover to clean away any excess polish that transferred onto the skin around your nails. Finish the manicure with a generous layer of glossy top coat. The top coat is the magic step in any ombre manicure; it physically dissolves the tiny dots left by the sponge, merging the colours into a completely seamless, smooth gradient.
Tips for a Long-Lasting Finish
To keep your blue ombre nails looking fresh for days, always ensure each layer of polish is thin. Thick layers take longer to dry and are prone to chipping. Additionally, sealing the free edge of your nail with both the base coat and top coat creates a strong barrier against daily wear and tear. Store your polishes in a cool, dark place to maintain their consistency, making future ombre applications even easier.




