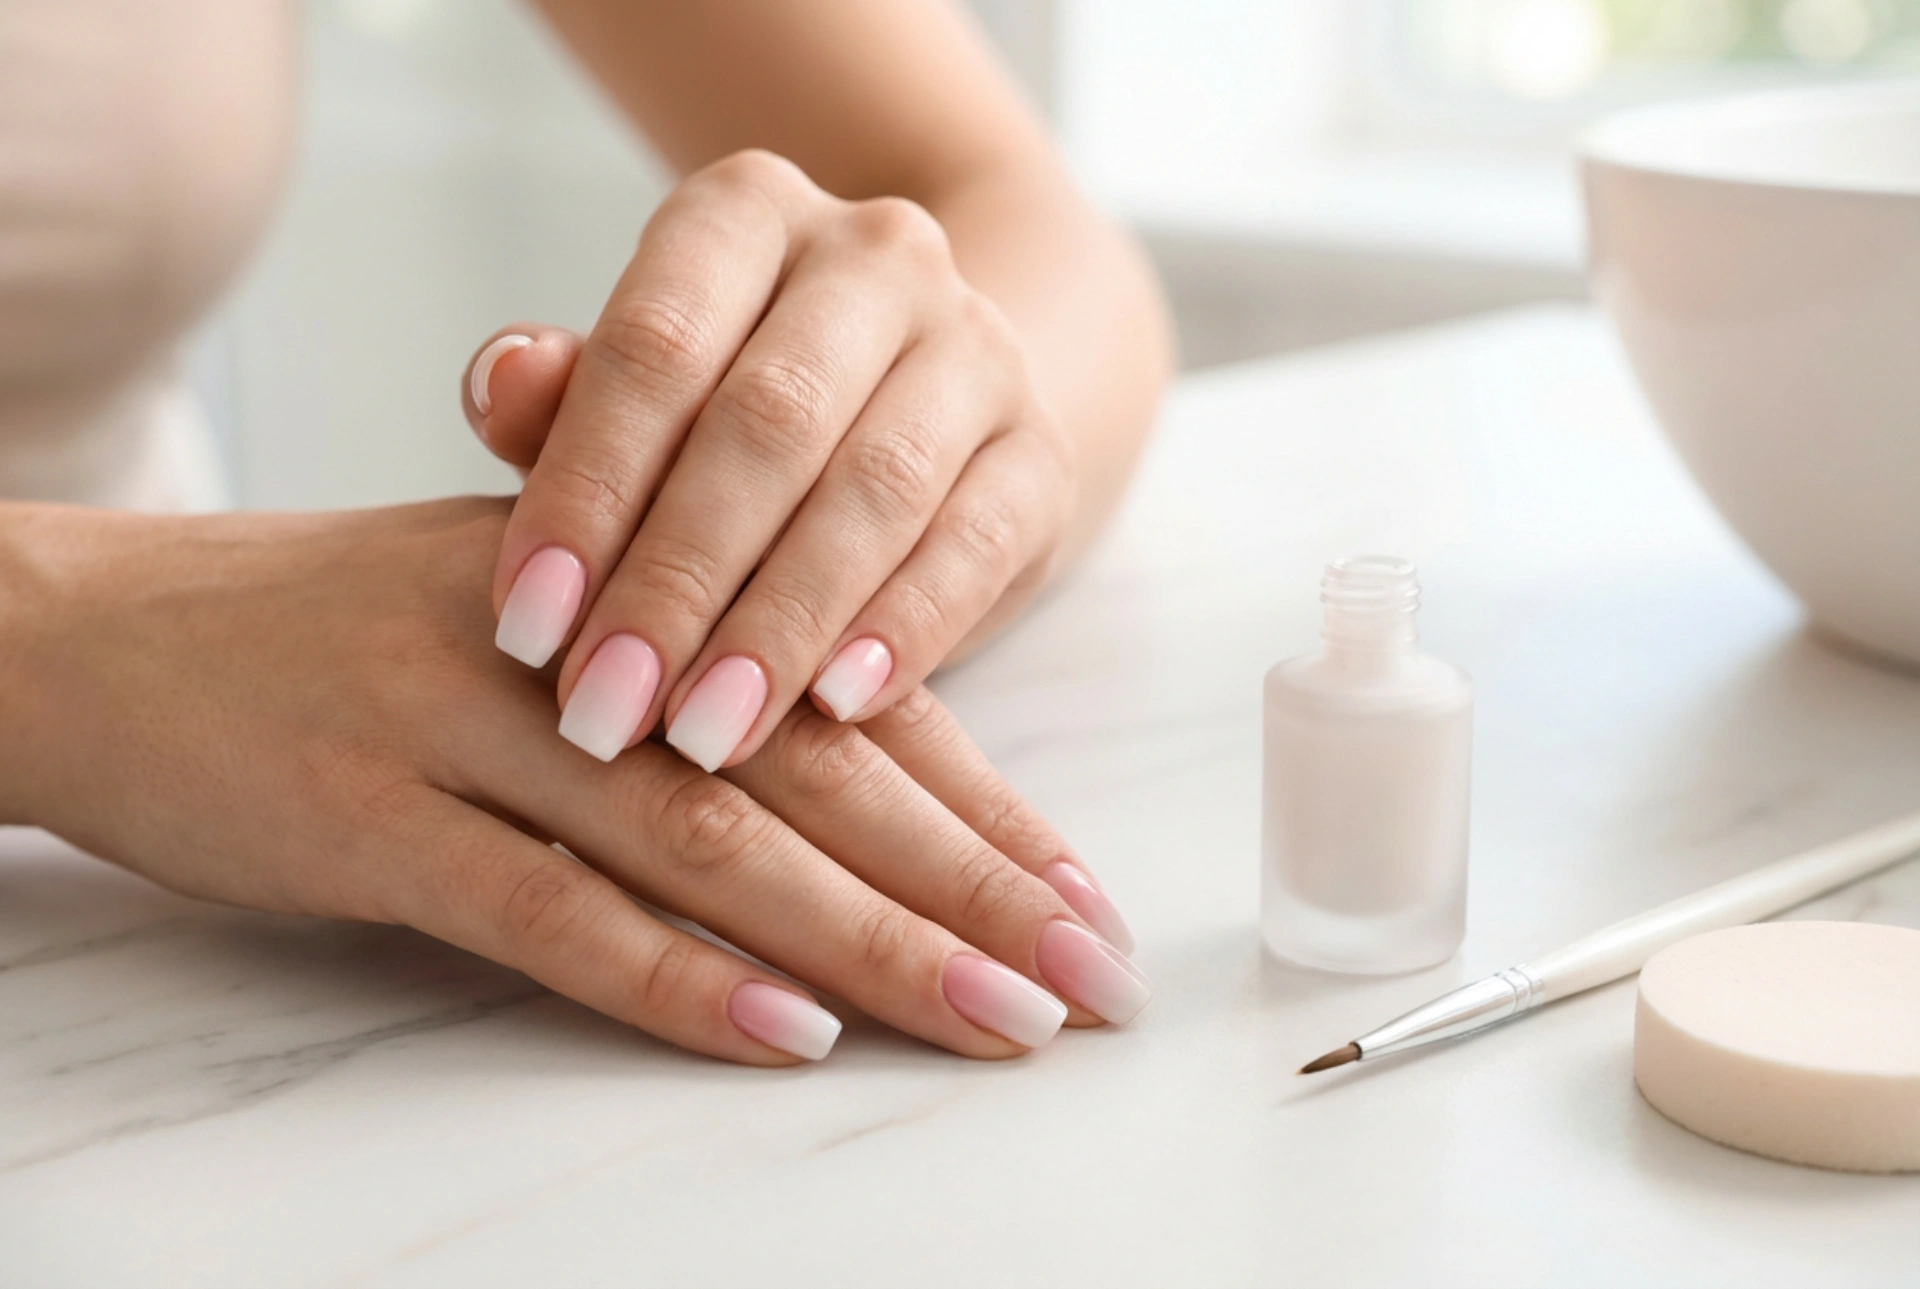


A beautifully executed ombre manicure is a true classic in modern nail styling. This elegant technique, featuring a seamless transition from one colour to another, adds depth and sophistication to any look. Achieving a flawless gradient requires patience, the right tools, and an understanding of how different materials interact. By mastering the core methods of blending with a sponge and a fine brush, you can create professional-looking nail designs in the comfort of your own home, matching the clean and refined aesthetic of high-end beauty care.
The Essential Guide to Sponge Blending
The sponge method is perhaps the most popular and accessible way to achieve a smooth gradient effect. It is particularly effective for broad transitions and classic vertical or horizontal ombre designs. To begin, you will need a dense cosmetic sponge. Standard makeup sponges or latex-free wedges work best because their fine pores prevent the polish from absorbing too quickly and help create a softer, more diffused blend.
- Preparation: Apply a light base colour over your entire nail. A neutral white, nude, or soft pastel shade helps the subsequent ombre colours appear more vibrant and clean.
- Applying the Colours: Paint stripes of your chosen nail polishes directly onto the edge of the sponge, ensuring the colours slightly overlap. This overlapping zone is where the natural transition will begin.
- The Dabbing Technique: Gently tap the sponge onto the nail. Use light, bouncing motions rather than pressing hard. Move the sponge slightly up and down to blur the boundaries between the shades.
- Layering: It is always better to build opacity gradually. Apply two to three thin layers, allowing each one to dry slightly before repeating the process. This prevents the polish from bubbling or becoming too thick.
Mastering the Brush Blending Technique
While sponges are excellent for broad gradients, using a fine nail art brush offers unparalleled precision. This technique is ideal for detailed designs, subtle colour melts, and when you want to avoid the messy cleanup associated with sponge application. A flat, ombre-specific brush with feathered bristles is the perfect tool for this method.
Choosing the Right Brush
For a seamless blend, look for a brush with varying bristle lengths. The longer, sparser bristles help drag and distribute the pigment without wiping away the base layer. Standard flat brushes can also be used, but they require a much lighter touch to avoid creating harsh lines.
The Blending Process
Apply the two contrasting colours side by side directly onto the nail plate. Holding the brush at a low angle, gently sweep the bristles across the boundary where the colours meet. Use light, zig-zag motions to pull the pigments into one another. Always wipe your brush on a lint-free wipe between strokes to keep the transition clean and prevent muddying the shades.
Pro Tips for a Flawless Finish
The secret to a perfect ombre nail design lies not just in the blending process, but in the preparation and final touches. To elevate your manicure, keep these practical tips in mind:
- Protect the Cuticles: Before you begin sponging, apply a liquid peel-off barrier or a rich cream around the nail bed. This makes cleaning up stray polish effortless and keeps the skin looking pristine.
- The Power of the Top Coat: A high-quality, plump top coat is the ultimate tool for smoothing out any minor imperfections, bumps, or texture left by the sponge. Apply it while the ombre layer is slightly tacky to help merge the colours even further.
- Colour Selection: For beginners, choosing colours from the same colour family, such as pastel pink and lavender, makes blending much easier. Highly pigmented polishes with a medium consistency yield the best results.




