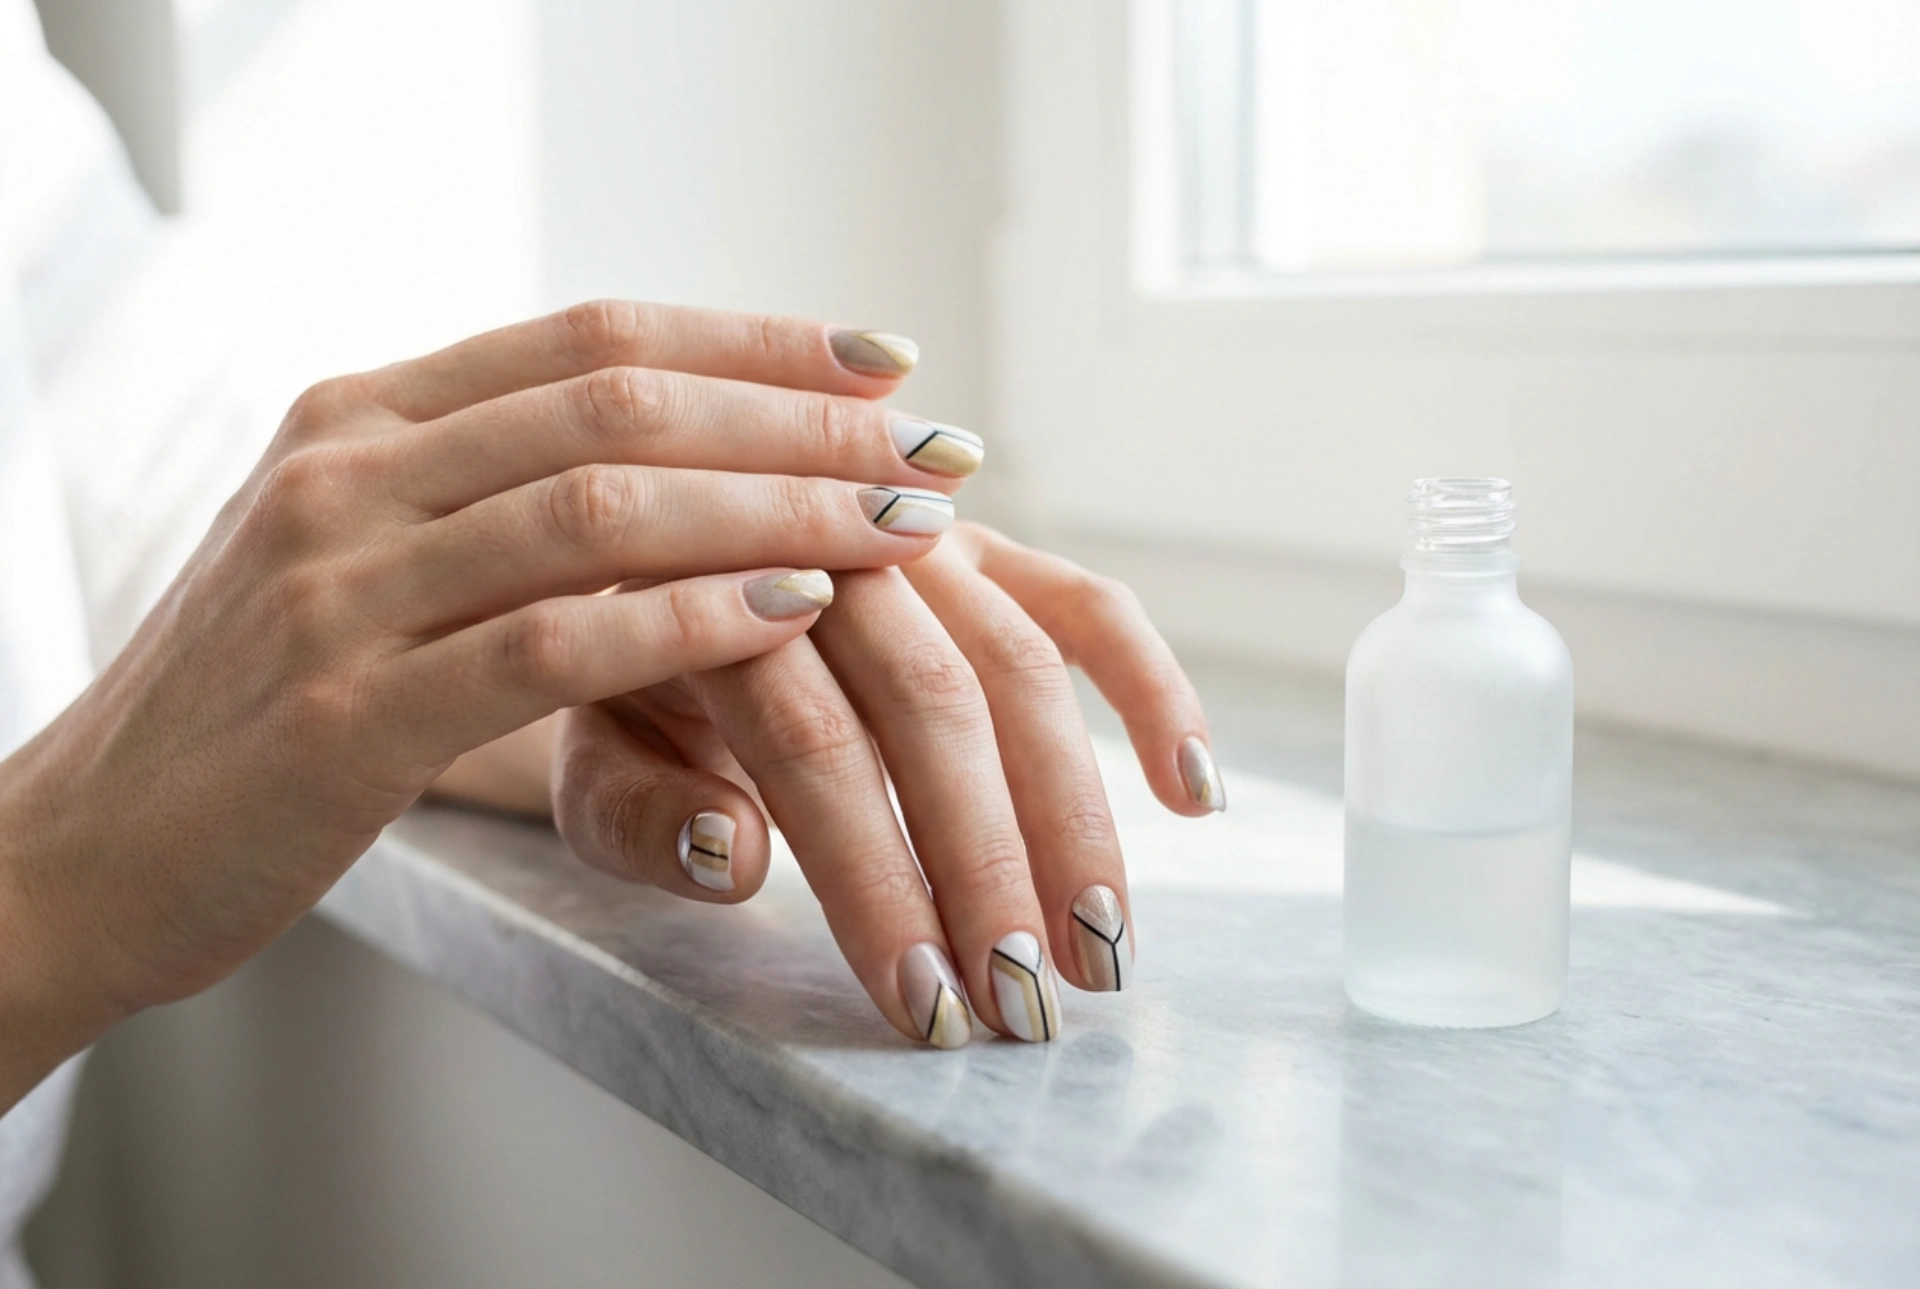


Modern nail styling increasingly draws inspiration from minimalist art, architecture, and graphic design. Among the most popular trends is geometric nail art, which allows for the creation of structured, elegant, and visually striking patterns. Elegant, manicured hands showcasing nails with sophisticated geometric art are a testament to how precise lines and abstract shapes can define a contemporary aesthetic. Achieving this look does not require advanced artistic skills; instead, it relies on using the right tools, such as striping tapes and stamping plates, alongside structured application techniques.
The Essential Tools for Geometric Precision
To create clean lines and sharp angles, relying solely on a freehand brush can be challenging, especially for beginners. Utilizing specialized tools ensures a professional, crisp finish that elevates the overall design.
- Striping Tapes: These ultra-thin adhesive tapes are perfect for creating straight lines, blocks of colour, and negative space designs. They can be used either as a stencil to be removed after painting or left on the nail as a metallic accent, sealed under a top coat.
- Stamping Plates: Stamping is a highly efficient technique for transferring intricate geometric patterns, repeating grids, or abstract shapes onto the nail plate. It guarantees symmetry and uniformity across all fingers.
- Nail Art Brushes: A long, thin detail brush (often called a liner brush) is indispensable for connecting points, touching up stamped images, or drawing delicate freehand lines.
- Dotting Tools: Perfect for adding contrasting circular accents that soften the harshness of straight lines and triangles.
Step-by-Step Guide: Using Striping Tape for Clean Lines
Striping tape is one of the most versatile accessories in nail styling. To use it as a stencil, begin by applying your base colour and letting it dry completely. If you are using gel polish, cure the layer and remove the sticky dispersion layer with a cleanser. Apply pieces of tape across the nail to form your desired geometric pattern, such as triangles, chevrons, or intersecting blocks. Ensure the tape adheres firmly, especially at the edges of the nail, to prevent polish from leaking underneath.
Next, apply a contrasting polish over the exposed areas of the nail. While the polish is still wet, carefully peel off the tape using tweezers. This reveals clean, sharp lines of the base colour underneath. Allow the design to dry or cure it under the lamp, then apply a generous layer of top coat to smooth out any ridges and seal the design.
Mastering the Stamping Technique
Nail stamping allows you to achieve complex geometric patterns in seconds. Start by selecting a stamping plate with geometric motifs, such as grids, optical illusions, or abstract lines. Apply a highly pigmented stamping polish to the chosen design on the plate. Use a scraper at a 45-degree angle to swiftly remove excess polish, leaving colour only inside the engraved lines.
Gently roll a silicone stamper over the design to pick up the pattern. Check the placement on the stamper, then press it onto your nail in a smooth, rolling motion from one side to the other. To protect the transferred design from smudging, apply a specialized, water-based or non-smudge top coat before finishing with your standard high-shine or matte top coat.
Symmetrical and Abstract Design Schematics
Creating a balanced geometric layout is key to a sophisticated look. One popular approach is the negative space design, where portions of the natural nail plate are left bare or covered only with a sheer nude base. Diagonal blocks of pastel or monochrome shades can be separated by thin gold striping tape for a modern, minimalist look.
Another effective schematic is the accent nail concept. Keep four nails in a solid, neutral colour while dedicating the ring finger to an intricate geometric composition combining triangles, dots, and metallic lines. This keeps the manicure elegant and suitable for everyday wear while still showcasing creative flair.
Tips for a Long-Lasting Geometric Finish
To ensure your geometric manicure remains flawless, proper preparation and sealing are crucial. Always cleanse the nail plate thoroughly before beginning any application. When using multiple layers of polish for geometric blocks, keep each layer as thin as possible to avoid a bulky finish. Applying a high-quality top coat is essential to level the surface, especially where tapes have been used. A matte top coat can also be used to give geometric patterns a modern, velvet-like texture that highlights the precision of the lines.




