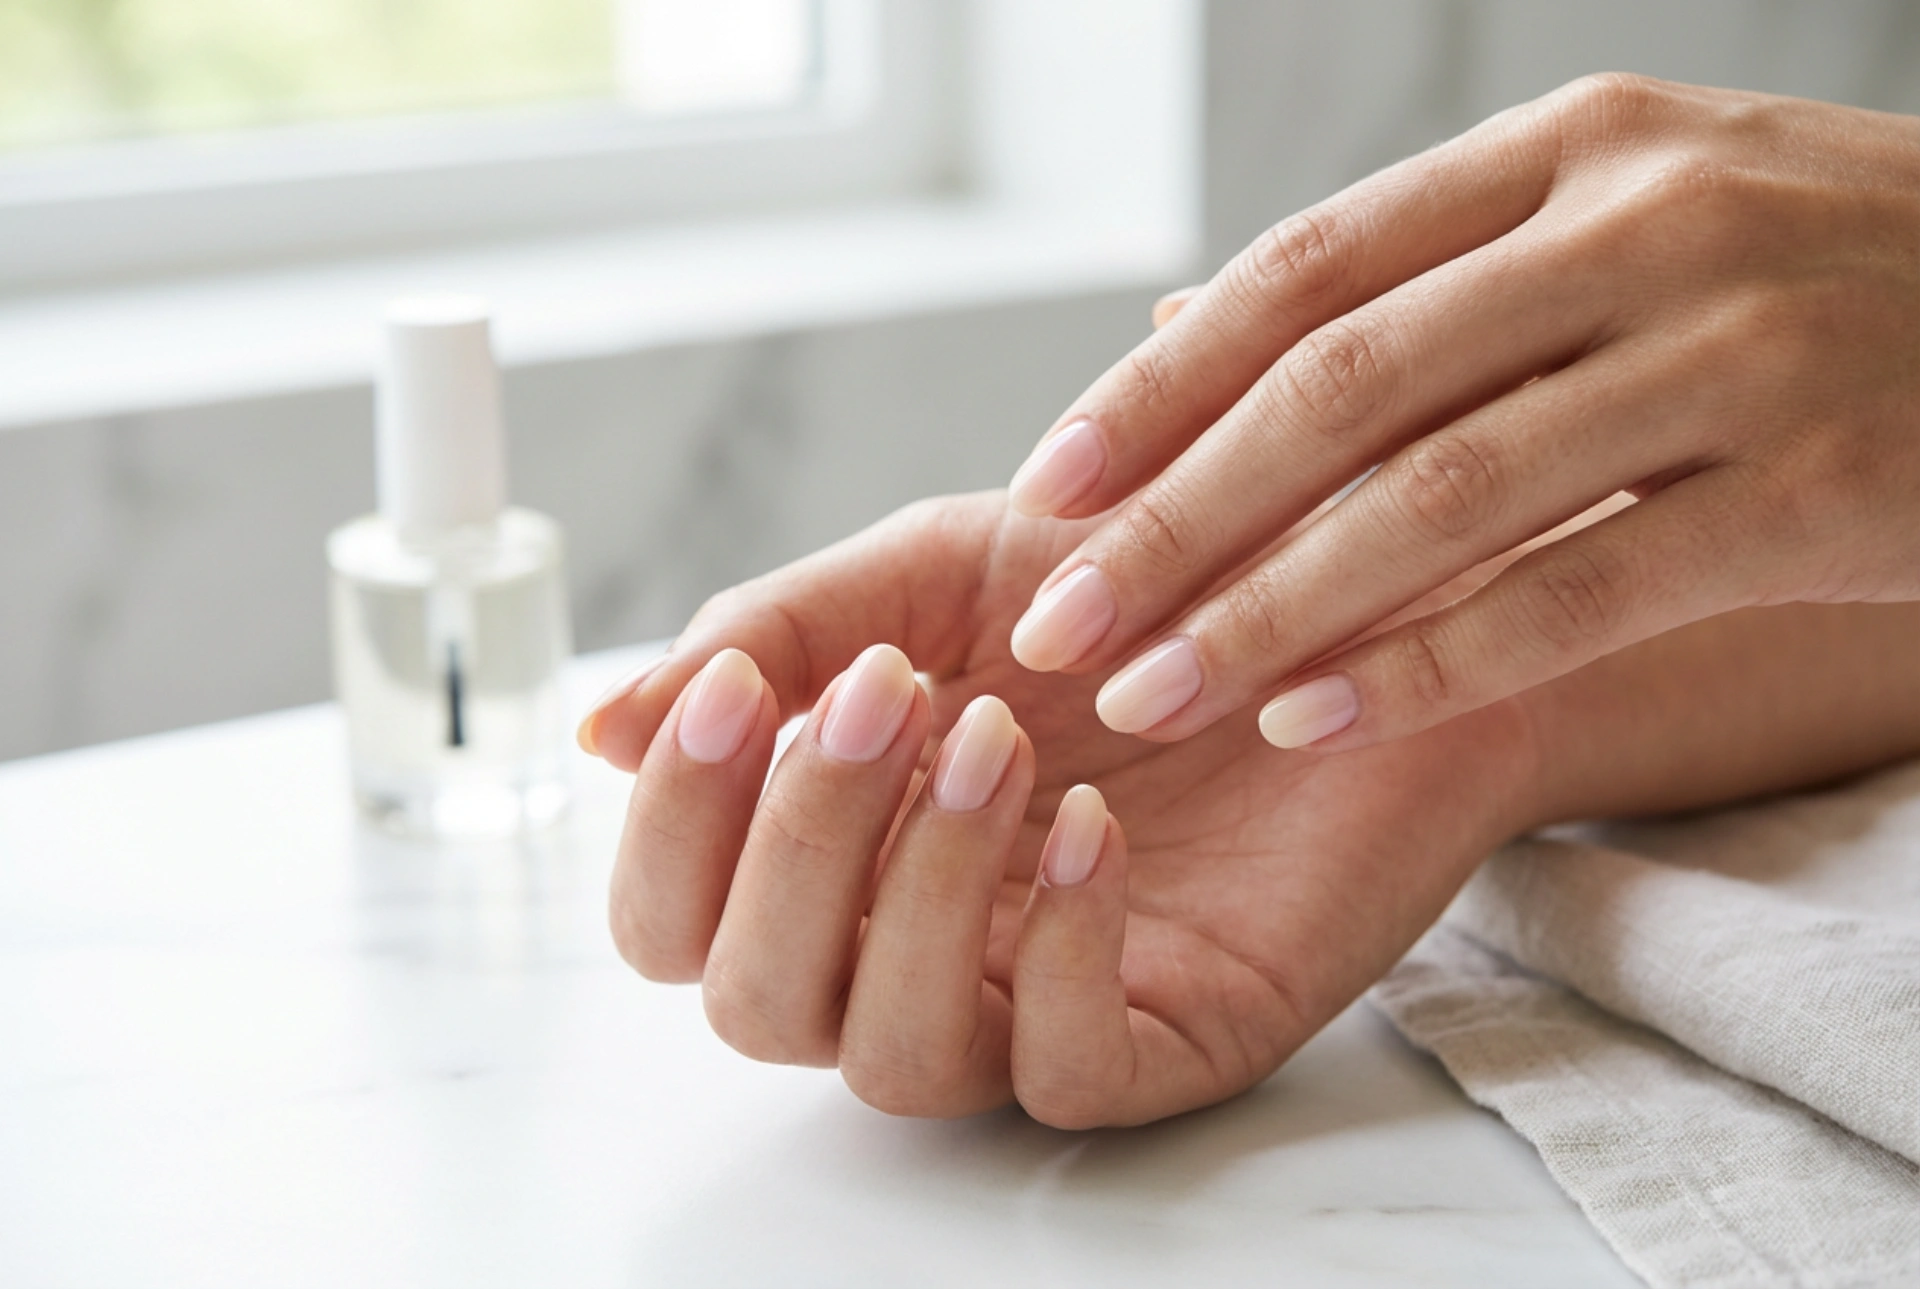


An elegant, high-gloss manicure with a seamless color gradient is one of the most sought-after looks in modern hand styling. Beautifully blended ombre nails offer a sophisticated, contemporary aesthetic that complements both daily casual wear and elegant evening attire. Achieving this flawless transition requires the right technique, quality tools, and an understanding of how light interacts with the glossy top coat. By mastering the basic steps of gradient blending, you can enjoy a durable and eye-catching manicure that lasts for weeks.
The Core Principles of a Perfect Ombre Gradient
The secret to a stunning ombre effect lies in the smooth transition between two or more harmonious colors. Unlike traditional solid colors, a gradient manicure creates an illusion of length and softness, making the hands look slender and elegant. To achieve this, it is essential to choose colors that blend well together. Classic combinations include pastel pinks paired with clean white, soft beige blending into a creamy caramel, or subtle lavender transitioning into a cool grey. When selecting your shades, consider their opacity and formula, as highly pigmented gels or polishes allow for easier blending without creating thick, bulky layers on the nail plate.
Essential Tools for Home Styling
To create a professional-looking gradient at home, having the correct tools is crucial. A specialized blending sponge, often made of dense latex, is the most popular choice for stamping the colors into a seamless transition. Alternatively, some enthusiasts prefer a flat, ombre brush with feathered bristles, which allows for precise, hand-swept blending. Alongside your blending tool of choice, you will need a reliable UV or LED lamp to cure each layer, a base coat to protect the natural nail, and a high-shine top coat to seal the design and provide that characteristic glass-like reflection.
Step-by-Step Guide to a Long-Lasting Ombre Manicure
Preparation is the foundation of any long-lasting manicure. Begin by gently pushing back the cuticles, shaping the free edge of the nails, and lightly buffing the nail plate to remove any natural oils. Apply a thin layer of base coat and cure it under the lamp according to the manufacturer's instructions. Once your base is ready, follow these key steps to create the gradient effect:
- Apply the Base Color: Paint the entire nail with the lighter of your chosen shades. This acts as a bright canvas, ensuring the gradient colors appear vibrant and saturated. Cure this layer fully.
- Prepare the Transition: Apply stripes of your chosen colors directly onto a makeup sponge, or place small drops of the polishes side-by-side on a palette and mix the border slightly with a toothpick before picking it up with the sponge.
- Stamp Gently: Lightly dab the sponge onto the nail, moving it slightly up and down to diffuse the line where the two colors meet. Avoid pressing too hard, as this can create air bubbles.
- Cure and Repeat: Cure the first gradient layer. For a rich, professional finish, repeat the sponging process a second or even third time, curing between each application to build up depth and smoothness.
Securing the Design: Durability and Mirror Shine
Once you are satisfied with the color transition, the final step is to protect your artwork. Ombre gradients can sometimes have a slightly textured surface due to the sponging technique. Applying a generous layer of a self-leveling top coat is essential to smooth out any tiny bumps, lock in the color, and prevent chipping. A high-gloss top coat not only safeguards the manicure against daily wear and tear but also enhances the ombre effect, making the transition look incredibly fluid and wet. Be sure to cap the free edge of the nail to seal everything perfectly and ensure maximum durability.




