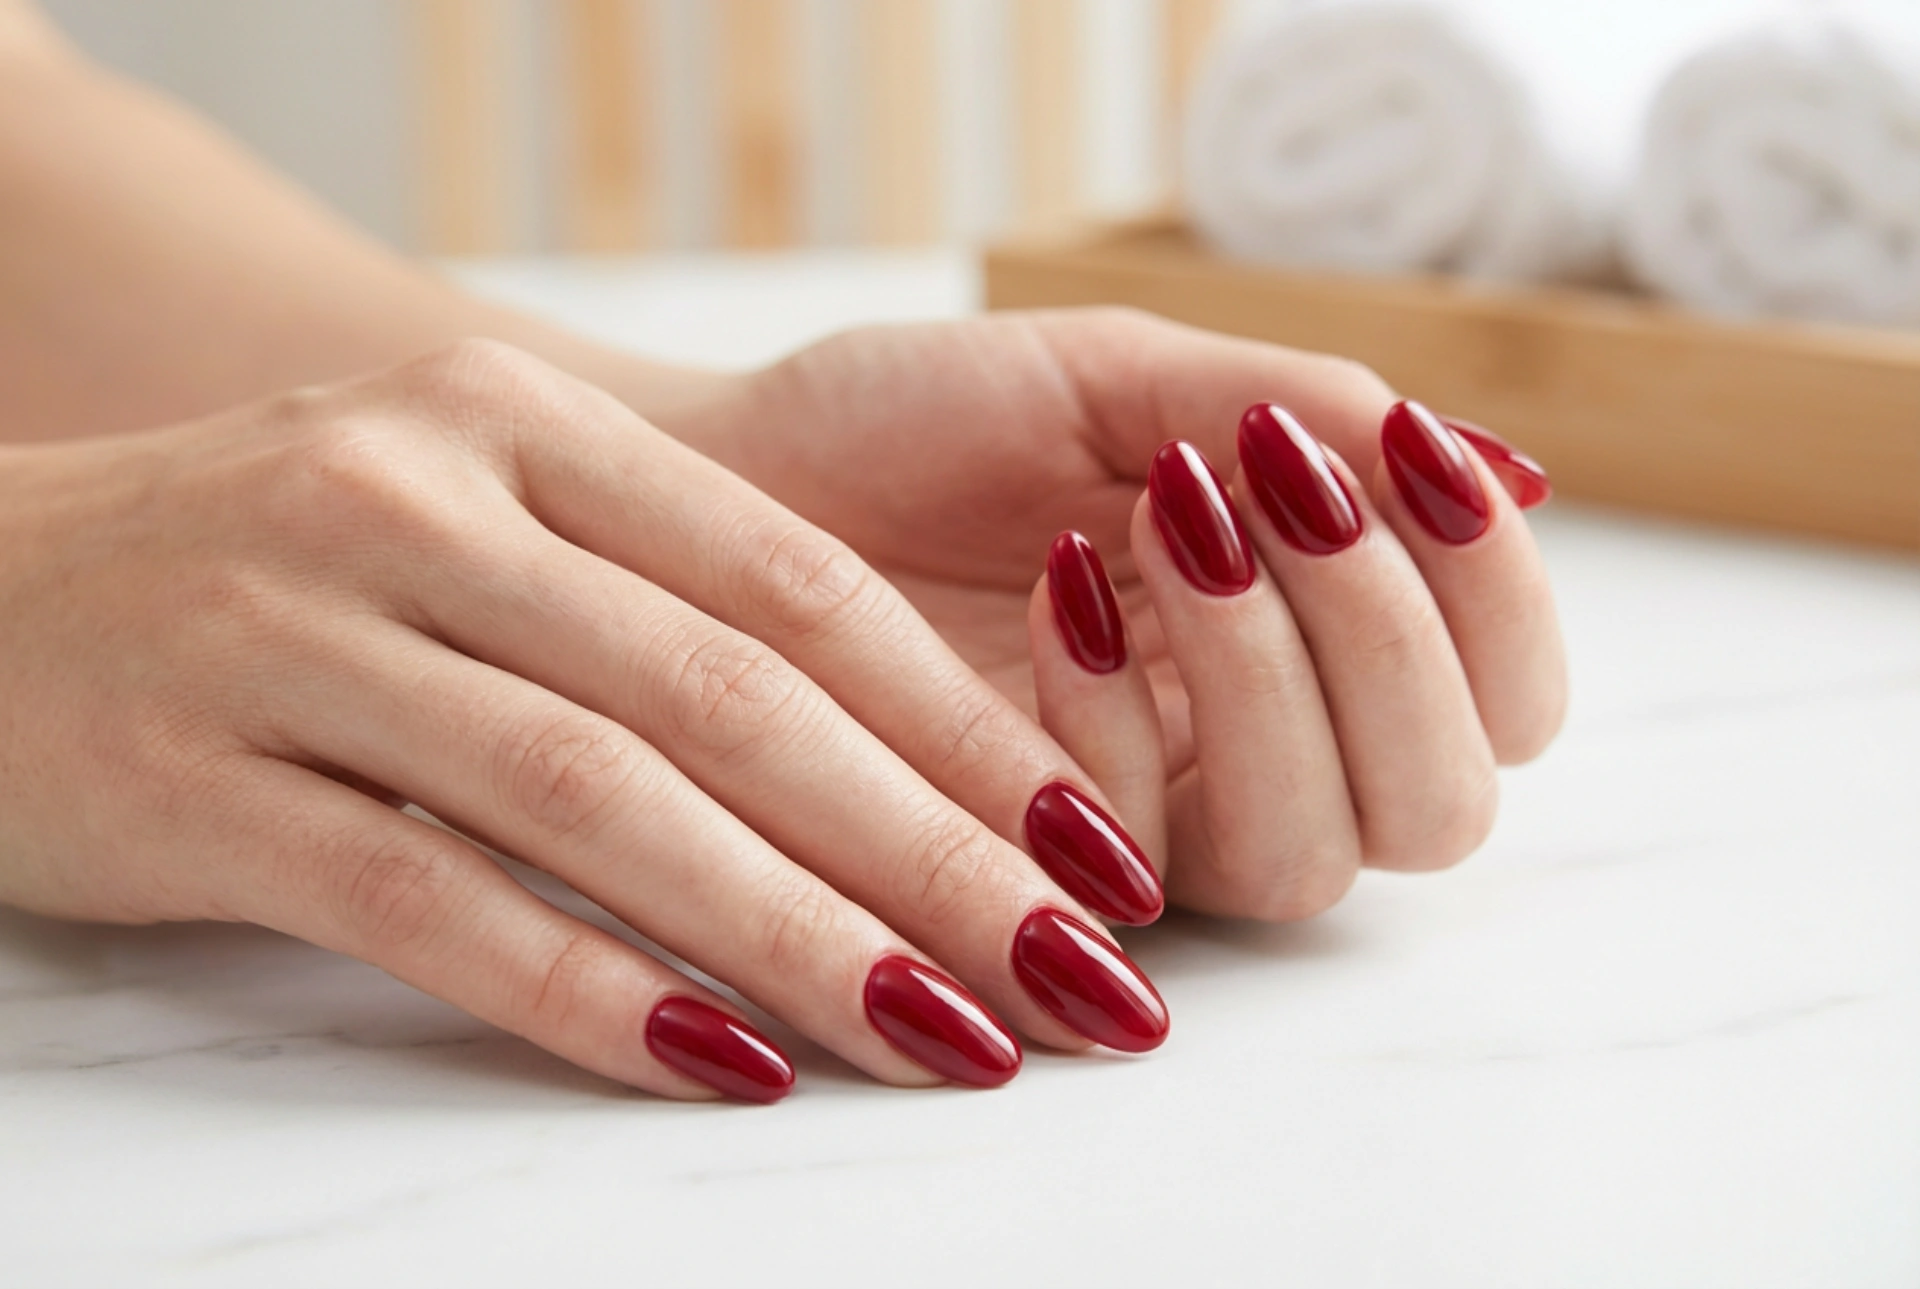


A classic red manicure is a timeless symbol of elegance and confidence. The intense, deep shade of red gel polish instantly elevates any look, making hands appear sophisticated and well-groomed. However, achieving that perfect, streak-free finish with impeccably clean cuticles requires a blend of correct technique, patience, and attention to detail. When working with highly pigmented shades like red, every minor imperfection becomes visible under the light. Understanding the step-by-step process of application can transform your home manicure routine into a professional-grade experience.
Preparation is the Foundation of a Flawless Finish
Before any colour touches the nail plate, meticulous preparation is essential. The longevity and appearance of your gel manicure depend heavily on how well the nail is prepared. Start by gently pushing back the cuticles using a wooden stick or a rounded pusher. Removing the non-living tissue from the nail plate prevents the gel polish from lifting and ensures a clean border for colour application.
Next, shape the nails with a fine-grit file and gently buff the surface to remove the natural shine. This creates a micro-texture that helps the base coat adhere properly. Wipe the nails thoroughly with a professional dehydrator or prep solution to remove any dust and natural oils. Skipping this step is the most common cause of premature peeling and uneven application.
The Secret to Applying Highly Pigmented Red Polish
Red gel polish contains a high concentration of pigment, which can sometimes make the application tricky. To avoid streaks and patchy areas, the golden rule is to apply incredibly thin layers. It is always better to apply three ultra-thin coats than two thick ones. Thick layers not only lead to an uneven finish but can also result in improper curing, causing the polish to wrinkle or bubble under the lamp.
When applying the colour, start a fraction of a millimetre away from the cuticle line. Place a small bead of polish in the centre of the nail, push it gently towards the cuticle without touching the skin, and then swipe down to the free edge. Use the three-stroke method: one down the middle, and one on each side. Always remember to cap the free edge of the nail with every layer to prevent chipping.
How to Avoid Flooding the Cuticles
Flooded cuticles are not only aesthetically displeasing, but they also cause the gel manicure to lift prematurely as the nail grows. To keep the cuticle area pristine, control the amount of product on your brush. Wipe one side of the brush completely clean against the neck of the bottle, leaving only a small amount of polish on the other side.
- Use a detailer brush: For the ultimate precision near the cuticle line, use a thin nail art brush dipped in a tiny amount of red polish to paint the edges.
- The clean-up trick: Keep a clean, flat synthetic brush dipped in a small amount of isopropyl alcohol nearby. If any polish touches the skin, wipe it away immediately before curing.
- Pull the skin back: Gently pull back the lateral nail folds with your fingers while applying the polish to get closer to the edges safely.
Curing and Perfecting the High-Gloss Shine
Highly pigmented colours require sufficient curing time to ensure the formula hardens completely. Always follow the manufacturer's guidelines for your specific lamp, ensuring your hand is placed flat inside to allow even light distribution. Once the colour coats are fully cured, apply a generous layer of high-gloss top coat to seal in the vibrant red and protect it from scratches.
After curing the top coat, let the nails cool down for a minute before wiping away any sticky residue, if using a non-wipe formula is not your preference. Finish the routine by applying a drop of nourishing cuticle oil and massaging it gently into the surrounding skin to restore moisture and highlight the flawless, glossy finish of your new manicure.




