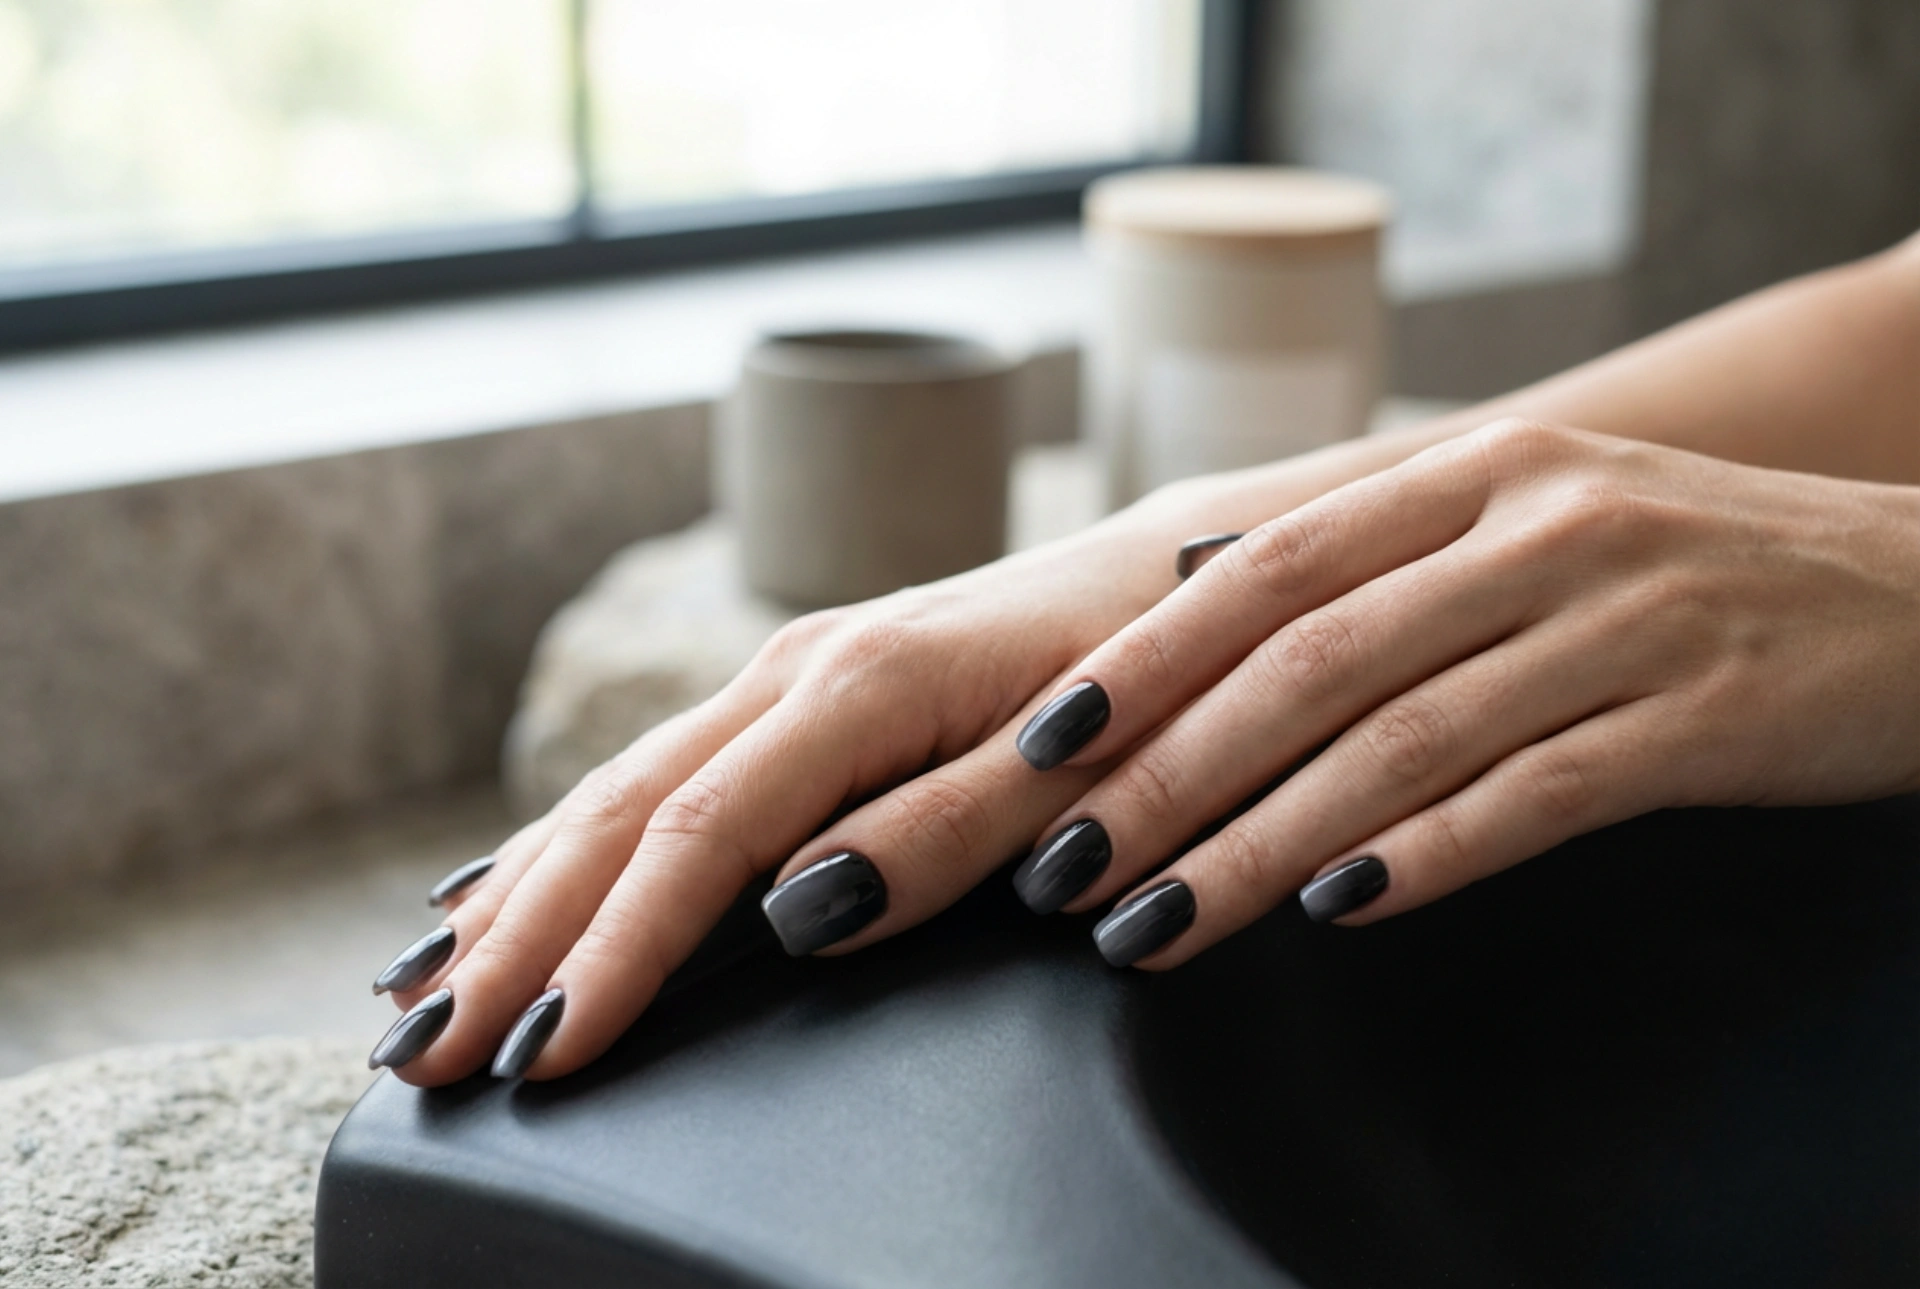


Modern manicures are all about precision, elegance, and creativity. Among the numerous trends that have dominated the beauty world, dark ombre nails stand out as a sophisticated choice for those who love deep, mysterious tones. This styling technique, characterized by a seamless gradient transition from one deep shade to another, looks exceptionally elegant on hands. A flawless transition from deep charcoal to a rich black, beautifully captured under soft natural light against a minimalist background, highlights the sophisticated nature of this design. Achieving this clean aesthetic requires patience, the right tools, and an understanding of shading techniques.
The Secret to a Perfect Dark Ombre Transition
The key to a stunning ombre effect lies in the smoothness of the color transition. Unlike bright gradients, dark colors such as navy, forest green, deep plum, charcoal, and black require extra care. Because these pigments are highly saturated, any harsh lines or uneven patches will be immediately visible. To achieve a professional finish, you must focus on blending the boundaries between the selected shades.
Using a high-quality makeup sponge or a dedicated ombre brush is essential. When working with sponges, choosing a fine-pored material ensures that the polish is distributed evenly without leaving air bubbles on the nail surface. For those who prefer brushes, a feathering brush with thin, uneven bristles allows you to gently drag one color into another, creating a soft, airbrushed effect.
Step-by-Step Guide to Creating Dark Gradients
Creating dark ombre nails at home can be highly rewarding if you follow a structured approach. Prepare your workspace and ensure your nails are properly prepped before starting the styling process.
- Preparation: Clean the nail plate thoroughly, push back the cuticles, and apply a high-quality base coat to protect the natural nail and ensure longevity.
- Base Color: Apply a solid base layer. For a dark ombre, using the lighter of your two selected dark shades (such as a deep charcoal or dark grey) as the background color works best. Let this layer dry completely.
- Sponge Application: Apply a small amount of both shades side-by-side on a non-porous surface, slightly overlapping them. Dab the sponge into the polish, tap off the excess on a piece of paper, and gently press it onto the nail.
- Layering: It is always better to apply multiple thin layers rather than one thick layer. Build up the intensity gradually, curing or letting each layer dry in between.
- Cleansing: Clean any excess polish from the surrounding skin using a small brush dipped in a gentle remover.
Choosing the Right Color Combinations
While the combination of deep charcoal and rich black is a classic choice that offers unmatched sophistication, there are several other dark color pairings that look equally stunning. Exploring different combinations allows you to tailor the manicure to your personal style and different occasions.
For a warm, luxurious feel, consider blending a deep burgundy or chocolate brown into black. If you prefer cooler tones, a transition from a dark royal blue or forest green to black creates an enchanting, velvety appearance. The key is to choose colors that share similar undertones so that the blending process remains harmonious and visually pleasing.
The Finishing Touch: Top Coat and Maintenance
No manicure is complete without a proper sealing layer. For dark ombre designs, the choice of top coat can completely transform the final look. A high-gloss top coat enhances the depth of the dark pigments, giving them a glass-like finish that reflects light beautifully. Alternatively, a matte top coat can be used to create a modern, velvety texture that highlights the seamlessness of the gradient transition in a subtle, understated way.
To maintain the beauty of your dark manicure, daily hand care is highly recommended. Applying a nourishing cuticle oil and a hydrating hand cream keeps the skin around the nails soft, ensuring that the elegant, clean aesthetic of your dark ombre styling remains pristine for days.




