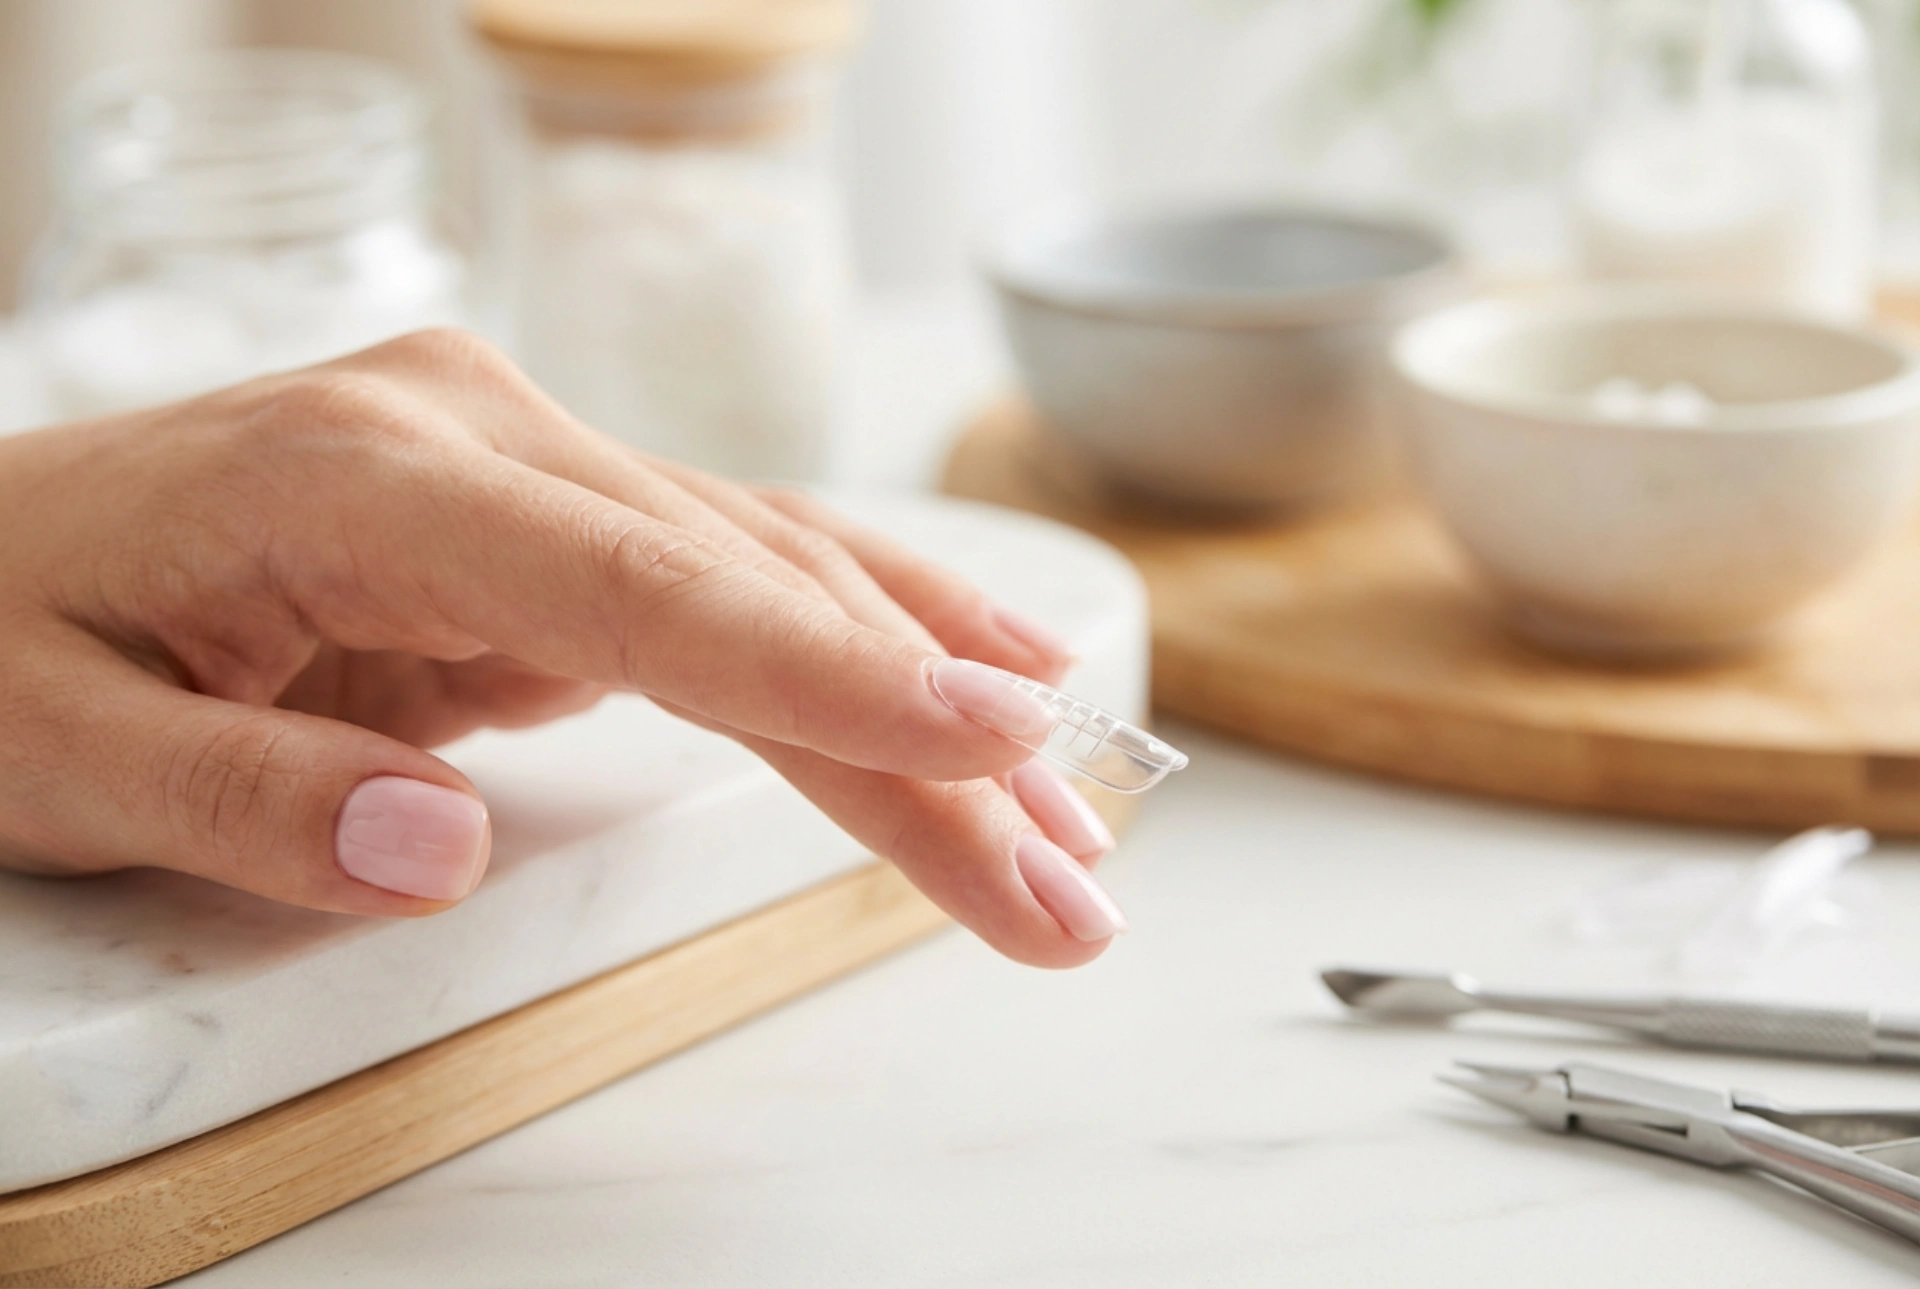


Perfectly styled nails are a cornerstone of modern grooming, offering an elegant finish that complements any look. Achieving the ideal length and shape often involves the use of nail extension forms, which act as a temporary guide for building the nail structure. When looking at a manicured hand with a transparent extension form being precisely positioned, it becomes clear how much detail and care go into this beauty routine. Proper application ensures not only a beautiful aesthetic but also the preservation of the natural nail plate underneath.
Understanding Nail Extension Forms
Extension forms, often referred to as templates, are essential tools in contemporary manicure styling. Unlike traditional plastic tips that are glued directly to the nail plate, forms are placed under the free edge of the natural nail, allowing the styling material to be sculpted directly over them. They come in various shapes, materials, and flexibility levels, making them highly versatile for different finger shapes and nail types.
Paper forms are highly popular due to their flexibility and ease of customization. They can be easily cut with scissors to match the unique curve of any hyponychium. On the other hand, reusable plastic or metal forms offer stiffness, which can be beneficial for creating ultra-straight extensions, though they require thorough sanitization between uses. Selecting the right type depends on personal preference and the desired nail shape.
How to Match and Custom-Fit the Form
The secret to a long-lasting and natural-looking nail extension lies in the perfect fit of the template. A poorly fitted form can create gaps where the styling gel or acrylic may leak, leading to structural weakness or painful pressure points. To achieve a seamless transition, follow these essential steps:
- Assess the Free Edge: Ensure the natural nail is filed to a short, rounded shape. A small amount of free edge is necessary to support the form underneath.
- Measure the Curve: Place the template gently under the nail to check if the central cutout matches the natural smile line.
- Custom Trimming: Use fine beauty scissors to modify the inner curve of the form. Adjusting the sides ensures that the template snugly hugs the finger without pushing against the skin.
- Check the Lateral Lines: The form must run completely parallel to the growth direction of the natural nail walls to prevent crooked extensions.
Step-by-Step Application Guide
Once the form is custom-cut, the application process requires patience and a steady hand. Start by peeling the template from its backing paper. If using paper forms, stick the central circle piece to the underside of the template to provide extra stiffness directly under the stress zone of the future nail.
Gently slide the cutout under the free edge of the natural nail. The template should be tilted slightly downward for square shapes or kept straight for almond and stiletto shapes. Secure the adhesive wings around the finger, ensuring they are symmetrical. Any misalignment at this stage will result in an asymmetrical nail. Once secured, double-check from both the top and side views to confirm there are no gaps between the template and the natural nail plate.
Safe Removal Without Damaging the Natural Nail
After the styling material has been properly cured or set, removing the extension form must be done gently to avoid pulling on the freshly built structure or the natural nail bed. Never yank or rip the form off quickly.
To remove the form safely, first unfasten the adhesive wings under the finger. Gently squeeze the tip of the extension form to release it from the underside of the newly sculpted nail. Then, pull the template downward and away from the finger in a smooth, continuous motion. This minimizes stress on the hyponychium and ensures the structural integrity of your new manicure remains perfectly intact.




