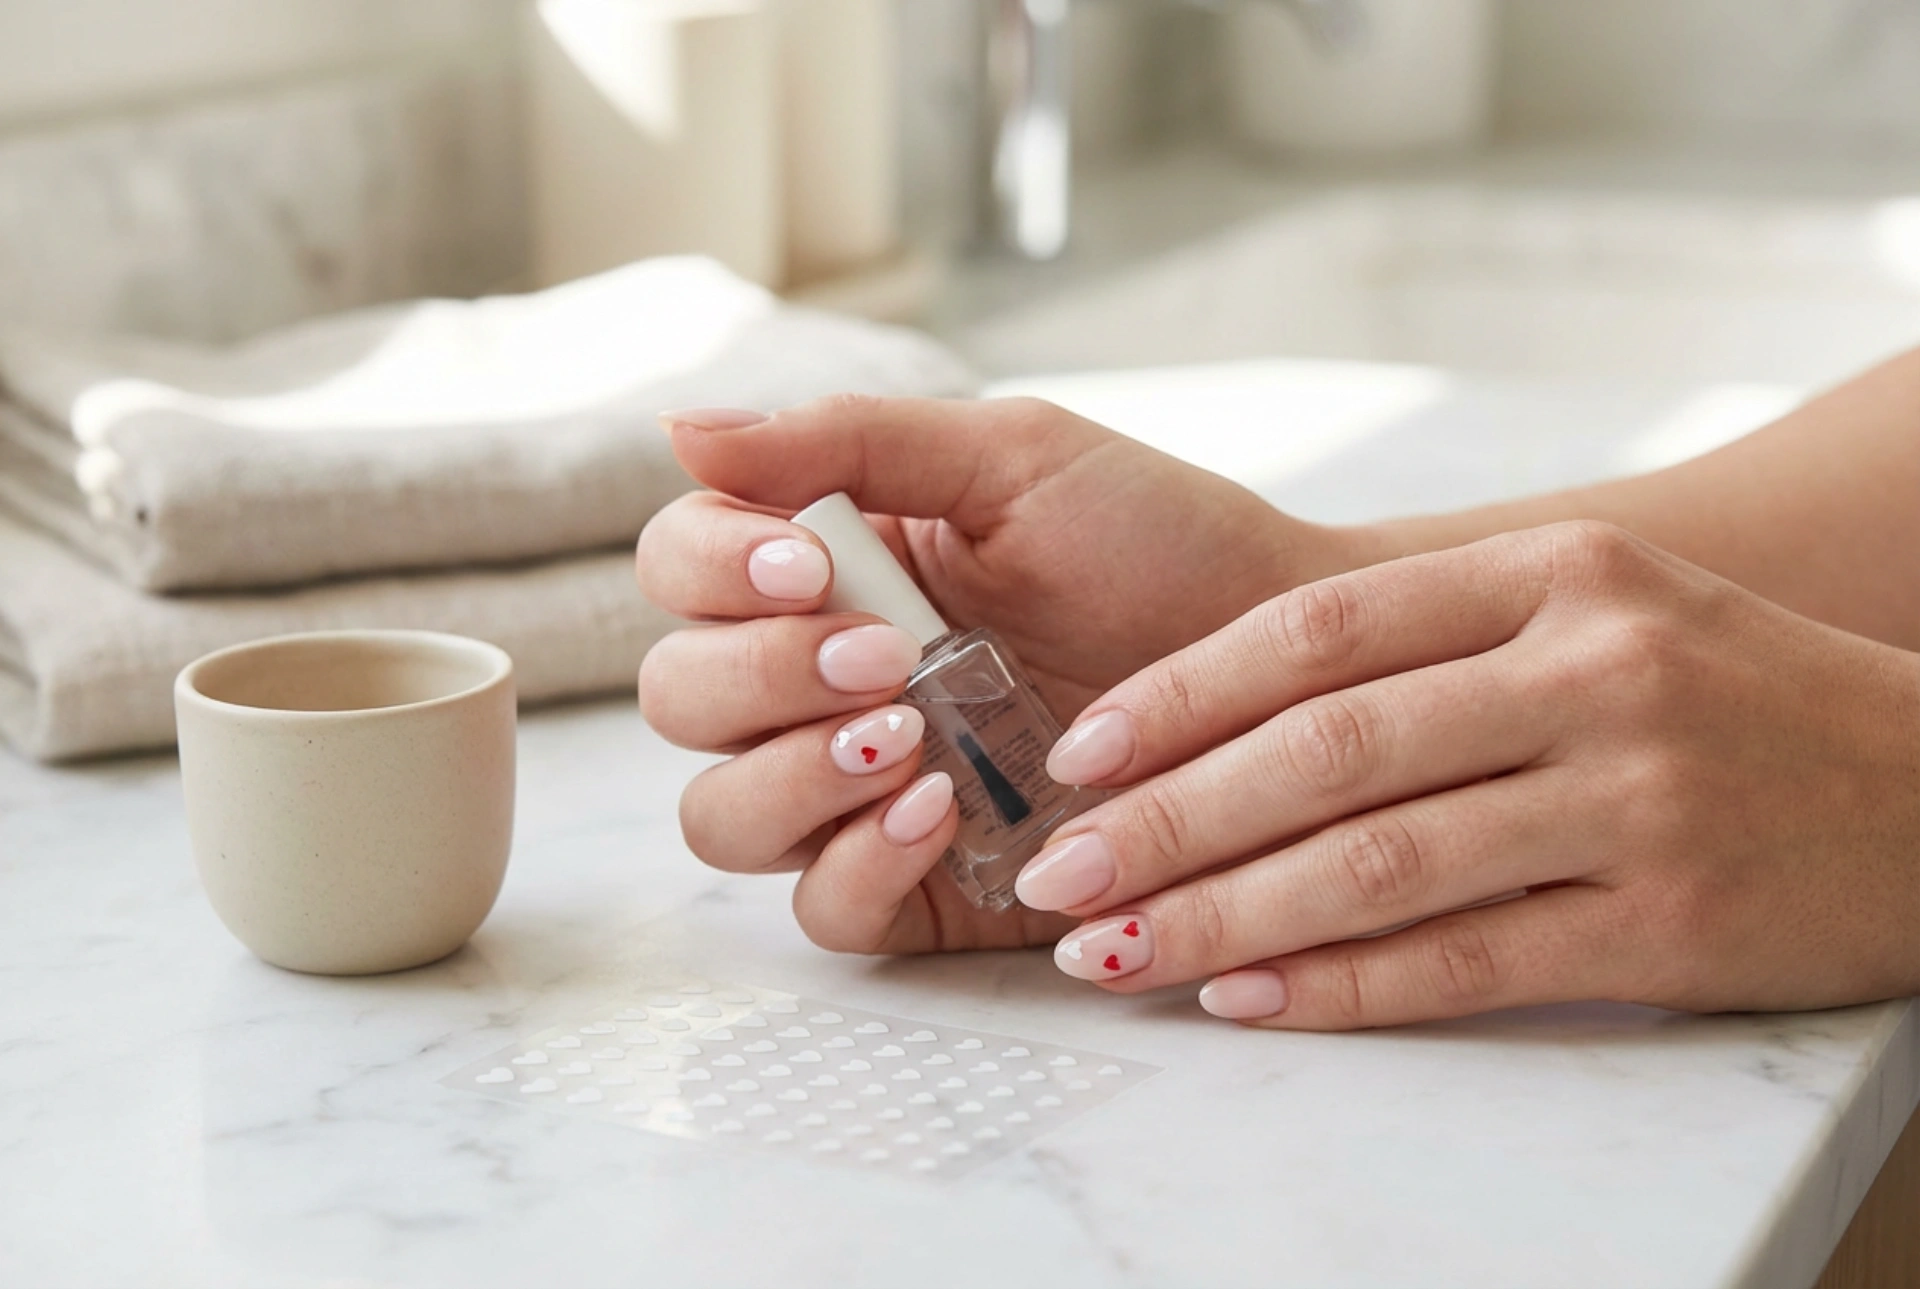


Beautifully manicured hands are a wonderful way to express personal style and add a touch of elegance to any look. Delicate heart-shaped nail stickers on a soft, neutral base offer a clean, modern beauty aesthetic that is both charming and sophisticated. Implementing these subtle designs at home has become incredibly popular, allowing anyone to achieve a professional-looking finish without requiring advanced freehand painting skills. With the right preparation and application techniques, you can enjoy a flawless and durable design that lasts for days.
How to prepare your nails for sticker application
The secret to any long-lasting manicure lies in the preparation of the natural nail plate. Before applying any decals, it is essential to create a smooth, clean surface to ensure optimal adhesion.
- File and shape: Start by shaping your nails to your preferred length and style, ensuring there are no rough edges that could snag.
- Gently push back cuticles: Use a wooden cuticle pusher to gently clear the nail plate. This creates a larger surface area and prevents stickers from lifting near the base of the nail.
- Dehydrate and cleanse: Thoroughly wipe each nail with a lint-free wipe soaked in a gentle cleanser or rubbing alcohol. Removing natural oils and moisture is a vital step for ensuring the adhesive on the stickers bonds properly.
Step-by-step guide to applying heart nail stickers
Once your nails are prepped and your base colour is completely dry, you are ready to apply your delicate heart decals. Precision and patience during this stage will guarantee a seamless finish.
Applying the base coat and colour
Apply a thin layer of base coat, followed by two thin coats of your chosen neutral polish. Ensure each layer is completely dry. If you are using standard nail polish, waiting at least ten to fifteen minutes before applying stickers is highly recommended, as any residual moisture can trap air bubbles under the decal.
Placing the stickers with precision
Carefully peel the heart sticker from the backing sheet using tweezers. Placing stickers with your fingers can transfer oils to the adhesive, reducing its longevity. Gently position the sticker onto the nail plate and press it down firmly, starting from the centre and smoothing outwards to the edges to eliminate any trapped air.
How to secure and seal your design for durability
To prevent the edges of your heart stickers from peeling or lifting during daily activities, sealing the design correctly is paramount. A high-quality top coat acts as a protective shield, maintaining a glossy finish and extending the life of your manicure.
Choosing and applying the right top coat
Apply a generous layer of a clear, glossy top coat over the entire nail, ensuring you completely cover the edges of the sticker. It is crucial to cap the free edge of the nail by running the brush along the very tip to seal the polish and sticker together. For maximum durability, you can apply a second thin layer of top coat twenty-four hours later to reinforce the protection.
Daily care tips for a beautiful manicure
Even with a strong top coat, daily habits play a significant role in how long your nail art remains pristine. Protecting your hands from harsh environments will keep your nails looking fresh and glossy for longer.
- Wear gloves: Always wear protective gloves when washing dishes, cleaning, or gardening to shield your nails from water exposure and household detergents.
- Moisturise regularly: Apply a nourishing cuticle oil and hand cream daily to keep the skin around your nails hydrated, which prevents peeling and supports healthy nail growth.
- Avoid using nails as tools: Refrain from using your nails to scrape, pry, or open objects, as this can cause the top coat to chip and the stickers to lift.




