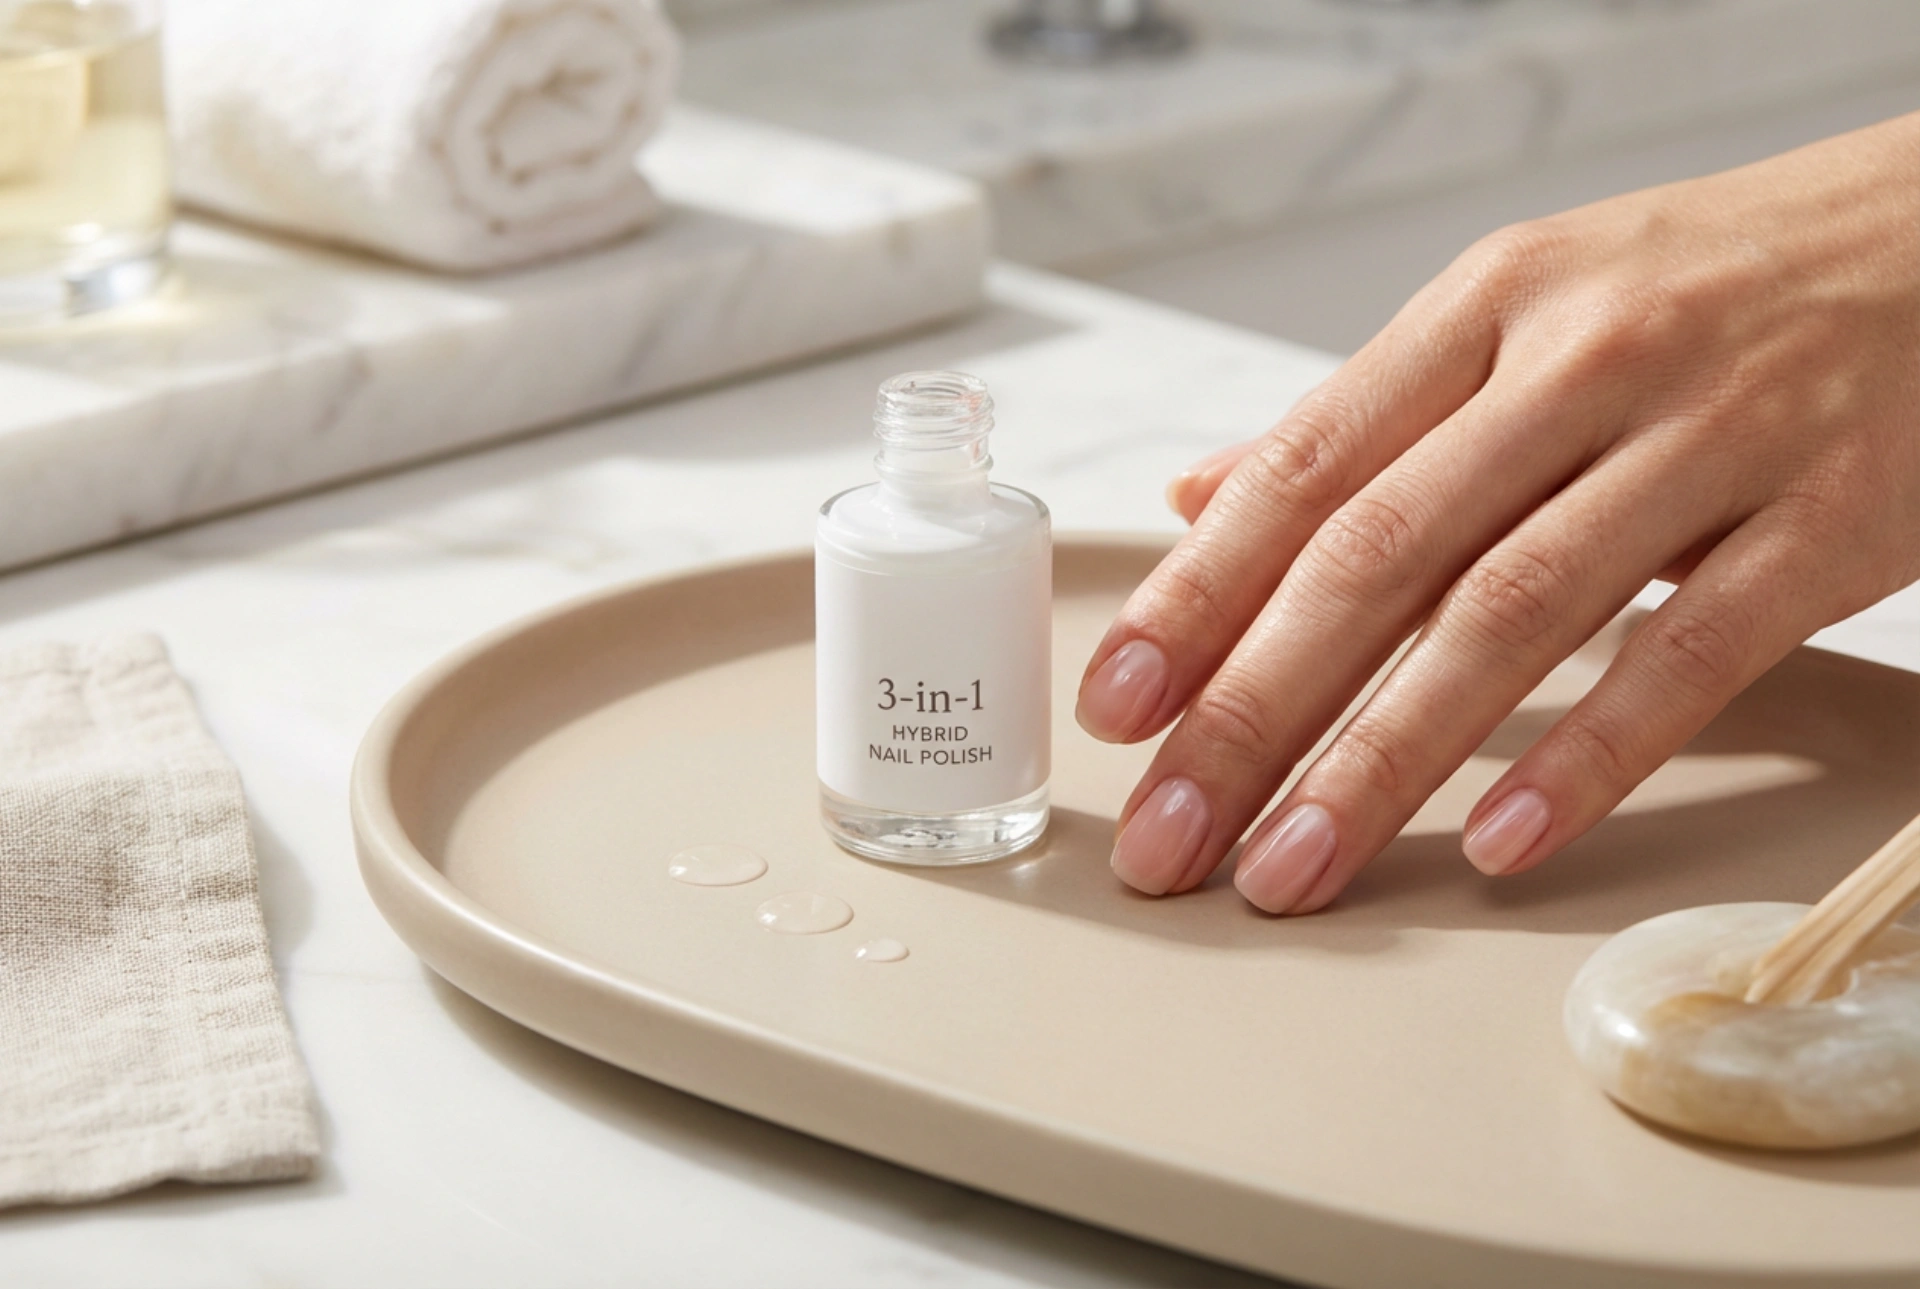


Achieving a flawless, long-lasting manicure at home has become much easier with the introduction of modern nail solutions. Among these, the 3-in-1 hybrid gel polish stands out as a versatile and time-saving option for beauty enthusiasts. This innovative product combines the base coat, colour, and top coat into one single bottle. Creating a smooth, streak-free finish requires a bit of technique, but once mastered, it offers a sophisticated look that fits perfectly into a busy lifestyle.
The benefits of choosing a 3-in-1 hybrid polish
The primary advantage of a 3-in-1 hybrid gel polish is convenience. Traditional gel manicures require multiple steps, including applying a base coat, two layers of colour, and a sealing top coat, with curing time needed after every single layer. This multi-step process can be time-consuming and requires a larger collection of products.
By consolidating these steps into one formula, you significantly reduce the time spent under the LED or UV lamp. This makes it an ideal choice for quick touch-ups or for those who prefer a minimalist beauty routine. Additionally, because you are applying fewer layers of product, the final result looks remarkably natural and thin, while still providing the characteristic strength and high-shine finish of classic gel nails.
When is it best to reach for this express solution?
While traditional gel systems have their place, the 3-in-1 formula is particularly useful in several scenarios:
- When time is limited: If you need a fresh manicure before a sudden event or trip, this express method cuts your styling time in half.
- For travel: Packing light is easier when you only need to carry one bottle of colour and a compact lamp, rather than an entire manicure kit.
- For pedicure care: Toenails are less subject to daily wear and tear than fingernails, making the lightweight 3-in-1 formula a perfect, long-lasting choice for pedicures.
- For gel beginners: If you are new to doing your own nails, working with a single bottle is much less intimidating than managing multiple base and top layers.
How to prepare the nail plate for maximum durability
Even though the application process is shortened, proper preparation of the natural nail is absolutely vital to prevent lifting and ensure a streak-free application. Without a dedicated base coat to grip onto, the 3-in-1 formula relies entirely on how well the nail plate is prepared.
Start by gently pushing back the cuticles with a wooden stick. Next, shape the nails using a high-quality file and gently buff the entire surface of the nail plate with a fine-grit buffer. Buffing removes the natural oils and creates a slightly textured surface that helps the polish adhere. Finally, wipe the nails thoroughly with a professional nail cleanser to remove all dust and residual oils. Avoid touching your nails after this step to prevent transferring natural oils from your fingertips back onto the clean plate.
Step-by-step guide to a streak-free application
Applying a multi-functional gel polish requires a delicate touch. Because the formula contains colour pigments alongside self-levelling components, applying it too thickly can lead to unsightly streaks, air bubbles, or incomplete curing. Follow these steps for an even finish:
Apply very thin layers
The golden rule of 3-in-1 hybrid polish is to apply incredibly thin coats. Wipe the brush thoroughly against the neck of the bottle so that there is only a minimal amount of product on the bristles. Apply the first layer using long, even strokes parallel to the nail. Do not worry if the first coat looks slightly sheer or uneven; the second coat will build up the opacity.
Cap the free edge
Before curing each layer, gently run the tip of the brush along the very edge of your nail. This process, known as capping, seals the polish over the tip, preventing premature chipping and shrinkage.
Cure according to instructions
Place your hand under the LED lamp for the duration recommended by the manufacturer. Because 3-in-1 formulas combine different functions, proper curing is essential to ensure the polish hardens fully and achieves its signature high gloss.
Repeat and finish
Apply a second thin layer of the polish, ensuring even coverage from the cuticle line to the tip. Cure this layer once more. Once the final cure is complete, many modern 3-in-1 formulas do not leave a sticky dispersion layer, meaning your manicure is completely dry and ready immediately. If your specific product does have a tacky residue, simply wipe it away with a cleanser-soaked wipe to reveal a brilliant, glossy finish.




