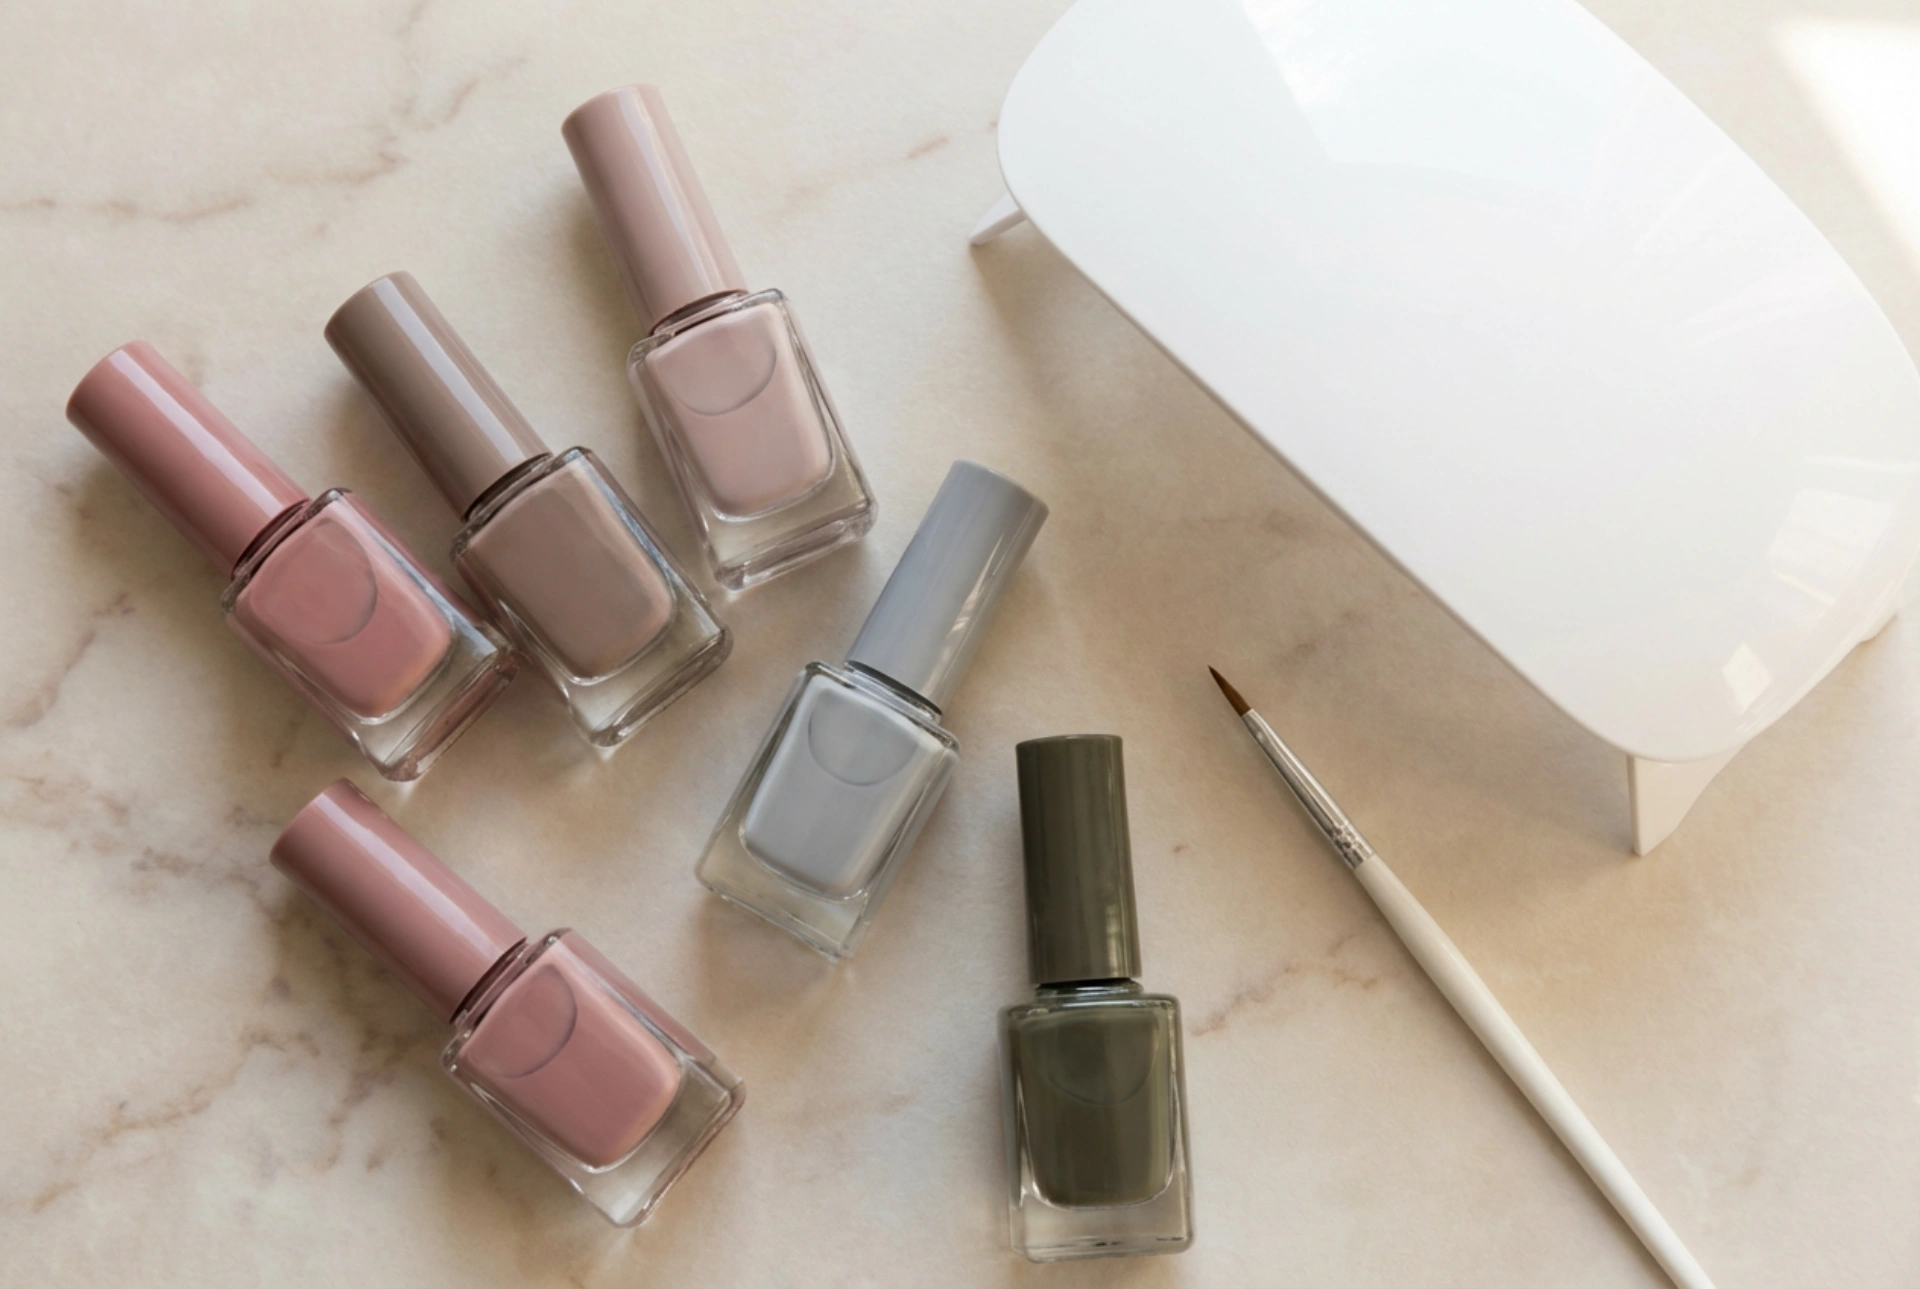


Achieving a salon-quality manicure at home has become highly accessible thanks to modern gel nail polish formulas. A beautifully organized set of generic, elegant nail polish bottles, a sleek curing lamp, and professional brushes can transform your regular hand care routine into a sophisticated, mindful ritual. The key to a long-lasting, glossy finish lies in understanding how these products work and mastering the precise application technique in the comfort of your own home.
Understanding Gel Polish Formulas
Before beginning your at-home manicure, it is essential to understand the different types of gel formulas available. Standard gel polishes generally require a multi-step process, which includes a base coat, colour coats, and a top coat. Each layer must be cured under a specialized LED or UV lamp to harden and bond to the natural nail plate.
For those seeking a quicker application, there are also one-step gel polishes that combine the base, colour, and top coat into a single bottle. While highly convenient, the classic three-step system typically offers superior durability, edge protection, and a deeper, glass-like shine. Selecting high-quality, unbranded formulas that suit your lifestyle and nail type is the first step toward a flawless finish.
Essential Preparation of the Nail Plate
The longevity of your gel manicure depends almost entirely on the preparation stage. Any oil, moisture, or dust left on the nail surface can cause the gel to lift prematurely. Follow these steps to prepare your nails professionally:
- Gently shape the nails with a fine-grit file and push back the cuticles using a wooden stick.
- Lightly buff the surface of the nail plate with a soft buffer block to remove the natural shine. This creates a micro-textured surface for the base coat to adhere to.
- Thoroughly cleanse the nails with a professional prep solution or isopropyl alcohol to remove all residue and oils.
Step-by-Step Application Technique
Once your nails are clean and dry, you can begin the application process. Precision and patience are vital during this stage to prevent the gel from touching the surrounding skin or cuticles.
Applying the Base Coat
Apply an extremely thin layer of base coat to all nails. Be sure to cap the free edge of each nail by running the brush along the very tip. This seals the edge and prevents future chipping. Cure the base coat under your lamp according to the manufacturer's recommended time, usually between 30 and 60 seconds.
Applying the Colour
Choose your desired shade and apply the first coat in thin, even strokes. It is always better to apply two or three ultra-thin coats rather than one thick layer, as thick coats may not cure properly in the centre and can wrinkle. Cure each layer individually under the lamp.
Applying the Top Coat
To seal in the colour and add a brilliant shine, apply a layer of top coat. Ensure you cap the free edge once again. After curing this final layer, if your top coat is not a "no-wipe" formula, use a lint-free wipe saturated with a gentle cleanser to remove the sticky inhibition layer.
Aftercare for Perfect Nails
To maintain the health of your hands and keep your manicure looking fresh, daily hydration is key. Apply a nourishing cuticle oil every evening and massage it into the skin surrounding the nails. This simple habit keeps the skin soft and prevents hangnails, ensuring your at-home manicure remains pristine and elegant for weeks.




