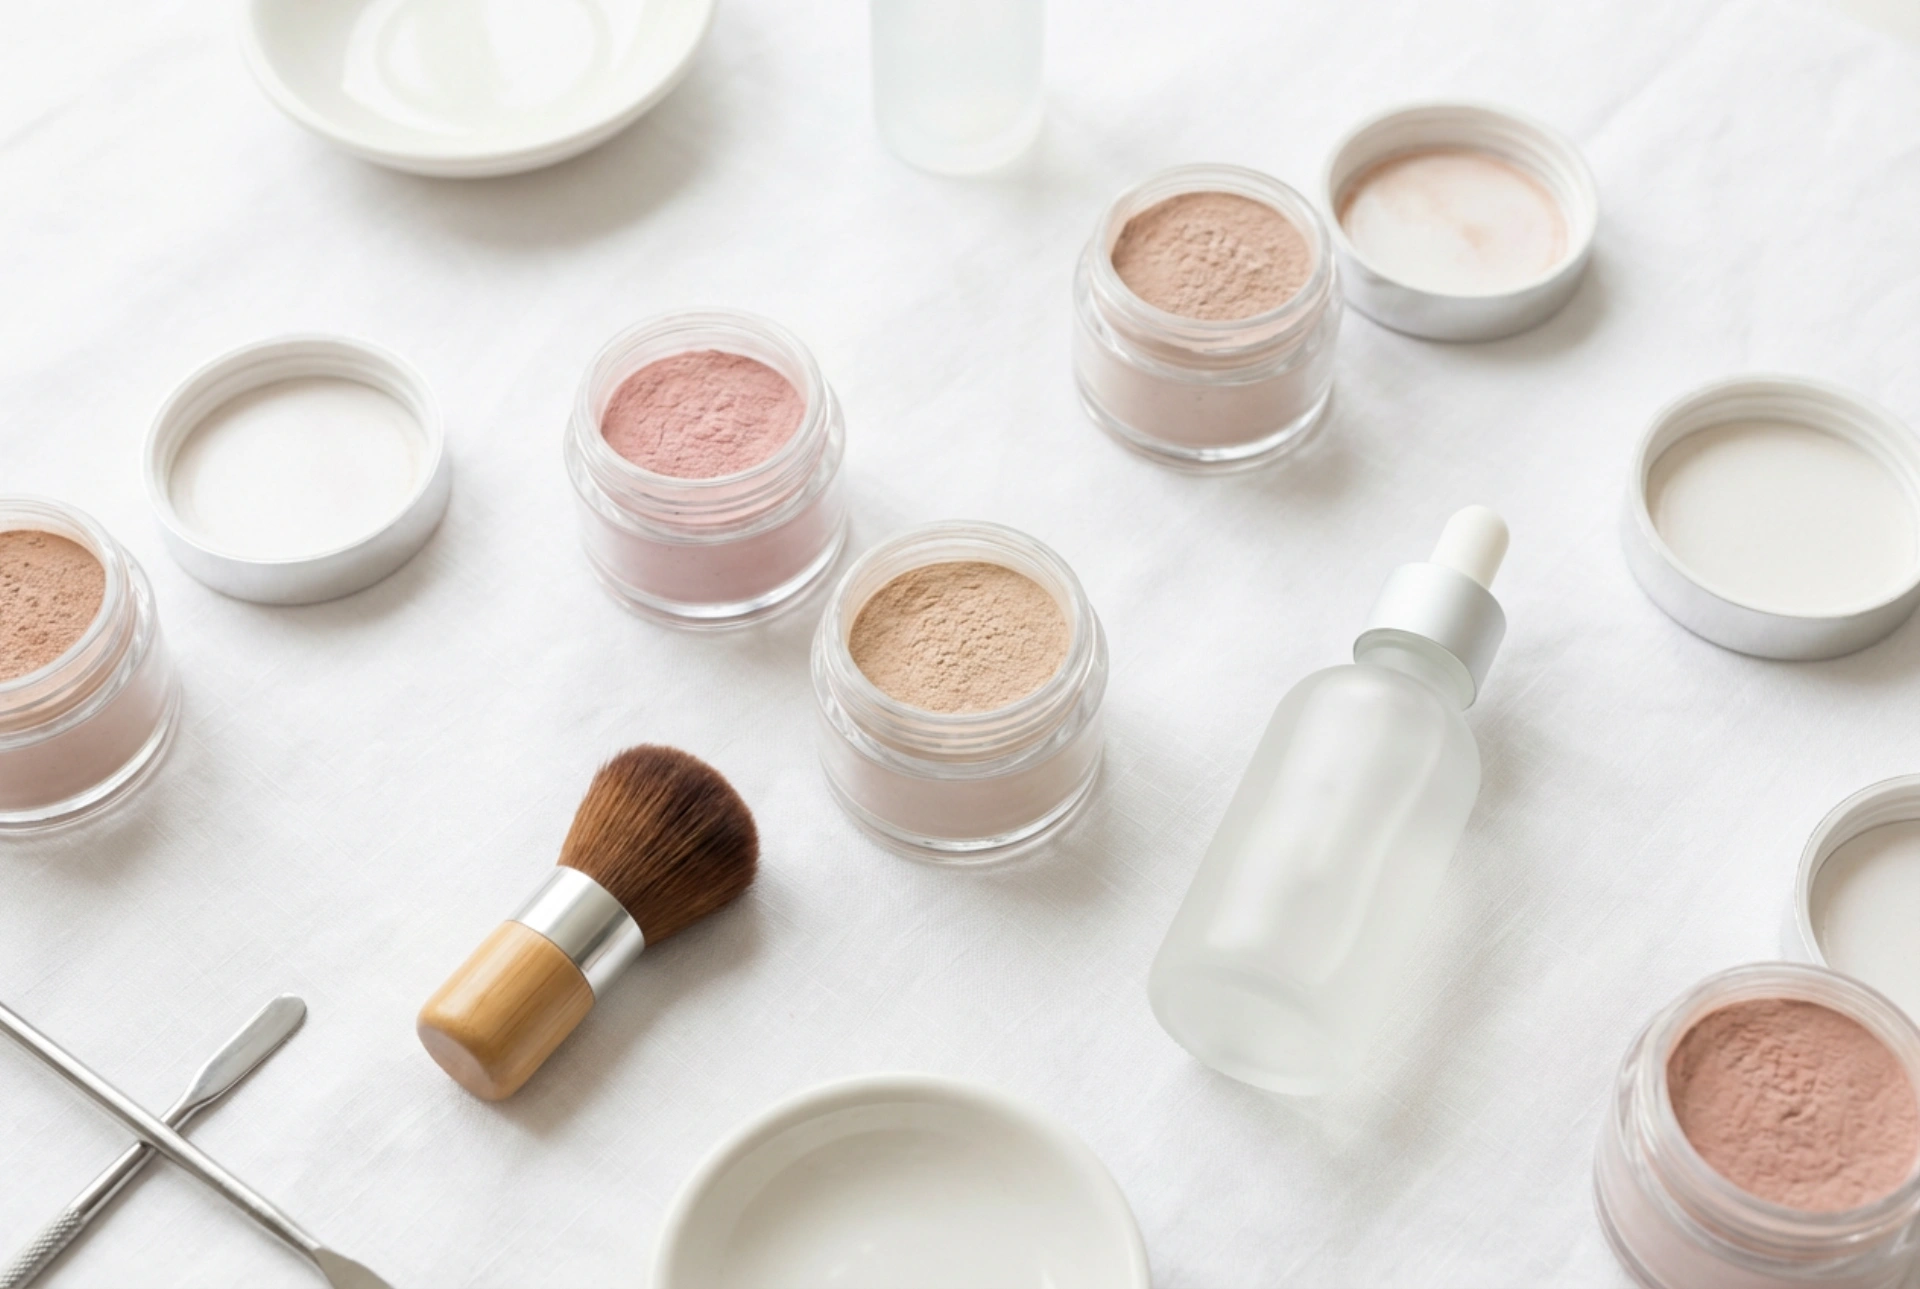


A flawless and long-lasting manicure is a key element of daily grooming for many. The dip powder technique, often referred to as a titanium manicure, has gained immense popularity as a durable alternative to traditional nail styling methods. This innovative approach relies on special acrylic powders and adhesive liquids, allowing you to achieve a professional-looking, resilient finish at home. By arranging your essential tools and products on a clean, organised workspace, you can easily transition into performing this satisfying nail care routine yourself.
What is a dip powder manicure?
The dip powder method is a unique system that does not require the use of UV or LED lamps to cure the product. Instead, the process utilizes a base coat liquid, finely milled coloured powder, and an activator that chemically hardens the layers. This technique provides a strong, durable coating that protects the natural nail plate from mechanical damage. Because it cures air-dry, it is often favoured by those who prefer to avoid light-emitting devices during their beauty rituals.
The benefits of the dipping technique
One of the main advantages of this method is its impressive longevity, often lasting up to three to four weeks without chipping. Additionally, the application process is relatively simple once mastered, making it highly accessible for home beauty enthusiasts. The finished nails are strong yet maintain a natural thickness, offering an elegant aesthetic that complements any style.
Essential components of a starter kit
To begin your journey with dip powder nails, investing in a complete starter kit is the most practical approach. A well-equipped set contains all the necessary liquids and powders to complete the application from start to finish. Understanding the role of each component is crucial for achieving a smooth and durable result.
- Prep or dehydrator: A liquid used to cleanse the nail plate, removing excess oils and moisture to ensure optimal adhesion.
- Base coat: A specially formulated adhesive liquid that acts as the glue for the powder.
- Dipping powder: Finely ground polymer powder available in a wide array of shades, from classic nudes to vibrant tones.
- Activator: A liquid catalyst that initiates the hardening process when applied over the powder layers.
- Top coat: A sealing liquid that provides a high-gloss or matte finish and protects the manicure from daily wear.
- Brush softener: A solution used to clean and restore stiffened application brushes during the process.
Step-by-step guide to your first dip manicure
Preparation is the key to any successful nail styling routine. Before opening your bottles, ensure your workspace is clean, dust-free, and well-ventilated. Having a soft brush on hand to remove excess powder between steps will help you achieve a smooth, professional finish.
Step 1: Preparing the nail plate
Start by gently pushing back the cuticles and shaping the nails with a fine-grit file. Lightly buff the surface of each nail to remove the natural shine, as this helps the base coat adhere properly. Wipe the nails with a dehydrator or prep liquid to remove any remaining dust and oil.
Step 2: Applying the base and powder
Apply a thin, even layer of the base coat to about three-quarters of the nail, avoiding the cuticle area. Immediately dip the nail into the coloured powder at a 45-degree angle. Tap off the excess powder and let it sit for a moment. Use a soft, clean brush to gently sweep away any loose particles. Repeat this process, this time applying the base coat closer to the cuticle to cover the entire nail plate, followed by another dip into the powder.
Step 3: Activating and shaping
Once you have achieved the desired opacity, apply a generous layer of the activator liquid over the entire nail. Allow it to dry completely for a couple of minutes. Once hardened, use a nail file and buffer to smooth out any unevenness and refine the shape of the nail. Wipe away any filing dust with a dry lint-free wipe.
Step 4: Sealing with the top coat
Apply a second light layer of activator and wait for it to dry. Finish the manicure by applying two thin layers of the top coat. The first layer should be applied with quick, light strokes, while the second layer can be applied more precisely to seal the edges and create a beautiful, glossy shine. Let the top coat dry completely in the air.
Maintenance and removal tips
To keep your dip manicure looking fresh, apply a nourishing cuticle oil daily to keep the surrounding skin hydrated. When it is time for removal, avoid scraping or peeling the product off, as this can damage the natural nail plate. Instead, gently file down the shiny top layer and soak the nails in cosmetic acetone using foil wraps or soaking bowls. After a few minutes, the product will soften and can be easily wiped away, leaving your nails ready for their next beautiful transformation.




