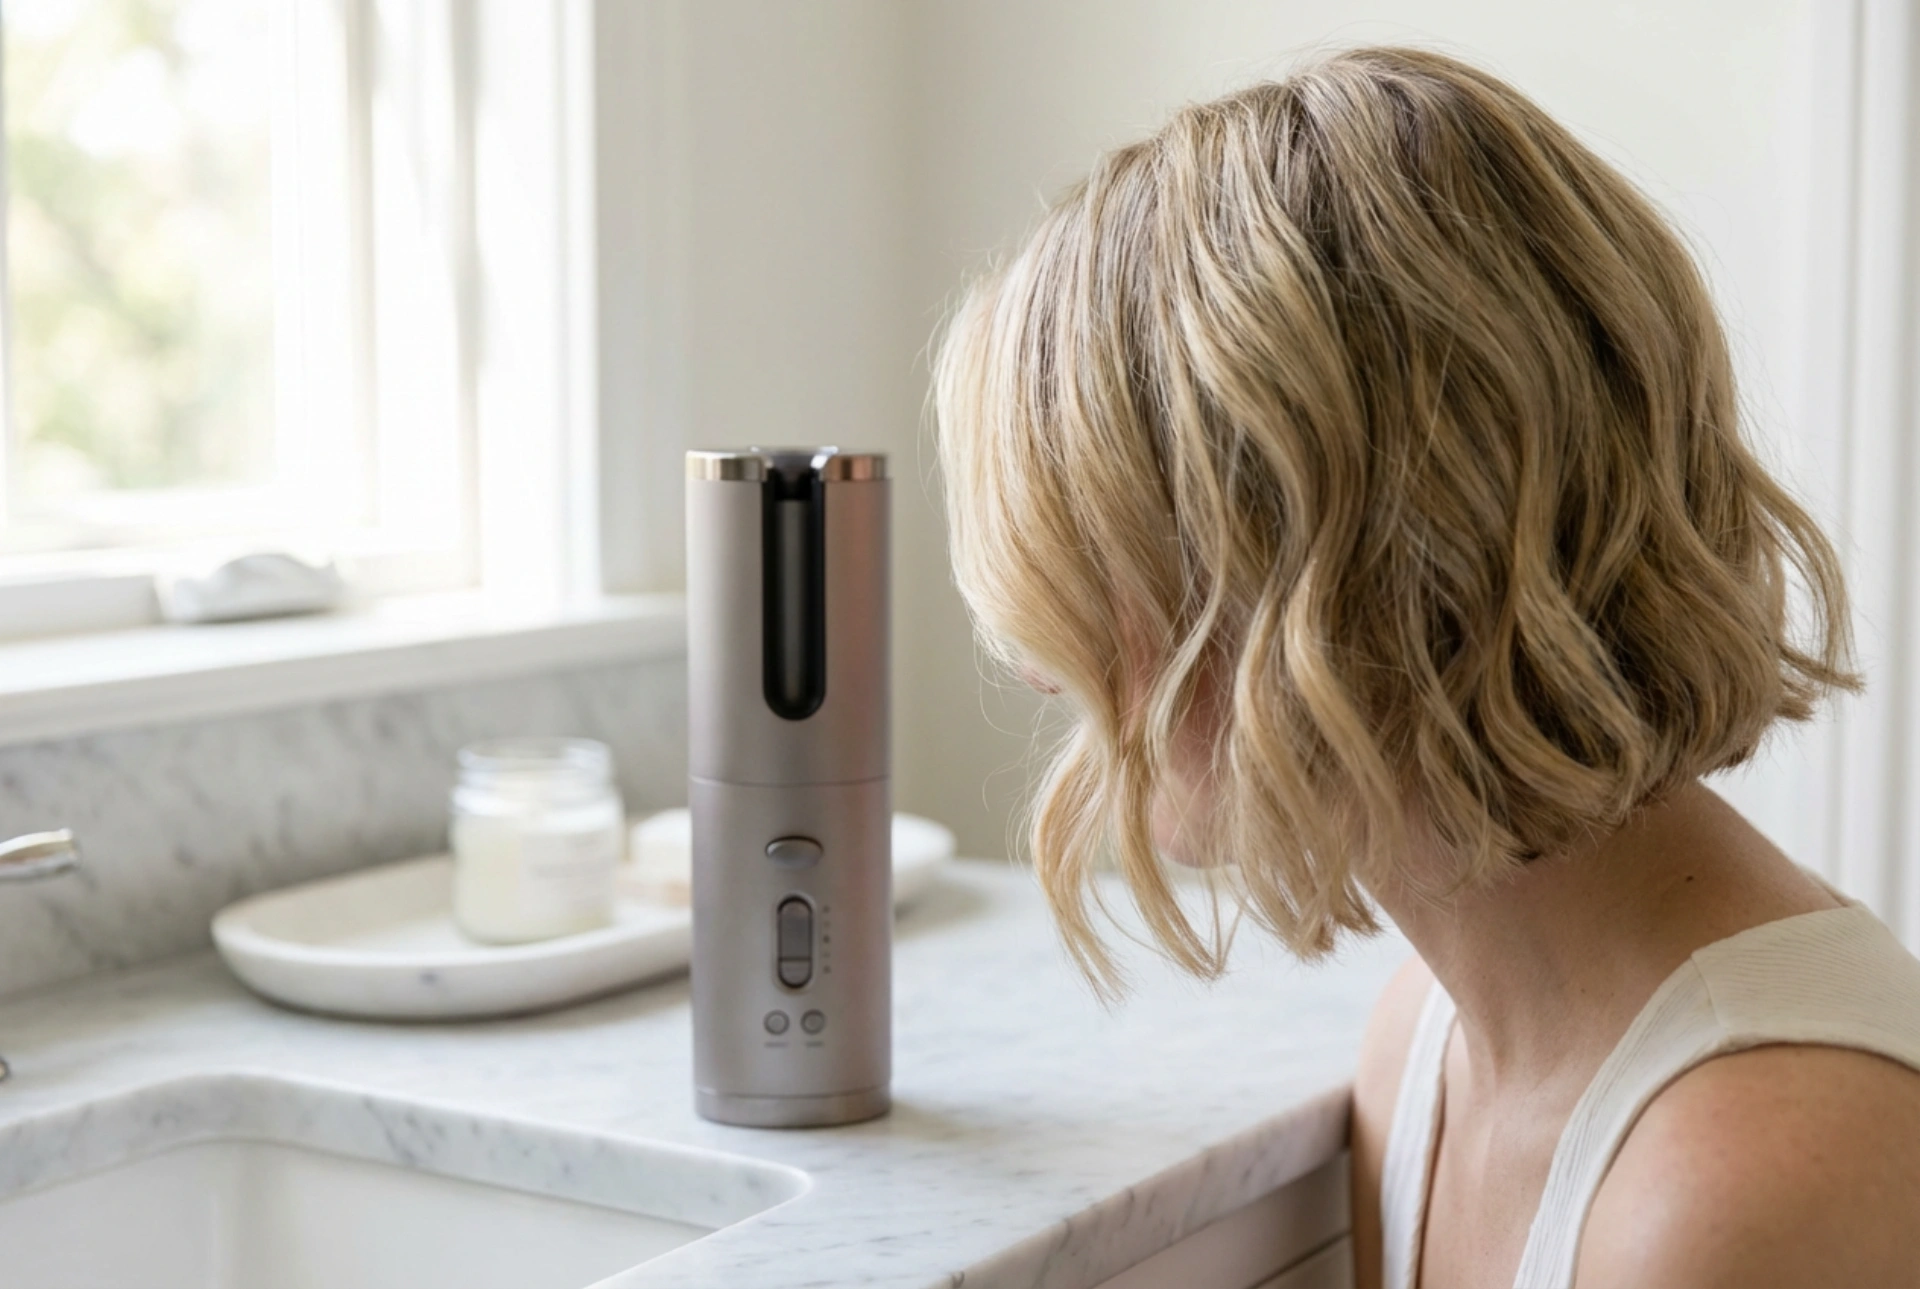


Achieving perfectly styled, soft waves on shorter haircuts no longer requires advanced styling skills or hours spent in front of the mirror. Modern hair technology has brought innovative tools into our daily routines, making it easier than ever to create elegant, textured looks at home. A sleek, automatic curler designed to handle shorter strands can transform flat, volume-starved hair into a beautifully styled, dynamic look in just a few minutes, catching the gentle morning light with every movement.
The Secret of Styling Short Hair with an Automatic Curler
Short hair requires a different styling approach than long locks. Traditional curlers can be difficult to maneuver close to the scalp, often leading to awkward angles or uneven waves. An automatic curler solves this problem by gently drawing the hair strand into its styling chamber, where it is evenly heated to form a perfect wave. For shorter lengths, this ensures that the curl starts at the right height, adding natural-looking volume and movement right from the roots without any risk of burning your fingers.
Why Choose an Automatic Styling Tool?
Using automated styling devices offers several advantages for everyday beauty routines, especially when working with shorter hairstyles:
- Consistent Results: The device winds each strand with the same tension and heat, ensuring a balanced look all over.
- Time-Saving: The automated mechanism creates curls in seconds, significantly reducing your morning preparation time.
- Ease of Use: There is no need for complex hand coordination or twisting your wrists at awkward angles to reach the back of your head.
Step-by-Step Guide to Perfect Waves on Short Hair
To get the best results from your automatic curler, a small amount of preparation is key. Following a structured routine will keep your hair looking healthy, shiny, and beautifully styled throughout the day.
Step 1: Preparation and Heat Protection
Always start with completely dry hair. Applying a lightweight heat protectant spray is essential to safeguard the hair structure from high temperatures. Comb through your hair thoroughly to ensure there are no tangles, which allows the curler to smoothly draw in each section.
Step 2: Sectioning the Hair
Divide your hair into manageable sections. For short hair, working with smaller, horizontal sections is highly recommended. Pin the top layers of your hair out of the way, starting with the bottom layers near the nape of your neck. This systematic approach ensures that no strand is missed and creates a multi-dimensional, fuller appearance.
Step 3: Creating the Waves
Take a small section of hair, about one to two centimetres wide. Place the curler near the root, ensuring the opening of the styling chamber faces your head. Insert the strand, press the button, and let the device do the work. Hold the curler steady until the signal sounds, indicating the wave is set. Release the curl gently and let it cool completely before touching it.
How to Maintain and Style Your Waves
Once you have curled all the sections, the final step is to style the waves for a natural, modern finish. Avoid brushing the curls immediately, as this can cause them to lose their shape prematurely. Instead, let the hair cool down completely to set the structure.
Adding Volume and Texture
Once your hair is cool, gently run your fingers through the curls to break them up into soft, natural waves. For extra volume and a chic, texturised look, you can apply a small amount of lightweight styling mist or texturising powder to the roots. Shake your hair gently to distribute the product, creating a relaxed, modern aesthetic that looks effortless and polished.





