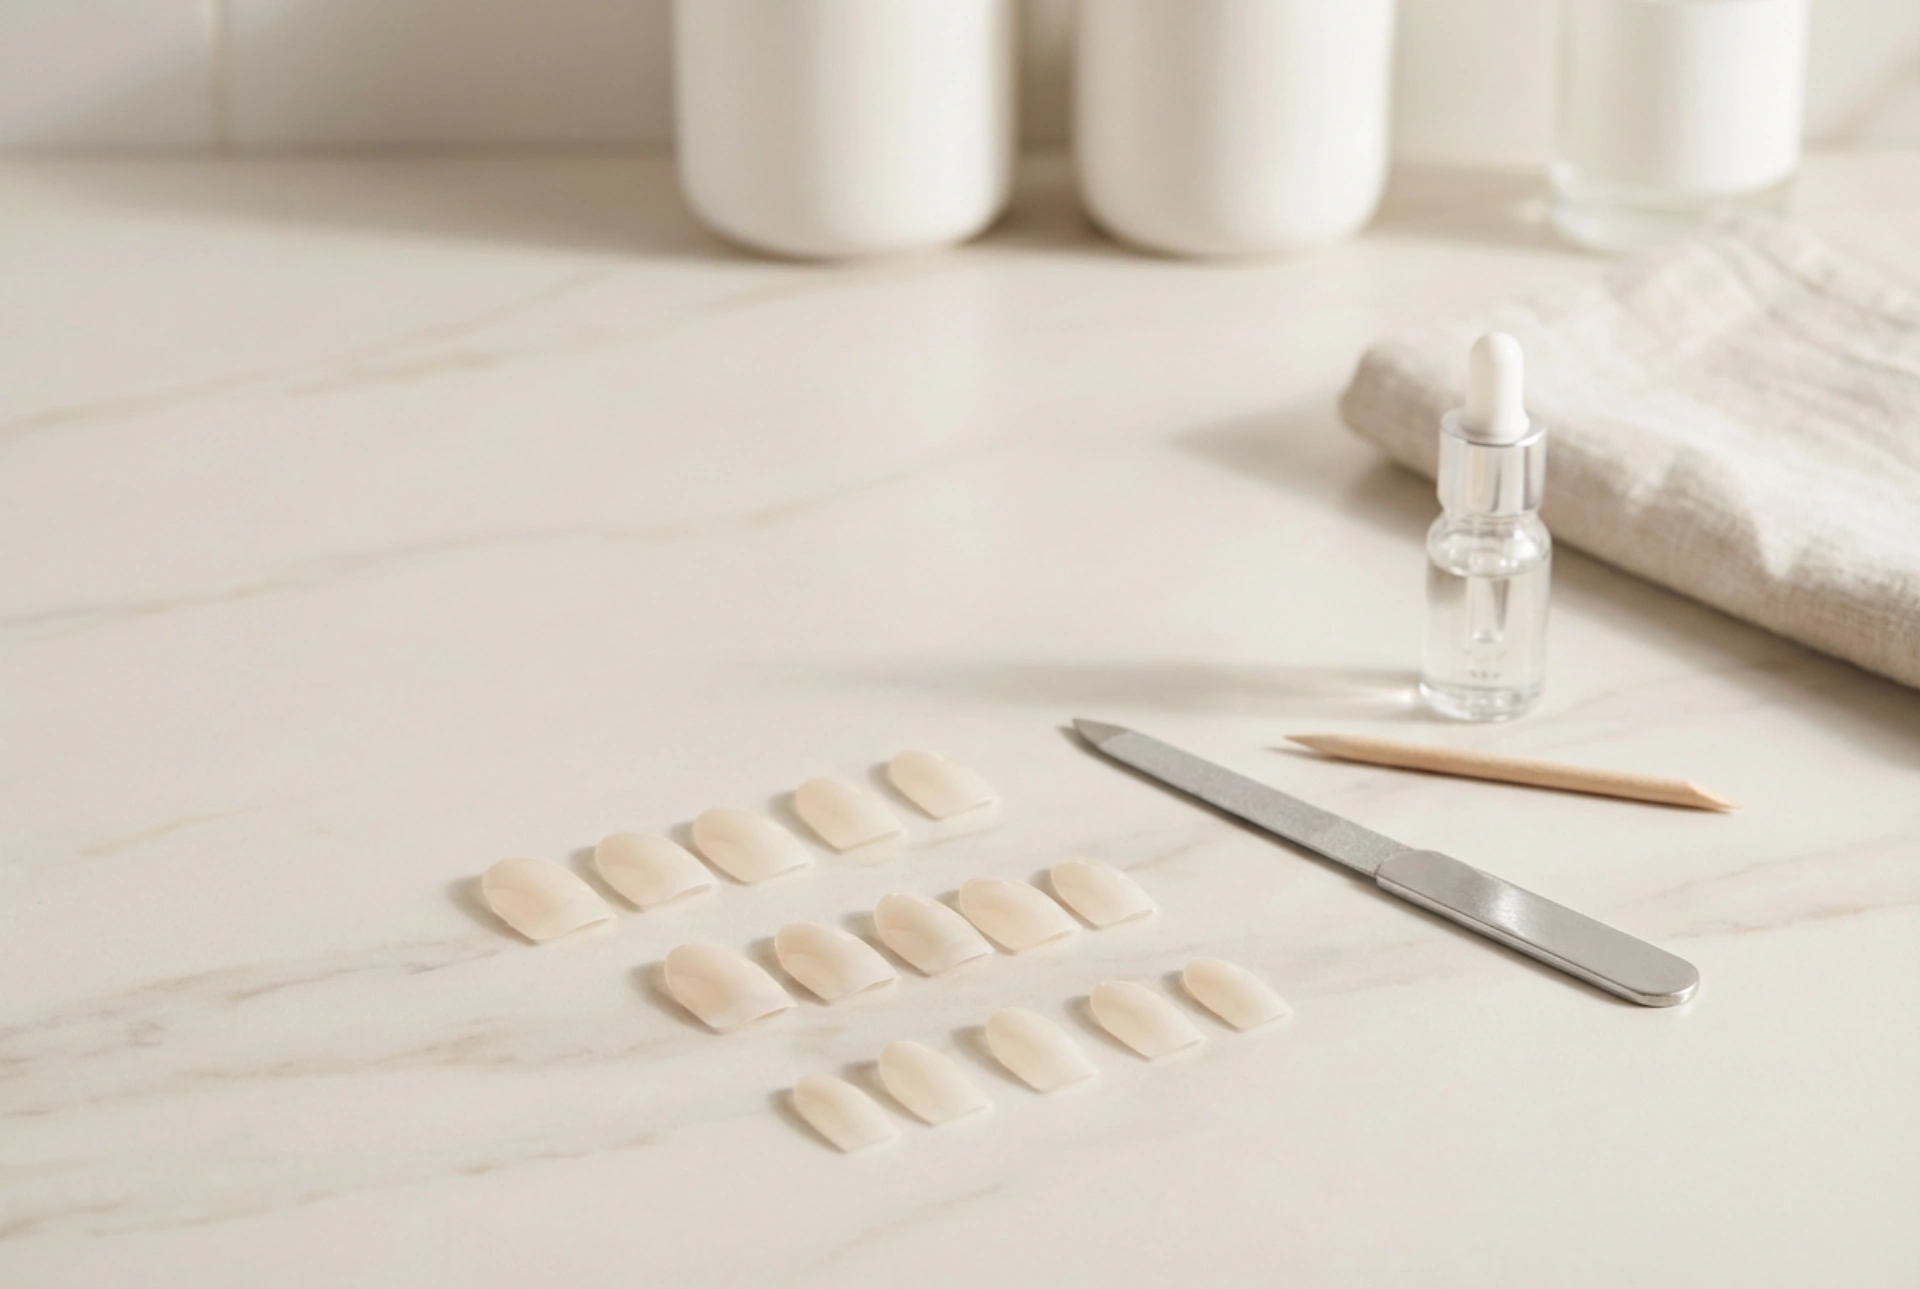


Beautiful, well-groomed hands are a showcase of elegance and personal care. While natural nail growth can take time, nail tips offer a quick and versatile way to achieve the desired length and shape. When arranged on a clean, minimalist surface alongside subtle nail tools, these small enhancements represent a world of creative styling. Understanding how to choose, apply, and care for nail tips is essential for achieving a professional, long-lasting look at home while keeping the natural nails underneath perfectly healthy.
Choosing the Right Nail Tips
The foundation of a flawless manicure lies in selecting the perfect tips. Nail tips come in various shapes, sizes, and materials, designed to match different natural nail beds. It is crucial to measure each tip against your natural nail; a tip that is too narrow will pinch and lift, while one that is too wide will look unnatural and require excessive filing. When selecting your tips, consider the following aspects:
- Shape: Choose from classic square, soft oval, modern almond, or dramatic stiletto to complement the natural shape of your fingers.
- Well Area: The well is the part of the tip that glues to the natural nail. Full-well tips offer more contact area, while half-well or well-less tips are ideal for creating seamless transitions.
- Flexibility: High-quality tips should be flexible enough to bend slightly without snapping, ensuring they mimic the natural movement of the nail.
Step-by-Step Application for a Seamless Finish
Preparation is key to ensuring your nail extensions stay secure and look completely natural. Start by gently pushing back the cuticles and lightly buffing the shine off the natural nail plate to create a textured surface for the adhesive. Cleanse the nails thoroughly to remove any oils or dust.
Apply a small drop of high-quality nail adhesive to the well of the tip. Hold the tip at a 45-degree angle to the free edge of your nail, then slowly rock it down onto the nail plate to prevent air bubbles from getting trapped. Hold firm pressure for about ten to fifteen seconds until the bond is secure. Once all tips are applied, use a specialized tip cutter to shorten them to your preferred length, and gently file the transition zone between the tip and your natural nail until it is completely flush.
Styling and Protecting Your Extensions
Once your tips are applied and blended, the creative process begins. You can apply classic nail lacquer, gel polishes, or creative nail art to express your personal style. To ensure your manicure remains pristine, always apply a protective top coat to shield the design from chipping and everyday wear.
Daily maintenance is just as important as the initial application. Wear protective gloves when doing household chores or working with water to prevent the adhesive from weakening. Additionally, regular application of nourishing cuticle oil keeps the surrounding skin hydrated and healthy, which beautifully frames your new manicure.
Safe and Gentle Removal
Removing nail tips correctly is vital to maintaining the health and integrity of your natural nail plate. Never pull, pry, or force the tips off, as this can peel away layers of your natural nail, leading to thinning and damage. Instead, opt for a patient, soaking method.
Gently file down the top layer of polish or gel to allow the removal solution to penetrate. Soak your fingertips in a gentle remover formulated for dissolving nail extensions, or use soaked cotton pads wrapped in foil. After fifteen to twenty minutes, the material will soften significantly, allowing you to gently slide the tips off using a wooden manicure stick. Finish the process by washing your hands and applying a rich moisturizer and nail conditioner to restore hydration.




