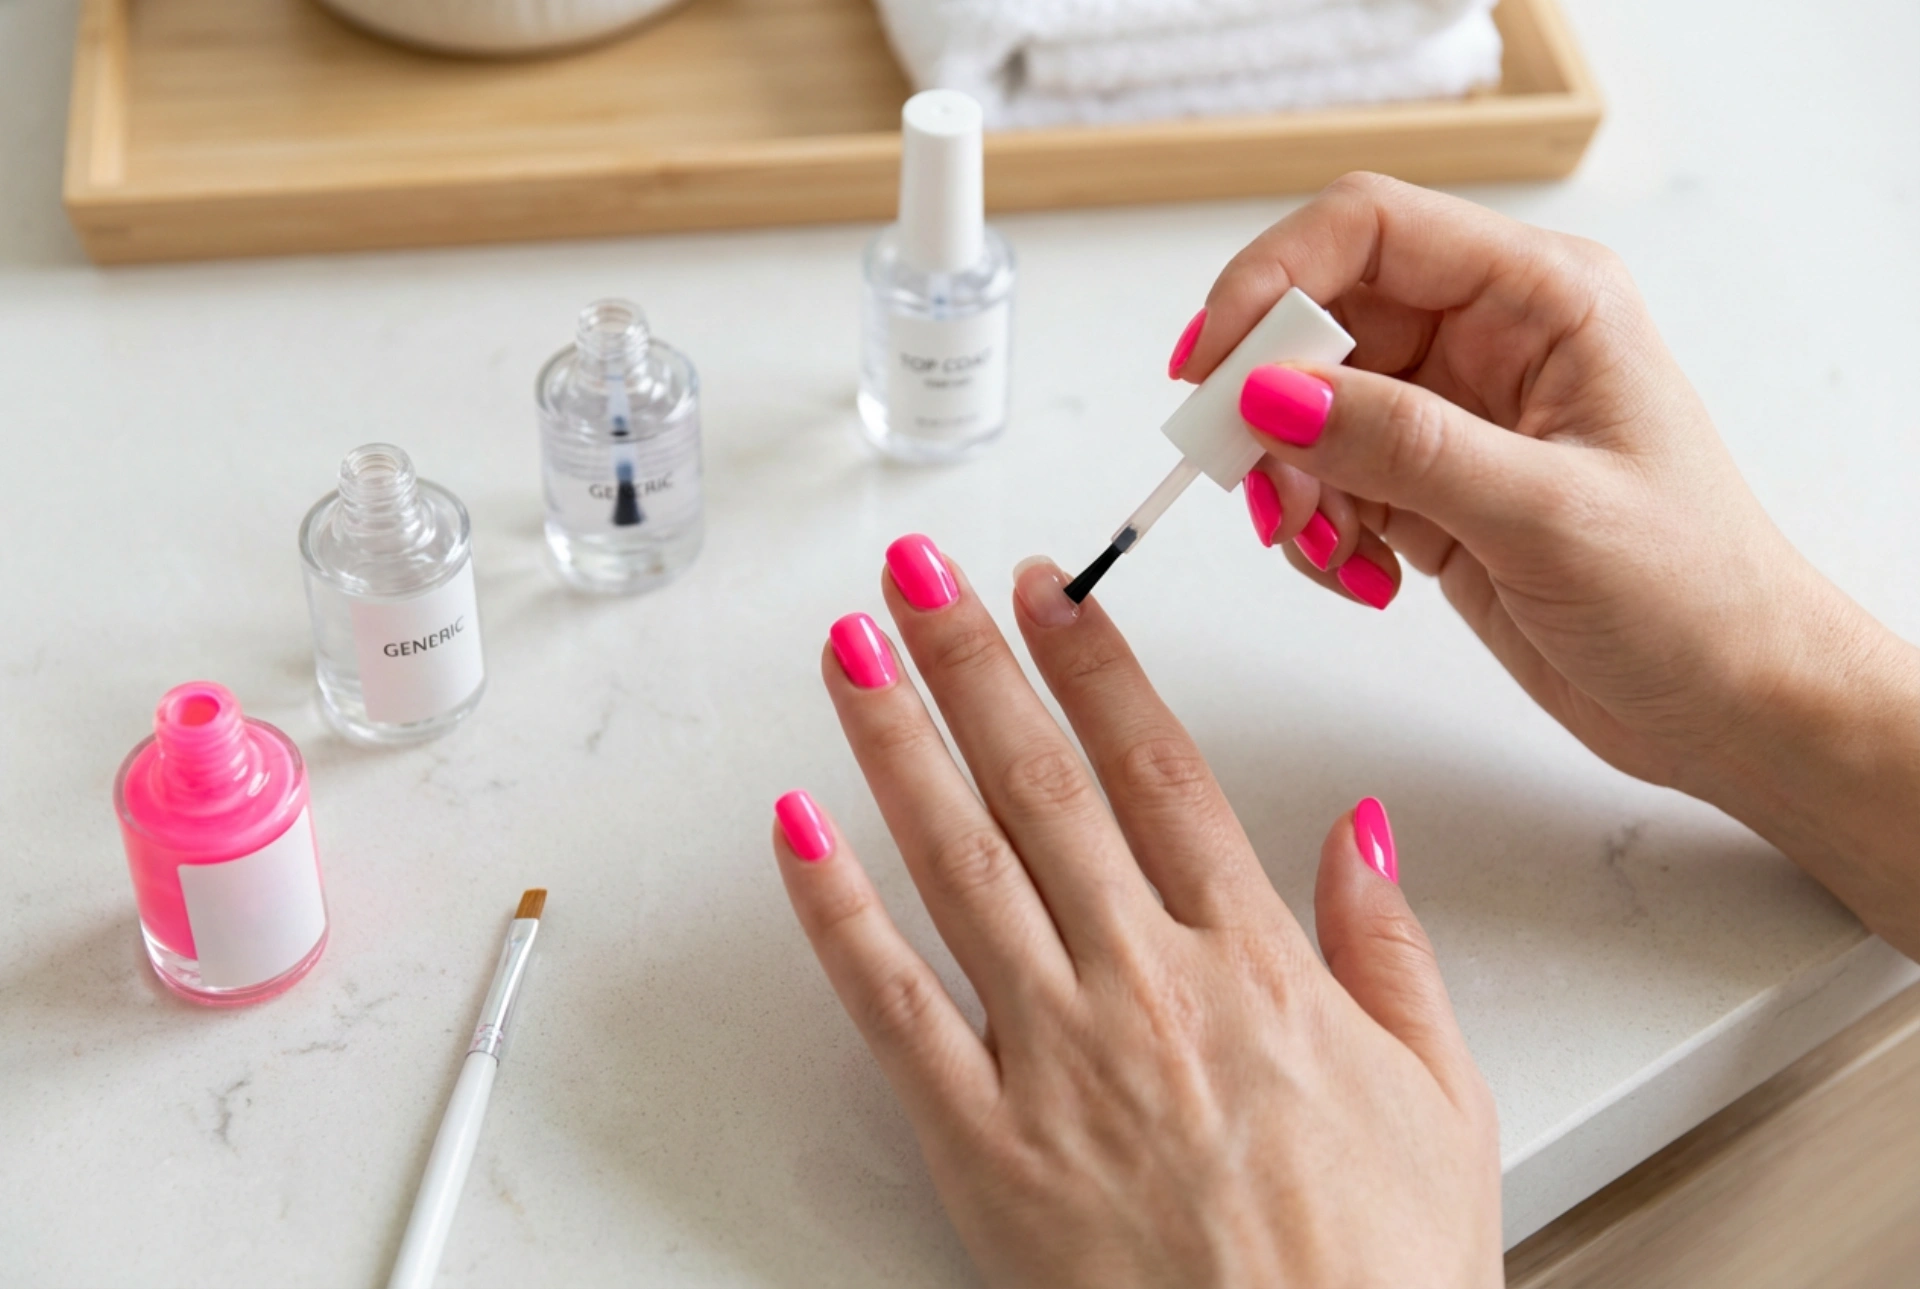


Bright, energetic, and eye-catching, neon pink nails are a timeless choice for anyone looking to add a vibrant pop of colour to their look. Perfect for the warmer seasons, holidays, or simply when you want your hands to stand out, achieving the perfect neon manicure requires a bit more care than standard pastel or dark shades. To make the neon hue truly pop and ensure the polish lasts without chipping, following a precise step-by-step routine is essential. Preparing the nail plate, using a high-quality base, applying the layers correctly, and sealing everything with a glossy top coat will guarantee a salon-like finish at home.
Step 1: Preparing the Nail Plate for Maximum Adhesion
Before applying any polish, the foundation of your manicure must be meticulously prepared. Start by shaping your nails with a gentle file, aiming for a consistent shape across all fingers. Gently push back the cuticles using a wooden stick or a dedicated tool to create a clean, elongated nail bed. Next, use a buffer block to lightly remove the natural shine from the surface of the nail. This step is crucial because it creates a slightly textured surface that helps the base coat adhere properly. Finally, wipe the nails with a cleanser or rubbing alcohol to remove any dust, natural oils, or moisture that could cause the polish to lift prematurely.
Step 2: The Importance of a Quality Base Coat
Never skip the base coat, especially when working with highly pigmented neon shades. Neon polishes contain strong colorants that can easily stain the natural nail plate, leaving an unsightly yellow or orange residue after removal. A high-quality base coat acts as a protective barrier, preventing staining while smoothing out any ridges on the nail surface. Apply a thin, even layer of your chosen base, making sure to seal the free edge of the nail. Let it dry completely. For neon colours, some beauty enthusiasts prefer a ridge-filling base, which provides an exceptionally smooth canvas for the bright pigments to sit on.
The Secret Weapon: A White Undercoat
Because neon pigments are often semi-translucent, applying them directly onto a clear base coat can result in a dull or sheer finish, requiring four or five layers to achieve opacity. The ultimate secret to making neon pink truly glow is applying a thin layer of opaque white polish over your base coat before your neon shade. The white background acts as a reflector, magnifying the intensity of the neon pink and allowing you to achieve full, vibrant coverage in just one or two thin coats of the neon polish.
Step 3: Applying the Neon Pink Layers
When working with neon pink polish, patience is key. It is always better to apply two or three very thin layers rather than one thick coat. Thick coats take a long time to dry, are prone to bubbling, and chip much faster. Dip the brush into the bottle and wipe off the excess on the rim; you only need a small drop on the tip of the brush. Start in the middle of the nail, slightly away from the cuticle, and glide the brush down to the tip. Then, paint the left and right sides. Always cap the free edge of the nail with each layer to lock in the colour. Allow each layer to dry completely before applying the next one to ensure a smooth, even finish.
Step 4: Sealing with the Perfect Top Coat
The final step in your neon pink manicure is the top coat, which serves multiple purposes. Neon polishes naturally dry to a slightly matte or satin finish due to the high concentration of fluorescent pigments. If you want a juicy, wet-look shine, a glossy top coat is absolute. Conversely, if you prefer a modern twist, a velvet matte top coat can look incredibly chic with bright pink. Apply the top coat generously but carefully, ensuring you cover the entire painted surface and cap the edges once more. This layer protects your manicure from daily wear and tear, prevents UV fading, and extends the life of your vibrant look.




