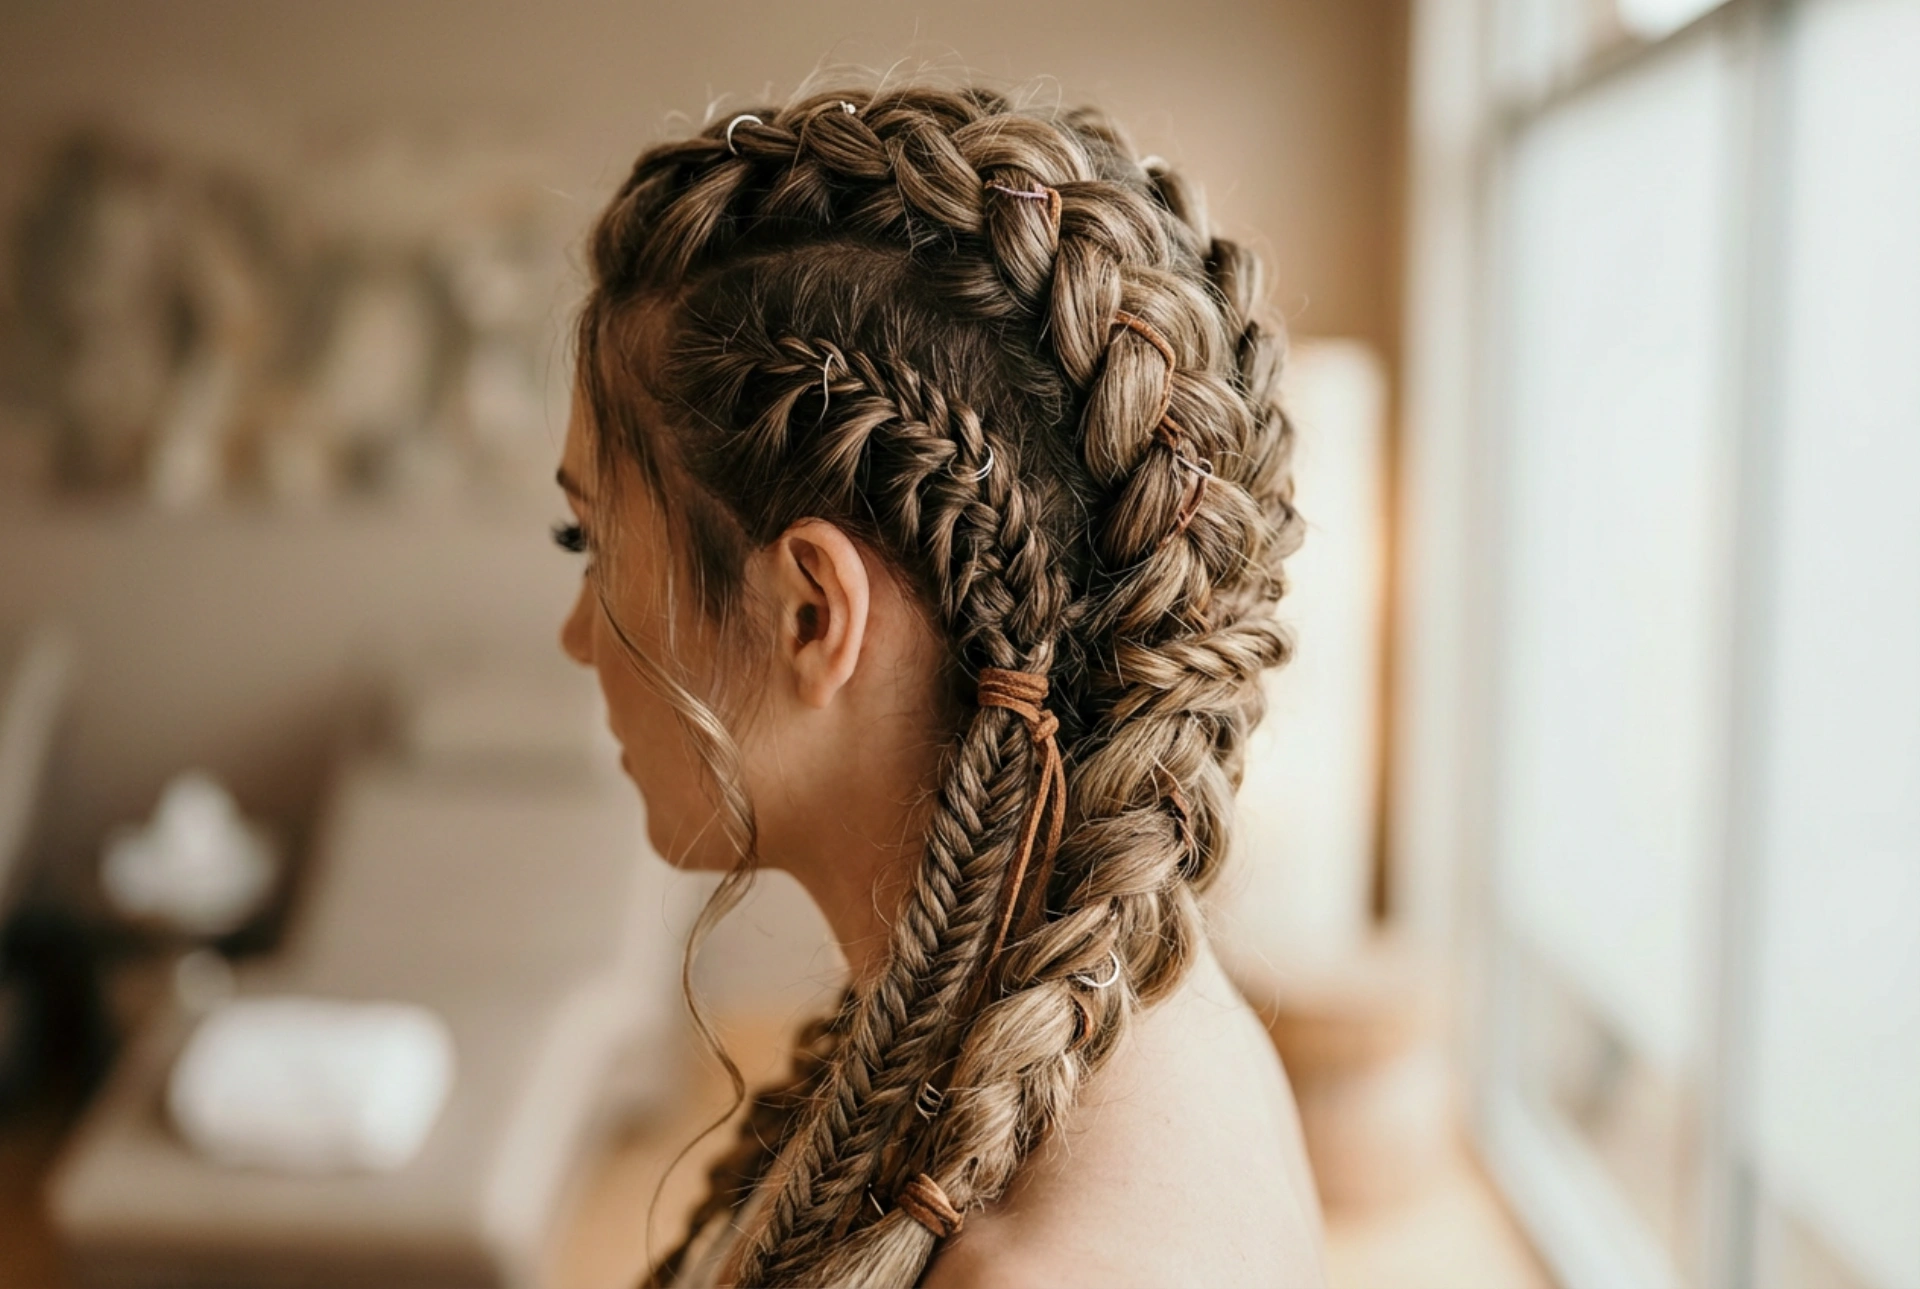


The allure of historical and fantasy-inspired hairstyles continues to influence modern beauty trends, bringing bold and expressive looks into daily wear. Among these, the Viking-inspired hairstyle stands out as a powerful statement of strength, creativity, and elegance. Characterised by intricate braids, distinct sectioning, and rich texture, this style beautifully combines ruggedness with sophistication. In this guide, we explore how to recreate a modern, feminine take on the classic Nordic look, focusing on achievable home techniques that respect and elevate your hair's natural beauty.
Understanding the core elements of the look
To successfully recreate this style, it is essential to understand the fundamental components that define it. Unlike perfectly smooth, polished braids, the Nordic aesthetic relies heavily on contrast. It pairs tight, structured braids close to the scalp with voluminous, textured lengths that flow freely. This combination creates a striking visual balance.
The key to achieving this look is preparation. Clean, slippery hair can make intricate sectioning and braiding difficult. Instead, the style thrives on grip and texture. Using natural techniques, such as braiding slightly damp hair or incorporating gentle texturising methods, ensures that each section stays secure and defined throughout the day.
Essential tools and preparation
Before you begin styling, gather a few basic tools to make the process seamless. Having everything on hand allows you to maintain control over your sections and focus on the braiding technique:
- A tail comb for precise sectioning and clean parting lines.
- Small, transparent elastic hair bands to secure the ends of the braids.
- Hair clips or clamps to keep unused sections out of the way.
- A soft bristle brush and a wide-tooth comb for detangling.
Step-by-step guide to creating the Nordic style
Creating this hairstyle is an art of patience and precision. By breaking the process down into manageable steps, you can achieve a professional-looking result at home.
Step 1: Preparing and texturising the hair
Start by detangling your hair thoroughly. To mimic the authentic, rugged feel of the style, you want to create a slightly matte, volumnised base. If your hair is naturally very straight or fine, you can create gentle waves beforehand using heat-free overnight braiding. This provides the necessary texture and prevents the braids from slipping out of place.
Step 2: Sectioning the hair
Sectioning is the foundation of any intricate braided style. Using your tail comb, divide the hair into three main zones: a central top section running from the forehead to the crown, and two side sections above the ears. Secure the side sections with clips to keep them isolated while you work on the top portion.
Step 3: Braiding the central section
The top section is typically the focal point of the style. You can opt for a classic French braid or a Dutch braid (where the strands are crossed under rather than over, making the braid sit proudly on top of the head). Start braiding from the hairline, adding small pieces of hair from the top section as you move backwards towards the crown. Once you reach the crown, secure the braid with a small elastic, leaving the remaining length to blend with the rest of your hair.
Step 4: Crafting the side braids
Release one of the side sections. To create a sleek, pulled-back effect, split this section into two smaller, parallel horizontal rows. Braid each row tightly using a standard three-strand technique close to the scalp. Repeat this process on the opposite side. These tight side braids create a beautiful contrast with the fuller, textured top section and the free-flowing hair at the back.
Step 5: Adding the finishing touches
Once all your braids are secured, it is time to personalise the look. Gently pull at the outer edges of the central braid to pancake it, making it appear wider and more voluminous. You can leave the rest of your hair flowing naturally down your back, or weave a few loose, random accent braids into the remaining lengths for an effortless, windswept appearance.
Maintaining and caring for braided styles
While braided hairstyles are wonderfully durable, they require gentle care to prevent unnecessary tension on the scalp and hair follicles. When wearing tight sections, ensure that the braids are comfortable and not pulling too tightly at the hairline, as this can cause discomfort over time.At the end of the day, carefully cut the elastic bands with small scissors rather than pulling them out, which can cause breakage. Gently unravel the braids from the ends upwards, and apply a few drops of a nourishing natural oil to the lengths to restore moisture and softness to your hair.





