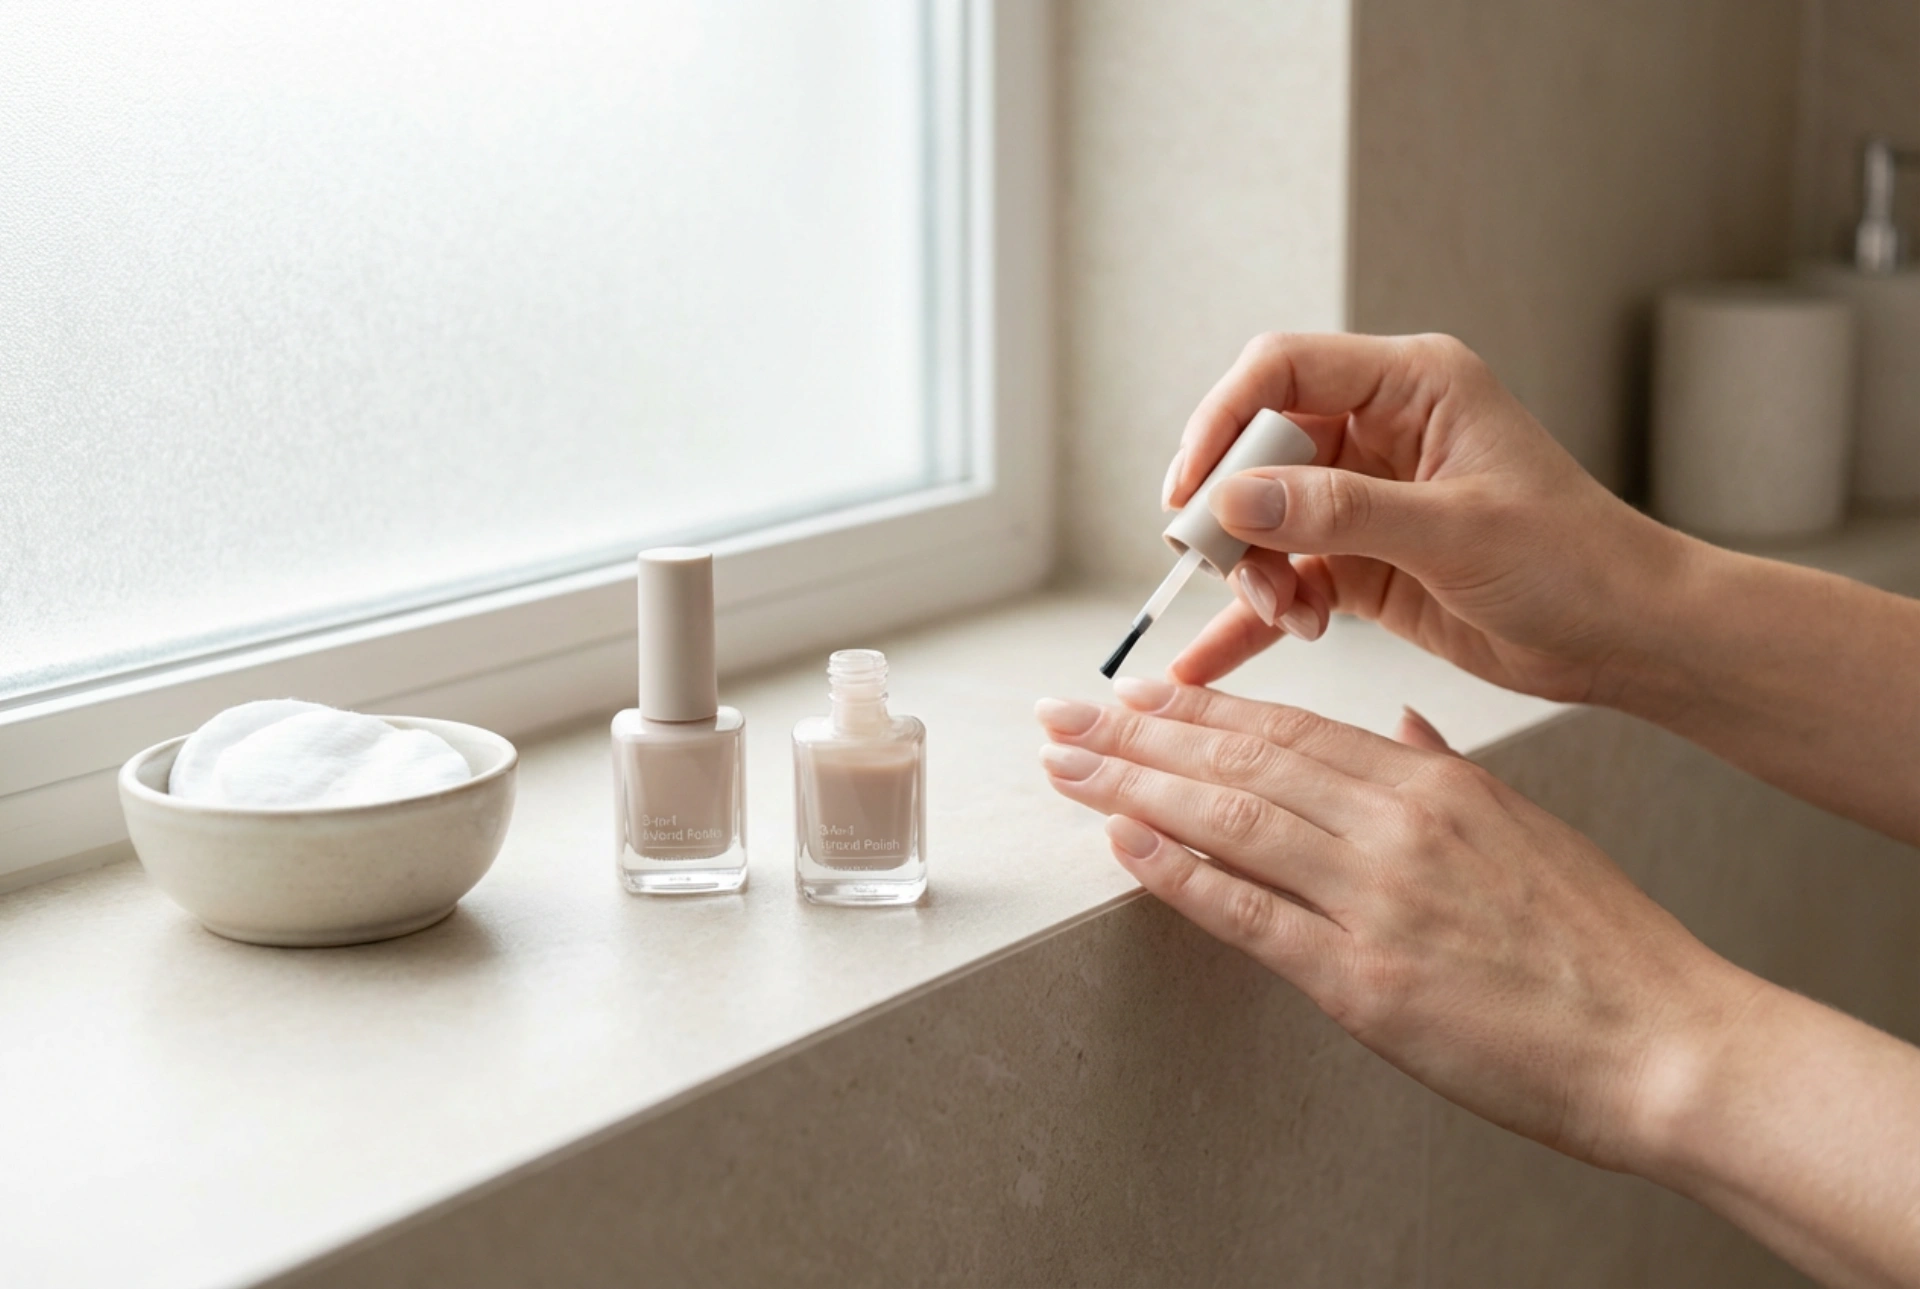


Achieving a flawless, long-lasting manicure at home has never been easier, thanks to continuous innovations in nail care. Among the most popular modern solutions is the 3-in-1 hybrid nail polish, which combines the base coat, colour, and top coat into a single bottle. This convenient product promises a professional-looking finish with a fraction of the time and effort usually required for a traditional multi-step hybrid manicure. Understanding how these products work and mastering the application technique is key to enjoying beautiful, durable nails.
How do 3-in-1 hybrid polishes work?
The traditional hybrid manicure relies on a three-phase system: a base coat to adhere to the nail plate, layers of coloured polish, and a top coat to seal and protect the manicure. A 3-in-1 hybrid polish simplifies this process by integrating the properties of all three layers into a single formula. When cured under a suitable lamp, the photo-initiators in the polish react to bond with the natural nail, deliver rich colour pigment, and cure to a glossy, resilient finish.
By eliminating the need for separate base and top coats, this innovative formula significantly reduces both the application time and the thickness of the overall manicure. It is an ideal solution for those who appreciate the durability of hybrid polishes but prefer a faster, more streamlined beauty routine at home.
Preparing the nail plate for application
The secret to a long-lasting manicure lies in the preparation of the natural nail plate. Because 3-in-1 polishes do not use a separate bonding base coat, thorough preparation is even more critical to prevent lifting and peeling.
- Shaping and cuticle care: Begin by filing the nails to your desired shape and gently pushing back the cuticles. Ensure the nail bed is completely free of dead skin.
- Buffing: Use a fine-grit buffer to gently remove the natural shine from the nail plate. This creates a slightly textured surface that helps the polish adhere securely.
- Dehydrating: Wipe each nail thoroughly with a lint-free pad soaked in a professional nail prep solution or alcohol. This step removes residual oils, dust, and moisture which could interfere with the adhesion.
Step-by-step application technique
Applying a 3-in-1 hybrid polish requires precision and patience. Applying layers that are too thick is the most common cause of curing issues and premature peeling.
Applying the first thin layer
Wipe excess product off the brush against the neck of the bottle. Apply an extremely thin layer of polish to the nail, starting slightly away from the cuticle line and pulling down to the free edge. Be sure to cap the free edge of the nail by running the brush along the very tip to seal the polish. Cure this layer under a LED or UV lamp according to the manufacturer's recommended timing, typically 30 to 60 seconds.
Applying the second layer
Apply a second thin layer of the 3-in-1 polish to build up the colour intensity and smooth out any streakiness. Ensure you do not touch the cuticles or the skin surrounding the nail. If any polish gets onto the skin, remove it with a clean wooden stick before curing. Cure the second layer under the lamp.
Finishing touches
Many 3-in-1 hybrid polishes are designed as non-wipe formulas, meaning they do not leave a sticky dispersion layer after curing. If your product is a non-wipe formula, your manicure is complete as soon as you remove your hands from the lamp. Allow the nails to cool for a minute, then apply a nourishing cuticle oil to restore hydration to the surrounding skin.
Tips for maintaining your manicure
To keep your 3-in-1 hybrid manicure looking pristine for as long as possible, avoid exposing your nails to harsh household cleaning agents. Always wear protective gloves when doing dishes or cleaning. Additionally, avoid using your nails as tools to open cans or peel labels, as this can chip the sealed edges and lead to lifting.




